 Skip to content
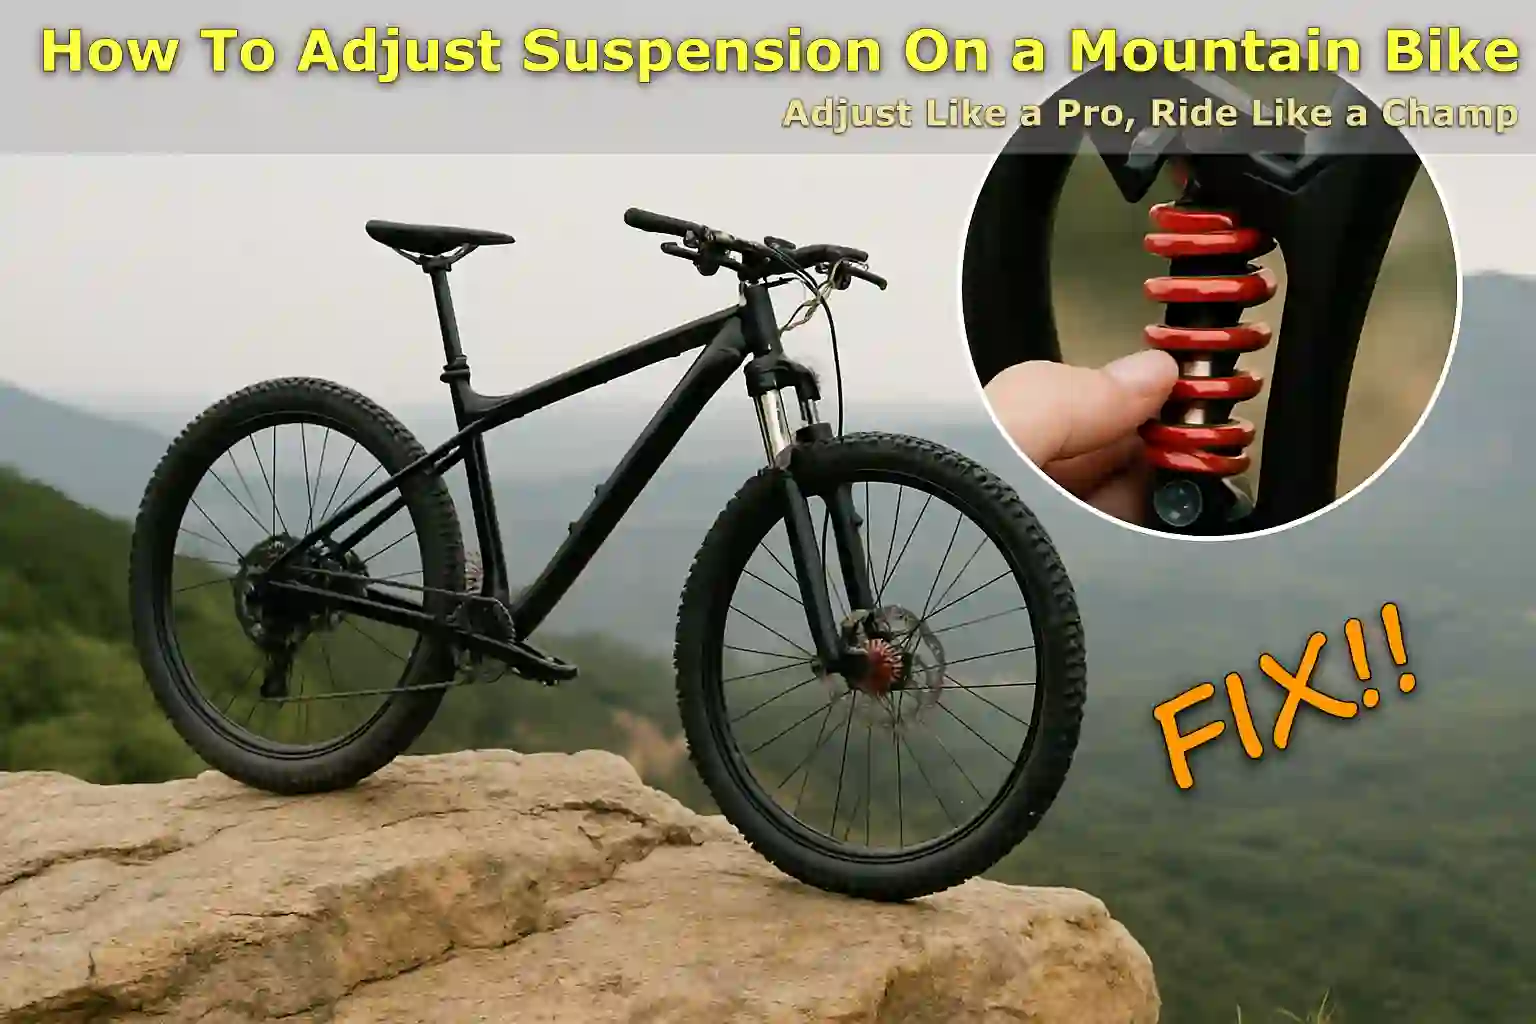
Written By: Jonathan
Fact Checked By: Caroline Dezendorf
Reviewed By: Matt Tanner
When you want the ultimate level of control, safety, and performance up hills with your bicycle, you’ll need the help of bike suspension.
As the suspension actually helps absorb impact and keeps the tires in contact with the ground, it also reduces your body fatigue.
Not only that, studies done in sports biomechanics show that well-tuned suspension actually helps improve traction by more than 20% and reduces vibrations by up to 60% and actually allows you to have a more smooth ride and fewer injuries.
Therefore, most mountain bikes actually come with front and sometimes rear suspension, with them being known as a fork for the front suspension and a shock for the rear suspension and both need to be set correctly based on your terrain, weight and riding style.
In addition, a mistake many riders make is to leave the factory settings unchanged, not realizing that one type of suspension does not fit all.
Now, this is the complete guide on How To Adjust Suspension On a Mountain Bike, so that you can easily set them up to get the best performance from your mountain bike.
This is actually very important as a 2011 field study also found that properly adjusted suspension actually reduces rider fatigue and also reduces energy expenditure during time trials and cross-country riding.[¹]
Understanding Your Mountain Bike’s Suspension
There are generally two types of mountain bikes available: hardtail and full-suspension.
Hardtail Vs Full-Suspension Bikes
Hardtail bikes come with only one suspension that is in the front side fork suspension, yes it is lighter, cheaper and easy to maintain which really makes it suitable for smooth trails or even for beginners.
A full-suspension bike actually has suspension on both sides – front and rear suspension, which obviously provides better control and comfort even on rough, rocky or sloping terrain because they actually absorb impacts at both ends of the bicycle, which makes them ideal for serious trail riders or anyone who rides in aggressive terrain.
When you know the actual type of bicycle you have it helps you have a clear understanding of what type of suspension parts you need to adjust and why exactly.
Suspension Terms to Know
It is very important to know some common suspension terms before making adjustments, as these are the settings that directly affect how your bicycle actually feels as well as performance.
Travel
Travel actually tells you how much the suspension can be compressed, and it is usually measured in millimeters (mm).
- There are cross-country XC bikes available that can have 80 to 120mm of travel, which is actually ideal for even milder trails and climbing activities.
- Not just that, there are also trail and all-mountain bikes available that come with 120 to 160mm of travel that offers a balance between climbing and descending.
- Downhill bikes can have a tread depth of 170mm or even more, as these types of bikes are built to handle larger drops and high-speed descents as well.
Basically, more travel means better shock absorption, but it also makes your bike heavier and reduces its efficiency slightly when climbing.
Sag
So, sag refers to how much the suspension is compressed when you sit on the bicycle in your normal riding position.
It is usually measured as a percentage of total travel, so for most trail bikes the ideal sag is between 25 and 30% of the fork or shock’s travel.
Also, sag is a really important thing because it really helps the suspension react properly to bumps and potholes and keeps your tires in contact with the ground in those conditions.
Recommended Sag Ranges:
- Front forks: 15–20% sag
- Rear shocks: 25–33% sag [²]
This actually means that by compressing that percentage of total travel which is under the rider weight to maintain traction and suspension efficiency as well.[³]
Rebound
Rebound actually controls how quickly the suspension returns to its original position after compression.
If you notice that the rebound is too sharp, it means that your bicycle will be bouncing too much and will become unstable as a result.
That’s actually too slow, which actually means your suspension might not recover in time for the next shock, making the ride feel sluggish or harsh.
Most all shocks and forks have a rebound dial which is usually red, which can be turned to adjust the speed of the rebound, just set them to the correct rebound that actually keeps your tires stuck to the ground without taking you off the track.
Compression
So, compression actually controls the damping, how quickly the suspension compresses when you hit a bump.
- Low Speed Compression: This means it will help in managing pedaling efficiency and body movements such as braking or turning easily.
- High Speed Compression: It really deals with sudden impacts like roots, rocks or drops which is great for mountainous areas.
Additionally, some bicycles only offer low speed compression adjustment, while higher-end models are also available that actually allow you to adjust both low and high speeds.
When you set these up correctly they actually make your ride very stable, without bottoming out or feeling too harsh.
Lockout
This is actually a lockout assist feature that temporarily reduces or completely “locks” the suspension’s motion.
So, this is specially useful on uphill or flat roads where you don’t want the suspension to move up and down with every pedal.
Some bicycles actually have a full lockout, others have a partial lockout, and some have a switch mounted on the handlebar that activates it while riding.
However, you should avoid using the lockout on rough roads, as it actually reduces shock absorption, which can make the ride feel really harsh or unsafe.
Read More:
Needed Tools
| Tool | Purpose |
|---|---|
| Shock Pump | This is necessary to correctly adjust the air pressure in your front fork and rear shock. |
| Measuring Tape or Ruler | You can easily measure suspension sag and ensure proper travel percentage with it. |
| Zip Ties or O-Rings | This will help you measure the sag during setup by placing it on the suspension stanchion. |
| Manufacturer’s Manual or Setup Chart | It can easily provide recommended pressure, rebound, and compression settings based on the rider’s weight and bicycle model as well. |
How To Adjust Front/Fork Suspension On a Mountain Bike
When you want to adjust the front suspension there are several things you need to check like your weight and riding style, air pressure and everything else you will learn in this section.
1. Check Recommended Settings
You really need to know your bike or fork manufacturer’s recommended settings, as these are usually based on your body weight combined with the gear you’re wearing and your riding style.
For example, if you’re a 160-pound rider, you might need around 65 to 75 PSI in a trail fork, as these are the settings that are really designed to give you the right balance between comfort, control, and traction.
So, just start with the basic recommendations at first and then tweak them based on your cycling experience along the way.
Also, consider your riding style, such as if you ride cross-country, trail or downhill.
2. Adjusting the Air Pressure
Using a shock pump you must set the correct air pressure, as this is one of the most important steps so don’t take it lightly.
A shock pump is designed to measure really high pressures up to 300 PSI and offers great control over adjustments.
So, to inflate your fork, you need to connect the shock pump to the air valve, which is usually available at the top of the left fork leg.
Also, you will need to pump up to the recommended PSI which is actually based on your weight and use a bleed valve to tune it accurately.
Not only that, you also have to keep in mind that too much pressure can make the fork too stiff and actually reduce traction and if the pressure is too low it can actually cause bottoming and instability.
So, once it’s inflated, bounce the fork a few times to make sure it’s really seated and then check the pressure once again to confirm.
3. Setting the Sag
How much the suspension compresses when you’re seated on the bike in your normal riding position is known as sag.
For most trail bicycles, the ideal tilt for the front fork is between 25% and 30% of the total travel.
And to remedy this, simply slide a rubber O-ring or zip tie down to the fork seal, and then get on the bike after wearing all your gear and assume your normal riding posture, without bouncing.
And then carefully take off and measure how far the o-ring has actually gone in.
For example, if your fork actually has 120mm of travel, and the O-ring has actually moved forward 30mm, that means you have 25% sag, which is actually ideal for trail riding.
If you notice the tilt is too low, simply decrease the air pressure, or if it is too high simply increase the pressure.
Additionally, proper sag actually ensures that your fork reacts well to both small bumps and larger shocks.
4. Adjusting Rebound Damping
Rebound damping is actually what controls how quickly the fork returns to its full length after being compressed.
Plus, you can easily adjust it with the red dial at the bottom right of the footrest.
If the rebound is set too steep the springs will return too quickly, making the ride really bouncy and unstable, and this will specially affect the ride on rocky slopes.
If it’s too slow the fork can’t actually recover in time for the next push, causing it to literally “clamp” and feel much stiffer than it actually is.
So, to find the right setting simply push the handlebar down to compress the fork and then see how quickly it actually comes back up.
Just know that a good rule of thumb is controlled but quick returns: it should neither be too slow nor too quick.
When you start in the middle of the dial range, you have to tune it, and tune it according to how the fork behaves on real trails.
5. Compression Damping (If Applicable)
This step is really for those that have a compression damping adjustment, as not all forks have it.
But that’s another important setting if your forks have it, so compression damping manages how easily the fork actually compresses when force is applied.
Yes, it also comes in two types: low speed compression and high speed compression.
- Low-Speed compression really affects slow speed activities like: pedaling, turning, and how your body weight is actually transferred.
- High-Speed compression which controls how the fork handles really sudden impacts like: roots, drops or jumps.
When you see there is a fork with a blue dial or knob which usually lets you control the low speed compression, when you turn it clockwise it makes the fork firmer which really helps in smooth climbing as well.
And if high speed compression is found on really advanced forks and is often adjusted using small hex screws or secondary dials.
And if you really feel like the fork bottoms out too easily, just increase the compression.
If it feels really stiff and unresponsive then tone it down a bit or do it accordingly.
So, adjust this setting gradually and always take a test ride to feel the difference.
When you adjust this setting gradually it always makes a big difference when test riding.
How To Adjust Rear/Shock Suspension On a Mountain Bike
If you need to adjust the rear/shock suspension on a mountain bike you will need to make sure to check the pressure, sag and rebound damping adjustments and many other things.
1. Air Pressure Setup
This is the first thing you need to do is adjust your rear suspension and set it to the correct air pressure or if your bicycle uses coil shocks then you need to adjust the coil preload.
Air Shocks
For air shocks, you’ll need to use a shock pump and then refer to your shock manufacturer’s recommended pressure chart so you can make adjustments based on your rider’s weight along with the gear.
If I give you an example, a rider weighing 160 pounds may actually need 160 PSI to 180 PSI, which actually depends on the shock and the bike design as well.
Also, you always need to inflate the shock slowly and then check for leaks and then use the bleed valve for correct tuning.
Coil Shocks
If you have coil shocks, instead of air pressure you’ll need to adjust the preload collar, a ring that compresses the coil spring to increase or decrease firmness, just be cautious with coil preload that is greater than 2 full turns which can affect how the spring actually behaves and may mean you need a different spring rate instead.
Whether air or coil, you just have to get this part right which is really the basis for proper sag and overall suspension performance.
2. Measuring and Setting the Sag
When it comes to the sag setting on the rear shock, that is just as important as the front fork and which actually refers to how much the rear suspension compresses under your body weight in normal riding conditions.
Therefore, the ideal tilt for most trail and all-mountain bicycles is about 25% to 30% of the total rear travel.
So, to measure procrastination you actually need to:
- Put the O-ring on the zip tie on the shock stanchion.
- Now you have to sit in a neutral position on the bike for the entire ride, without letting it bounce.
- Take off carefully and then measure how far the O-ring has actually gone in.
For example, if your bicycle has 150mm of rearward travel and the O-ring extends 37.5mm forward, that is exactly 25% tilt.
If the sag is too little, just reduce the air pressure or decrease the coil preload; if it’s too much just increase the air pressure or tighten the preload a bit.
So, when you set the sag correctly it actually helps maintain rear tire grip, improves comfort and actually prevents bottoming out on bigger impacts.
3. Rebound Damping Adjustment
While you have to control how fast the rear shock extends after being compressed, it’s the rebound damping that actually controls this, which is really important for traction and stability.
If the rebound is set really fast, the bicycle can feel bouncy and unstable over rough terrain.
If it’s too slow the shock can “clamp down” and not recover in time before the next bump, so this means it can really make your ride harsh and unpredictable.
To adjust the rebound, you simply need to find the rebound dial which is usually seen in red on the shock.
So start about midway through the adjustment range, simply press the saddle down, release, and watch how the shock springs back.
And ideally, it should come back smoothly, not just slow, but not too slow either.
Therefore, slow down the rebound speed slightly if the rear wheel slips over bumps or loses grip along the way.
If you feel the cycle is really sluggish or stuck, increase the speed a little to fix it.
4. Compression Damping Tuning
Now, it’s time for compression damping, which really affects how easily your rear shock compresses, as it really does compress when you hit bumps or when weight is transferred while climbing, braking, or cornering.
Most shocks actually come with a low-speed compression adjustment, with some higher-end models actually offering high-speed compression as well.
You need to use low speed compression to control pedal bob and body motion, increasing it helps to stiffen the shock for smoother climbs and on fire roads.
So, high-speed compression really comes into play during big impacts like jumps or hitting a rock, if your shock touches the bottom really easily you’ll need to add more high-speed compression damping as well. Also, if it feels too stiff and can’t absorb really big hits well, back it off a bit.
Note: Some rear shocks also have a climb switch or lockout lever, which actually increases compression substantially, and is helpful for climbing, but should be turned off when descending or over rough terrain, as that is where full suspension motion is really needed.
Conclusion
Yes, you can easily adjust mountain bike suspension if you get all the technical and mechanical information right, and that is what we have provided in this guide on How To Adjust Suspension On a Mountain Bike.
Settings really matter such as: sag setting, rebound and compression tuning as well as choosing the right setup for your riding style, as this is really an essential part of getting the best performance from your bicycle.
If you are still getting confused about anything in this guide, just comment below.
FAQ’s on How To Adjust Suspension On a Mountain Bike
1. What is sag, and why is it important?
Answer: Sag is actually the amount your suspension compresses under your body weight, so when you sit on the bicycle in riding gear, and this is really important because the right sag actually ensures that your suspension can absorb the bumps easily and very efficiently and thus keeps your bicycle really stable and comfortable.
2. What happens if my rebound is set too fast or too slow?
Answer: If you set the rebound too fast your bicycle will feel really bouncy and unstable, and if it is too slow the suspension will not really be able to recover quickly between bumps which will really make the ride harsh and less controlled.
References:
[1] Davie, Mark C. (2011) Mountain bike suspension systems and their effect
on rider performance quantified through mechanical, psychological and
physiological responses. PhD thesis.
https://theses.gla.ac.uk/2432/1/2011daviephd.pdf
[2] Why Setting Sag For Your Mountain Bike Matters
https://eu.ridefox.com/en/blogs/academy/fox-academy-video-series-why-setting-sag-for-your-mountain-bike-matters
[3] How to set up suspension on your mountain bike: Essential guide
https://www.canyon.com/en-us/blog-content/mountain-bike-news/mtb-suspension-setup/b19112024.html
Jonathan, the passionate owner of Bicycle Time, brings a lifelong love for bikes and automotive craftsmanship, that reflects into every corner of the shop. With deep passion in both cycling and automotive accessories, Jonathan is more than just an expert.
