 Skip to content
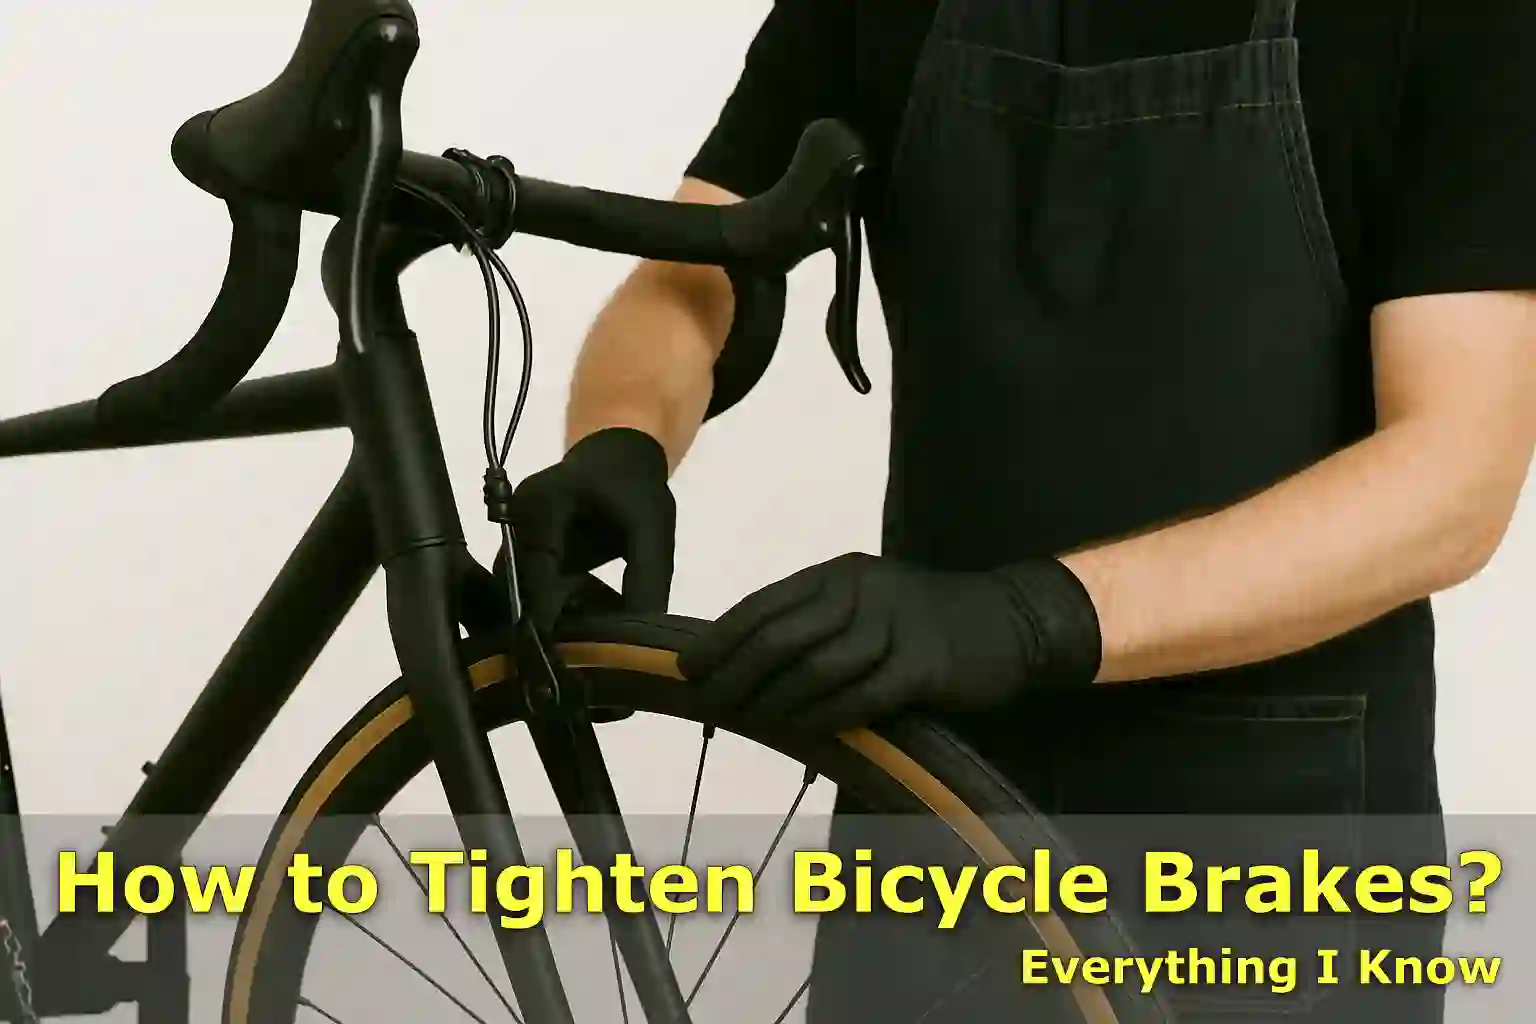
Written By: Jonathan
Fact Checked By: Caroline Dezendorf
Reviewed By: Matt Tanner
Properly working and ideally tightened bicycle brakes are one of the most important things that represent your safety concerns.
And it is obvious that as time passes, the brake cable gets stretched and also it get wear down badly, as a result, they will respond slower and you might feel looseness in them.
I have worked on all types of bicycles such as kids bikes, mountain bikes and casual bikes, so i have seen that if the bike has properly adjusted brakes then it really makes a big difference in how safe and comfortable your ride actually feels.
So this is the guide where i will show you the each and every step of How to Tighten Bicycle Brakes, it doesn’t matter if your bicycle has rim brakes or disc brakes.
There is nothing rocket science on tightening the bicycle brakes, as you only need to follow the guide properly and you will be able to make your bike safe anytime.
Understanding Your Brake Type
This is an important step before tightening or adjusting anything on your bicycle brake system, as it is important to know what type of brakes your bicycle uses.
So that you can follow the correct steps and avoid any possible mistakes, because there are mainly two types of bike brakes used: rim brakes and disc brakes.
There is a difference in the working type of these brakes, so you need to know the difference first for an easy and clear tightening process ahead.
Rim Brakes
| Brake Type | How It Works | Common Examples | Maintenance |
|---|---|---|---|
| Caliper Brakes | This is a single brake unit with two pads that apply pressure to the rim. | Road bikes have Caliper Brakes. | Yes, it’s easy to adjust, it’s lightweight and really good for road cycling. |
| Cantilever Brakes | The bicycle has two separate arms that press the pads onto the rim. This provides more clearance. | Shown on older bikes and touring bikes. | It offers more space for really wide tyres and is great for off-roading activities. |
| V-Brakes | It has longer arms which provide more power and leverage to stop the bicycle. | And Mountain bikes used that type of brakes. | V-brakes have very good stopping power and only occasionally require pad adjustment. |
Disc Brakes
| Brake Type | How It Works | Common Examples | Maintenance |
|---|---|---|---|
| Mechanical Disc Brakes | It comes with a cable that pulls the brake pads towards the rotor. | You can see them in mountain bikes and hybrid bikes. | Yes, they are easy to maintain and require cable adjustments. |
| Hydraulic Disc Brakes | This fluid exerts pressure on the rotor, rotating the brake pads, and thus, stopping the bicycle. | It comes in high performance mountain bikes. | It actually offers better stopping power, and is more complex to maintain. |
So this is the break down and the basic differences about the rim and disc brake systems so that you can clearly identify yours.
Tools You’ll Need to Tighten the Bicycle Brakes
| Tool | Purpose |
|---|---|
| 5mm Allen key | It is needed to adjust the brake cables and caliper arms. |
| Phillips screwdriver | You can easily adjust the tension screws with it. |
| Cable puller or pliers | This is to secure the brake cable. |
| Bike stand (optional) | This is completely optional but you can use it for stability during adjustments. |
This is the list of tools you will need to tighten bicycle brakes easily, as it provides better grip so that you can tighten with some perfection.
How to Tighten Rim Brakes
It is very important to keep your rim brakes safe and responsive in time, so you need to tighten it ideally, just follow these steps and your brakes will start working efficiently again.
1. Check Brake Pad Alignment
Just look at where the brake pads actually touching the wheel, as they should press even pressure to the metal rim, make sure that it doesn’t rub the tire or positioned too low below the rim.
The alignment must be correct to stop the bicycle properly, as incorrect alignment can cause wear or it can damage the tire.
2. Adjust Cable Tension
There are two ways you can tight the break cable. First one is by try to turn barrel adjuster (it is a small dial where the break cable enters the brake lever) left side (anticlockwise). Yes, it will increase tension that’s why the pads will become closer to the rim.
If it is not enough then just adjust the cable manually, as you have to use a 5mm Allen key that looses the bolt that holds the brake cable on the brake arm, so then pull the cable a little tighter by your hands or you can use pliers as well, then you can re-tighten bolt securely. And you’ll know that it will restore the tension properly and also it will improve the braking ideally.
3. Center the Brakes
Once you have finished tightening the cable, you now need to check if both brake arms are moving evenly, as well as if the pads are touching the rim at the same time.
If you find that one pad hits or rubs against the rim first, then you will need to adjust them with a small Phillips screwdriver by turning the centering screw which is found on one or both brake arms. As it will allow you to balance the arms so they move together and stop the bike more smoothly.
4. Test Brake Lever Pressure
After adjusting the brakes and equalizing the brake levers contact on the rim, you will start to feel tight and reasonably responsive braking.
But if you feel a soft, spongy lever or it pulls up to the handlebar, then the cable is too loose otherwise the pads are too far from the rim so test it accordingly. So for that particular reason you need to increase the cable tension a little bit then check the pad alignment again if everything is ok.
Note: If your brake lever is touching the handlebar under full pressure it means the braking distance is increased and it can be unsafe during an emergency, when you stop the bicycle so just check the handlebar the brake lever should not be touching it that means it is properly adjusted..
Conclusion On How to Tighten Bicycle Brakes
It is very important task to tighten the bicycle brakes as it definitely enhances safety and riding experience as well.
With this guide on how to tighten bicycle brakes, you can now easily adjust brake pads, and give them the proper alignment, tension to restore ideal braking performance.
Brake maintenance is important because you can make regular adjustments to suit the performance.
Also, always test your brakes after each adjustment, so that you can be sure of proper functioning, which greatly improves safety and riding experience.
FAQ’s On How to Tighten Bicycle Brakes
Q1. Can I tighten my brakes myself?
Answer: Definitely YES, it is very simple maintenance task as it can be easily done by you with some basic tools, you can do it by following adjustments the brake pads, and break cable and tension accordingly.
Q2. What tools do I need to tighten my bicycle brakes?
Answer: Generally, you can tight your bicycle brakes with screwdriver, Allen wrench to tightening the brake cable and if you need for a bike-specific tool to adjust the brake lever tension correctly if you find it really necessary.
Q3. What happens if I don’t tighten my brakes properly?
Answer: Basically, you will not be able to stop your bicycle whenever you want as it reduces the stopping power which makes it very dangerous while riding. Also, if you want to stop at a particular distance and you will have to stop for a longer distance due to the reduced braking performance.
Read Also
👉Why Does My Bicycle Chain Keep Slipping?
👉How To Choose The Right Bicycle Size?
👉How to Clean a Bicycle Chain?
👉How to Clean a Bicycle Cassette
👉Why a Bicycle Doesn’t Move Backwards?
Jonathan, the passionate owner of Bicycle Time, brings a lifelong love for bikes and automotive craftsmanship, that reflects into every corner of the shop. With deep passion in both cycling and automotive accessories, Jonathan is more than just an expert.
