 Skip to content
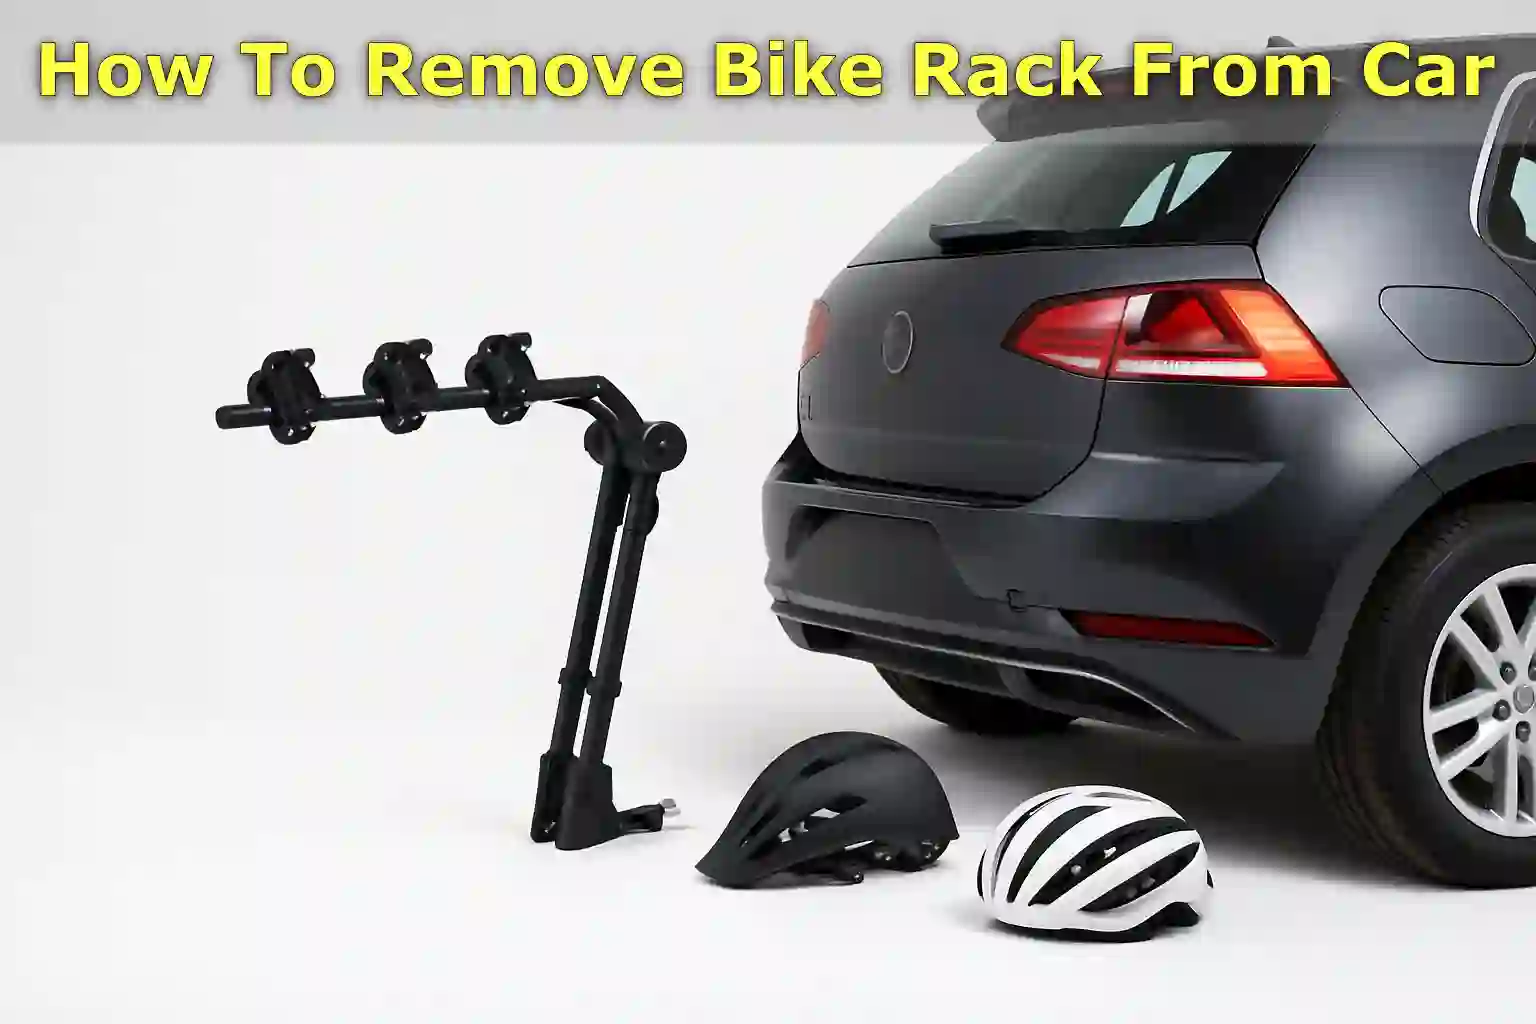
Written By: Jonathan
Fact Checked By: Caroline Dezendorf
Reviewed By: Matt Tanner
You may get confused while removing the bike rack as there are so many parts available you need to be careful while removing it as losing the wrong part or pulling it wrong may cause scratches, even damage to both the rack or the car.
Not only that, there are different types of racks available that attach to the car in different ways, which is why you need something specifically for your type of rack.
In addition, there are safety tips available that are very simple and actually show you what to check before and after removal and help you properly clean and store the racks so that it remains in good condition after removing them.
This is the guide in which I explain How To Remove Bike Rack From Car, whether it’s mounted on the trunk of your car, attached to a trailer hitch, or mounted on the roof.
The reason could be anything, whether you’re removing your bike rack to wash the car, storing it for the season or converting it to another vehicle.
If you always leave a bike rack installed when it’s not being used, this can also pose legal and safety concerns, as the NHTSA states that any device such as a bike rack must not affect the effectiveness of tail lights and license plates.[¹]
Identify Your Bike Rack Type
It’s important to know what type of bike rack you have, as each type of rack attaches to your car differently, so the removal steps also depend on the style of rack you’re using.
Trunk-Mounted Bike Rack
This is the most common and really inexpensive type of bike rack, and it attaches to the back of your car using straps and hooks that go along the top, sides, and bottom of your trunk or hatch.
It sits at the back of the car with the help of rubber feet or padded arms, so that it does not harm the car in any way.
You don’t need any additional parts like a hitch or roof rails to attach it to the car, and they work easily with most types of cars.
Basically, if you see that your bike rack is attached to several straps and rests on the trunk portion of your vehicle, it is most likely a trunk-mounted rack.
IMPORTANT: Before removing it you must check if the straps are on and how tight they are, also in a simple way you can take a picture of the situation which will help you to put it back on later.
Hitch-Mounted Bike Rack
If you notice that your car has a trailer hitch under the rear bumper that looks like a square-shaped metal receiver, it may be a hitch-mounted rack.
This is the rack that slides into the hitch receiver and is usually secured with a locking pin, bolt, or lever.
Plus, they are much sturdier and can easily carry more bikes than a trunk rack, plus they are easier to load and unload since they are lower to the ground.
Additionally, there are two styles of hitch racks available:
- Platform-Style: If the bike is placed on a tray or platform then this is a platform-style hitch mounted bike rack. These racks actually hold the bike by the wheels which is great for heavier or more expensive bikes.
- Hanging Style: If the bike is hanging from arms by its frame then it is a hanging style rack, and these types of racks are really lightweight and often fold up when not in use.
IMPORTANT: You should check whether your bike rack has a lock or safety pin before removing it, as some racks also have anti-theft features that require a key.
Roof-Mounted Bike Rack
It is mounted on your car’s roof rail or crossbar, and the bike is held in place either by the front fork if the wheel is removed, or by the frame and both wheels.
The good thing about roof racks is that they don’t block your rearview mirror or license plate.
But you do have to lift the bike up higher to do the work, so yes, it can be tough for some people.
Important: Roof racks come with small screws or locks, so you should make sure if any tools or keys are required before attempting to remove it from your vehicle.
Check the User Manual
It doesn’t matter what type of bike rack you have, as it’s always the best thing to do is to check the instruction manual for that specific model.
The manual will tell you specifically how to attach and remove your bike rack, what parts to remove, and how to remove it so as not to damage your car or the rack.
And if you lost your manual, don’t worry about it as most manufacturers have digital versions available for free on their websites, so just search for the rack brand online with the model number and you will find it there.
General Safety Tips Before Removal
The safety of your car and bike rack must be ensured during this entire removal process, yes it seems like a very simple task but skipping a few small steps can literally cause injury or damage to both your car and bike rack.
Park on a Flat Surface
Just make sure the car is parked on level ground before you start, as you’ll need to avoid sloping driveways or uneven areas to prevent the car from rolling or moving while you’re working on the rack.
Not only that, but you have to pull straps or lift heavy racks off the roof, so you have to park the car and apply the parking brake for safety.
Read Also
Ask for Help
For hitch-mounted or roof-mounted racks, you will need help from others as these are very difficult and inconvenient to handle alone.
If your bike rack is really big, ask a friend or family member for help, and working together makes the process safer and can prevent a lot of damage to the rack or your car.
Wear Gloves
There are metal parts, sharp edges or tight straps available that can pinch or scratch your hands badly, that is why you need to wear work gloves or even simple gardening gloves that will protect your skin and give you a really better grip.
This is really important as it can save you from getting unnecessary cuts, blisters, or finger pain.
How To Remove Bike Rack From Car (Clear Instructions for Each Rack Type)
By following this step-by-step guide, you will be able to remove almost every type of bicycle rack with ease.
Trunk-Mounted Bike Rack
These types of racks attach to your car using several straps and hooks, and they rest on the back of the car, and are held in place by tension.
Just follow these steps and you will remove it properly:
1. Loosen All Straps
The first thing that you have to do is to start opening the straps one by one, and first of all open the top straps, then move on to the side straps and finally you have to remove the bottom straps.
We first loosen the top straps, as this will help reduce pressure on the rack and prevent it from tilting backward.
2. Unhook the Straps
Once you’ve loosened the straps, carefully unhook each of them from where they were attached to the trunk, hatchback or bumper.
You just have to be careful so as not to scratch your car’s paint or bend any trim pieces of the car.
3. Carefully Lift the Rack
Now, you have to lift the rack off the car slowly, and then you have to lift it straight up using both hands, so as to avoid pulling on the paint.
4. Inspect the Car Surface
Just check the area where the rack was installed as it has been observed to have dirt or small scratches left on it so just wipe the area with a clean cloth and if needed just apply some polish or wax to protect the paint.
5. Fold & Store
Mostly trunk racks come with foldable features, so simply fold the arms and secure any loose straps and then you can store it in a dry place, just make sure to also keep it away from direct sunlight or moisture to avoid any potential rust in the future.
Hitch-Mounted Bike Rack
Hitch racks are attached to the trailer hitch receiver on the rear of your car, and they’re secured with bolts, levers, or locking pins so you’ll need to remove them safely:
1. Remove the Safety Pin or Clip
Just look for a locking pin or security clip that actually holds the rack in place, just pull it out carefully and make sure if it has a lock or not, as some models have locks so you may need a key.
2. Loose the Hitch Bolt or Release Hitch Lever
Now the next step you need to do is to loosen the bolt with the help of a wrench or if there is a hitch lever then you need to release it as well, this is the step that will allow the rack to come out of the hitch receiver easily.
3. Slide the Rack Out
Once you remove the bolt or lever, pull the rack straight out of the hitch, but do it slowly. You will also have to use both of your hands as these racks are heavy and you can ask for help if needed.
4. Insert Hitch Cover
Once you have removed the rack, place a rubber hitch cover or rust-proof plug in the receiver to protect it from dirt and moisture after the removal process.
5. Clean the Rack
Simply wipe the rack with a dry cloth to remove any dirt or grime if present, this will help prevent rusting and keep it in good condition for when you want to use it again.
Read Also
Roof-Mounted Bike Rack
These types of racks are installed using crossbars or ceiling railings and actually require tools or keys to remove.
1. Unlock the Rack
If your roof rack is fitted with security locks that are actually meant to prevent theft, you’ll need to open it using the key provided by the manufacturer.
2. Unscrew or Unbolt
Now, you will need to use the right tools such as an Allen wrench or a small socket wrench to loosen the bolts or screws that hold the rack to the crossbars or ceiling railings.
3. Carefully Lift
After removing all fasteners, lift the rack off the car slowly, being careful not to scratch your roof or damage the rack by pulling it off too quickly.
4. Clean Rack & Roof
Now, wipe down the roof area as well as the rack itself, as there might be a lot of dirt, road salt, or debris present there which is actually what causes rust over time.
5. Store Safely
Store the rack in a dry, cool place where no one can step on it, crush it, or damage any of its parts. You just need to avoid placing it in direct sunlight as this can weaken the plastic parts over time.
So, now I have mentioned all kinds of safety precautions and tips for removing the bike rack from the car.
Post-Removal Cleaning & Maintenance
Once you have removed the bike rack there are some important cleaning and maintenance steps you need to take that will ensure the protection of your car’s paint and keep the rack in good condition.
Yes, it is necessary as trunk mounted racks can damage the car’s paint and trim over time due to the excessive pressure of the straps and pads.[²]
So you have to make sure everything is ready the next time you use it.
1. Clean Dirt
Generally, all bike racks trap dust, dirt, and grime wherever they are placed on the front of your car.
And the first thing you need to do after removing the rack is to clean the areas using a soft cloth and some mild car-safe soap.
Just pay special attention to places where the straps or legs are touching the car’s paint.
2. Check for Scratches or Wear
Even if you install the rack carefully, it is still susceptible to scratches and wear.
Just take a close look at your trunk, roof or bumper wherever the rack was attached, and if you see light scratches just use a soft cloth and some automotive polish to cover it up.
3. Apply Wax or Polish
If you notice that your car looks dull or has small marks on it due to the rack, simply apply a small amount of wax or polish, this can protect the area and make it shiny again.
These are just simple cleaning and maintenance steps, as they only take a few minutes but they play a vital role in keeping both your car and bike rack in the best condition.
Conclusion
In this guide, everything is covered – how to identify the type of your bike rack, safety steps before and after removal with detailed instructions for each type of rack, as well as how to clean and maintain both your car and rack.
Not only this, you have to remove it carefully so it stays in top notch condition, as damaged racks can cause you in serious trouble, as from an insurance standpoint, if your rack or bicycle detaches and causes damage or injury then you can be held liable.[³]
All you have to do is take a little extra time and follow these tips that will surely save you all kinds of hassles in the future and make reinstalling the rack much easier when you really need it.
For any further information on How To Remove Bike Rack From Car all you need to do is comment below.
Frequently Asked Questions
Q1. Do I need any tools to remove my bike rack?
Answer: It depends on the type of rack such as: The trunk rack doesn’t actually require any kind of tools, you just unhook the straps and remove it with ease, Hitch racks actually require a wrench to loosen the hitch bolts, Roof racks require an Allen wrench or small socket wrench and you can check the rack’s manual for more information.
Q2. Will removing the bike rack damage my car?
Answer: It will not damage the car in any way if you have removed it correctly, but avoid pulling or dragging the bike rack carelessly on the car surface.
References:
[1] NHTSA, Interpretations on Equipment Interference, https://www.nhtsa.gov/interpretations/07-004114as
[2] Reddit, Can a Bike Rack Damage Your Car?, https://www.reddit.com/r/cycling/comments/1bism3g/how_much_can_a_bike_rack_damage_a_car
[3] LetRigo, Bike Rack Regulations and Legal Responsibility, https://letrigo.com/blogs/knowledge/trunk-racks-regulations
Jonathan, the passionate owner of Bicycle Time, brings a lifelong love for bikes and automotive craftsmanship, that reflects into every corner of the shop. With deep passion in both cycling and automotive accessories, Jonathan is more than just an expert.
