Written By: Jonathan
Fact Checked By: Caroline Dezendorf
Reviewed By: Matt Tanner
The crankset actually plays a very important role as it holds the chain and connects the pedals to the bicycle, which is why it is able to transfer your pedaling power to the drivetrain.
There are many different types of cranksets available with square tapers, so you will need to know the exact procedure for removing these specific types of cranksets and how to remove them easily, as each design actually requires a slightly different approach and set of tools.
So the reason for removing the crankset in a bicycle can be anything, like if it is worn out or you want to make it new and if you want to align it and do maintenance on it.
In this guide, you will learn what type of tools are needed and How to Remove a Bicycle Crankset, even for all types of differently designed cranksets.
We will give you a step-by-step process that makes your job simpler.
Identify Your Crankset Type
It’s important to know what type of crankset your bicycle has, because cranksets come in different styles and each attaches differently to the bottom bracket, which is the part that your crankset actually mounts on.
There have been analysis documented a case where a crank arm failed after approximately 3.5 years of use, so it says even high-end components are susceptible to failure if not properly maintained.[¹]
That’s why you have to use the correct method and equipment which depends on identifying your crank type first, actually identifying it will save you time.
1. Square Taper
This is the oldest and most common type of crankset, as you’ll find it exclusively on older or entry-level bicycles.
You can see the square spindle on which the crank arm slides, known as a square taper crankset.
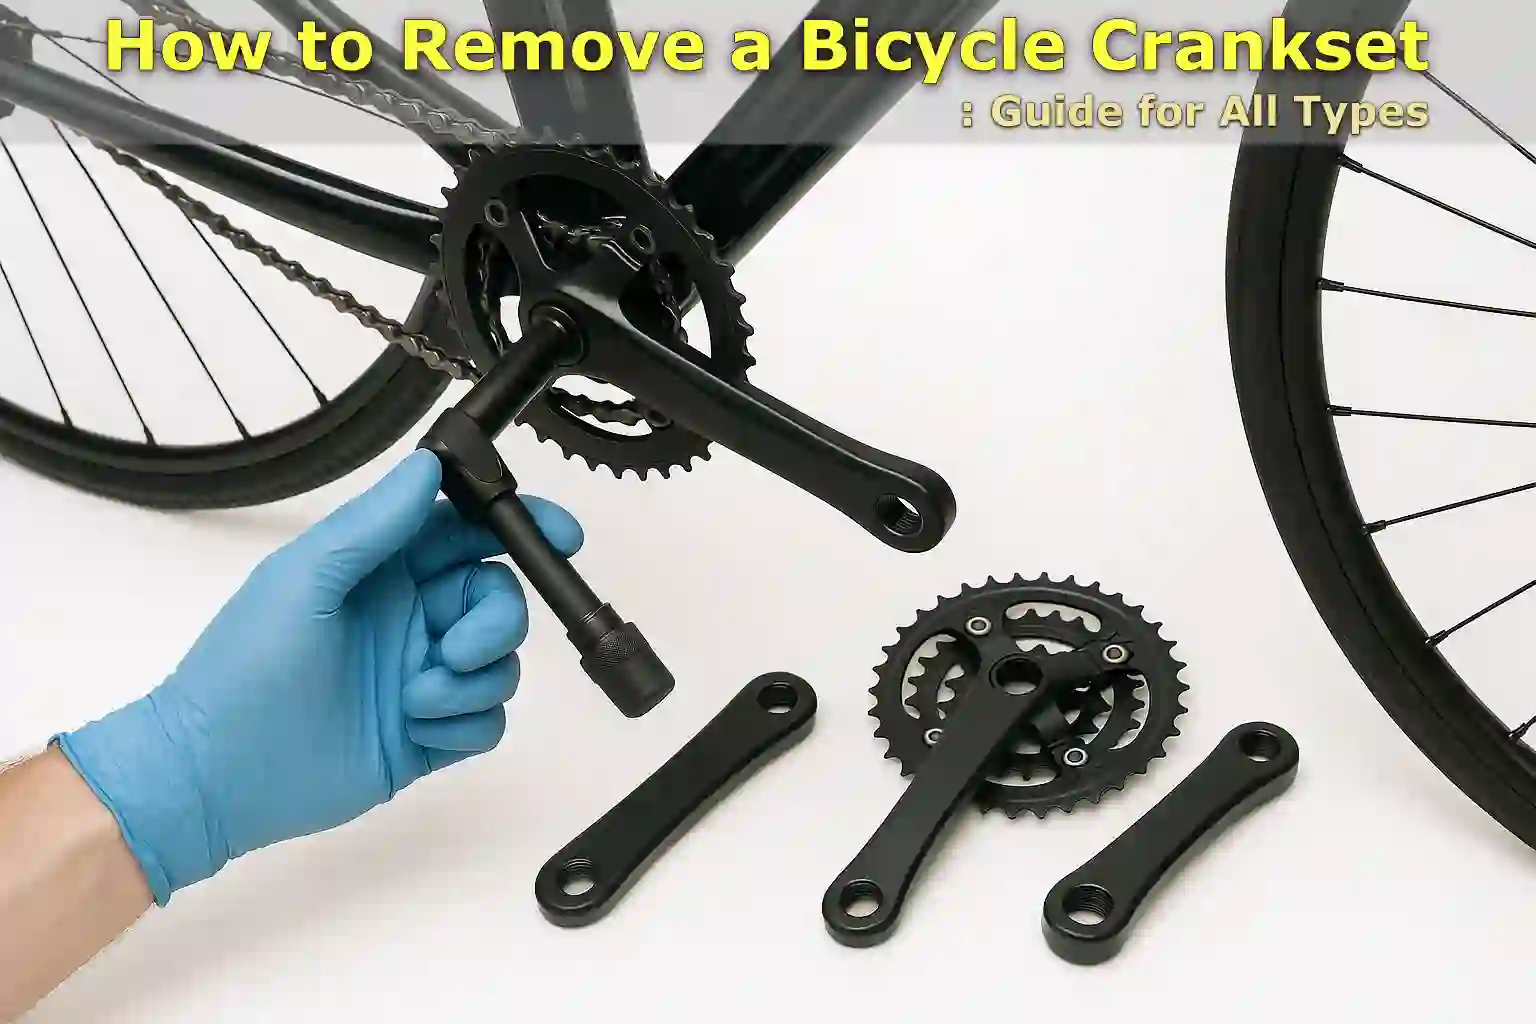
There you will find only one bolt that actually holds the arm in place, and you will only need a crank puller tool to safely remove it.
This system appears simple, but it is actually quite robust, which is why it is still used on many commuter and budget level bicycles.
2. Octalink / ISIS Drive
Both these Octalink and ISIS Drive cranksets look similar to square tapers, but feature splined spindles instead of square ones.
These splines are installed to provide a more compact and robust connection to the crank arm, making them ideal for mountain bikes and riders who put more stress on their drivetrain.
These cranksets require a puller tool to remove, but make sure it is compatible with the splined cranks, as some pullers are specifically made for Octalink/ISIS only.
3. External Bearing (Shimano Hollowtech II)
These are very commonly found in modern mid-to-high end bicycles, as these external bearing systems, like Shimano Hollowtech II, are located on the outside of the frame rather than sitting inside, which actually increases stiffness and actually reduces weight.
Its spindle is a large 24mm hollow axle that actually connects both crank arms.
You can easily identify this setup by the two pinch bolts on the left arm and the small plastic cap in the middle.
And to remove it you have to unscrew the preload cap and then you can loosen the pinch bolt and slide the crank out, you don’t need a crank puller for this job anyway.
4. Self-Extracting Cranks (SRAM, Race Face)
These types of self-extracting cranksets are really easy to remove, and these systems are found in many SRAM, Race Face, and other high-performance setups, as they have a built-in cap and bolt system.
To remove them you simply need to pull the bolt and then the crank arm will automatically come off, yes this saves a lot of time and also eliminates the need for a separate crank pulling tool.
Just keep in mind that it’s important not to remove the cap first, as it’s a part of the self-extraction design.
5. Press-Fit and Other Variations
There are a few other high-end road and mountain model bicycles available that actually use this unique or press-fit bottom bracket system.
This varies by brand and may also include integrated crank arms or custom axle sizes.
This is why this is usually the method used to remove it, as you have to loosen the crank arms and take out the spindle.
However, for such a setup you may need brand-specific tools and before removing them it is ideal to check your bicycle’s manual or crankset model, which you can find printed on the crank arm.
Tools You’ll Need
| Tool | Purpose |
|---|---|
| Allen Keys (typically 8mm) | It is used to remove crank bolts and self-extracting crank arms. |
| Crank Puller Tool | Yes, you need to use it to remove square taper and Octalink/ISIS crank arms. |
| Bottom Bracket Tool | This is completely optional, it is necessary if you plan on removing or servicing the bottom bracket. |
| Rubber Mallet | Also it is optional, as it helps in gently tapping the crank arms or spindles without damaging the parts. |
| Torque Wrench | This ensures correct tightening during reassembly, to avoid over- or under-tightening. |
| Grease or Anti-Seize Compound | Grease or anti-seize compound is needed to prevent seizing and make future removal easier. Apply to spindle and bolt threads. |
How to Remove a Square Taper or Octalink Crankset
This is a straightforward process if you have the right tools, as both types look nearly identical and use a crank puller tool for removal, So removing a square taper or octalink crankset is easy but let’s look at how to do it safely and efficiently.
1. Shift the Chain
The first thing you need to do is shift your bicycle to the smallest chainring on the front and the smallest cog on the rear, as this takes the tension off the chain and gives you better access to the crank arms.
2. Remove the Crank Bolt
You will need to use an Allen key which is usually 8mm to loosen and remove the crank bolt, which is located in the center of the crank arm, and then turn it counterclockwise to unscrew it.
After removing the bolt, keep it in a safe place as you will need it to reattach it.
3. Thread the Crank Puller Tool
Now, just choose a crank puller that correctly matches your crank type, as most tools work for both square tapers and octalinks, but just double check this.
Now, make sure that the threads of the tool are clean and then you need to insert the outer part of the crank puller into the crank arm with your hand until it is fully seated.
This literally prevents any potential damage to the crank threads.
Read Also:
4. Remove the Crank Arm
Now, simply turn the inner bolt of the handle or crank puller clockwise, as this tightens it, which is why it will push against the spindle and pull the crank arm off.
You need to keep turning continuously until the arm comes free, do not turn it forcefully and if you feel it is difficult to turn then just stop and check if the device is seated correctly.
5. Repeat for the Other Side
Now, you have to switch to the opposite side of the crank arm as well and then repeat the same process, mostly all square taper and Octalink setups are symmetrical so the removal process is also the same on both sides.
IMPORTANT: You should clean any old grease or dirt from the crank arm and spindle area after removing them, as this will make inspection, servicing and reassembly easier.
How to Remove a External Bearing, Hollowtech II Crankset
Therefore, these Shimano Hollowtech II cranksets are common on many mid- to high-end road and mountain bicycles.
As they use 24mm hollow spindles and external bottom bracket bearings, which is the reason why it is lightweight and strong.
The removal process is very simple and doesn’t even require a crank puller, you just need some basic tools and careful steps.
But you do need to maintain the crankset because research shows that the repeated stress from pedaling can cause fatigue cracks, especially if the crank arms have been improperly installed or maintained. Therefore, carry out regular inspections and adopt proper installation techniques so that you can avoid such failures in the future.[²]
1. Remove the Plastic Preload Cap
When you look at the non-drive side which is the left side crank arm, you will see a small plastic cap in the middle.
This is a cap that helps preload the bearing but doesn’t actually hold the crank arm in place.
So, you will have to use a Shimano specific tool such as the TL-FC16 or compatible crank cap tool that you will find to open it comfortably.
Plus, it is made of plastic, you have to avoid using pliers or metal tools as they can damage it badly.
2. Loose the Pinch Bolts
Now, the next thing you need to put on is the preload cap which are the two pinch bolts that fasten the left crank arm to the spindle.
For this you just need to loosen it using a 5mm Allen key but do not remove it completely as it is equally applicable on both bolts.
All you have to do is alternate between them to release tension without bending the arm.
Note: Some models come with a security tab between the bolts, so simply lift or slide it out before removing the crank arm.
3. Slide Off the Left Crank Arm
Once you have loosened the pinch bolt and safety tab (if removed), gently pull the left crank arm straight off the spindle.
Make sure it comes out with a gentle jerk, because if you feel it is stuck, double check that the bolts are completely loose.
4. Remove the Right Crank Arm & Spindle
Now just go to the drive side which is the right crank, and just hold the crank arm and gently tap the end of the spindle from the left side with the help of a rubber mallet or you can even use your palm.
Then make sure the right crank arm and spindle come out of the frame together, through the bottom bracket.
Tip: You’ll need to inspect the spindle and bearings for any grime, wear or rust, and if you find any, wipe it clean and apply fresh grease when you reinstall the crankset.
How to Remove a Self-Extracting Crankset
You can find this crankset from several brands such as SRAM, Race Face, and FSA that actually use the self-extraction system.
You don’t even need a crank puller, as these are designed to be quick and tool-free to remove.
The system also includes a special bolt and a built-in extractor cap that pulls the crank arm out once the bolt is opened.
1. Confirm It’s a Self-Extracting Crankset
Just look at the crank arms on the non-drive that is on the left side, and then you will see a large bolt in the middle, surrounded by a metal ring or cap that is threaded into the crank arm.
This ring is called a self-extracting cap, which is why it makes the crank “self-extracting.”
If you observe this setup carefully you are ready, just do not remove the cap, as it must remain in place for the self-extraction feature to work.
2. Loosen the Crank Bolt
You have to use a 8mm Allen key, sometimes you have to use a 10mm, it really depends on the brand and then turn the bolt counterclockwise.
Simply press the bolt against the extractor cap and pry the crank arm open while slowly removing it from the spindle.
Then at first you will feel some resistance, then the hand will come out freely.
3. Remove the Crank Arm
All you have to do is keep turning until the bolt is all the way out and the crank arm comes out on its own, as you don’t even need to pull or tap it, just let the bolt do its job.
4. Repeat On the Other Side (if applicable)
Originally self-extracting systems came only on the non-drive side, but on the drive side the crank arm is often integrated with the spindle.
So once the left arm is removed the right arm and spindle will easily come out together, but if your crank has self-removing bolts on both sides you will have to repeat the same process again.
Conclusion On How to Remove a Bicycle Crankset
Hence, I have specifically explained each type of bicycle crankset along with their removal procedure, so that you do not have any kind of confusion.
Research into aluminum and steel crank arms found that aluminum alloys are lighter and may have a shorter fatigue life under high stress conditions.[³]
Tools really play a very important role, with the right tools, patience and the clear steps mentioned above you can confidently perform the crankset removal job and keep your bicycle running smoothly.
With these clear steps on How to Remove a Bicycle Crankset, you can do whatever you want, whether you wanted to upgrade components, simply clean your drivetrain or replace a worn out part.
This is experience based knowledge that really saves a lot of time and damage and builds your skills as a professional cyclist.
FAQ: How to Remove a Bicycle Crankset
Q1. Do I need a crank puller for every crankset?
Answer: This isn’t necessary for every crankset, as Square Tapers and Octalink/ISIS require a crank puller, and Hollowtech II and self-extraction cranksets don’t really use it as they use different removal methods.
Q2. Should I grease the crank spindle during reinstallation?
Answer: Yes, you should apply a thin layer of grease or anti-seize compound to the spindle and bolt threads, which really helps prevent any rust, squeaking and makes it much easier to remove in the future.
Reference:
[1] Hambini Engineering. (2023). Shimano Crankset Failures: An Engineering Analysis. Retrieved from https://www.hambini.com/shimano-crankset-failures-an-engineering-analysis
[2] Raj, R. K., & Gupta, A. (2018). Fatigue failure analysis of bike crank arm using SolidWorks simulation. ResearchGate. https://www.researchgate.net/publication/328658341_Fatigue_failure_analysis_of_bike_crank_arm_using_solidworks_simulation
[3] Luca, F. et al. (2023). Design Optimization of Bicycle Crank Arms for Fatigue Resistance. MDPI Proceedings, 76(1), 43. https://www.mdpi.com/2673-4591/76/1/43
Jonathan, the passionate owner of Bicycle Time, brings a lifelong love for bikes and automotive craftsmanship, that reflects into every corner of the shop. With deep passion in both cycling and automotive accessories, Jonathan is more than just an expert.