 Skip to content
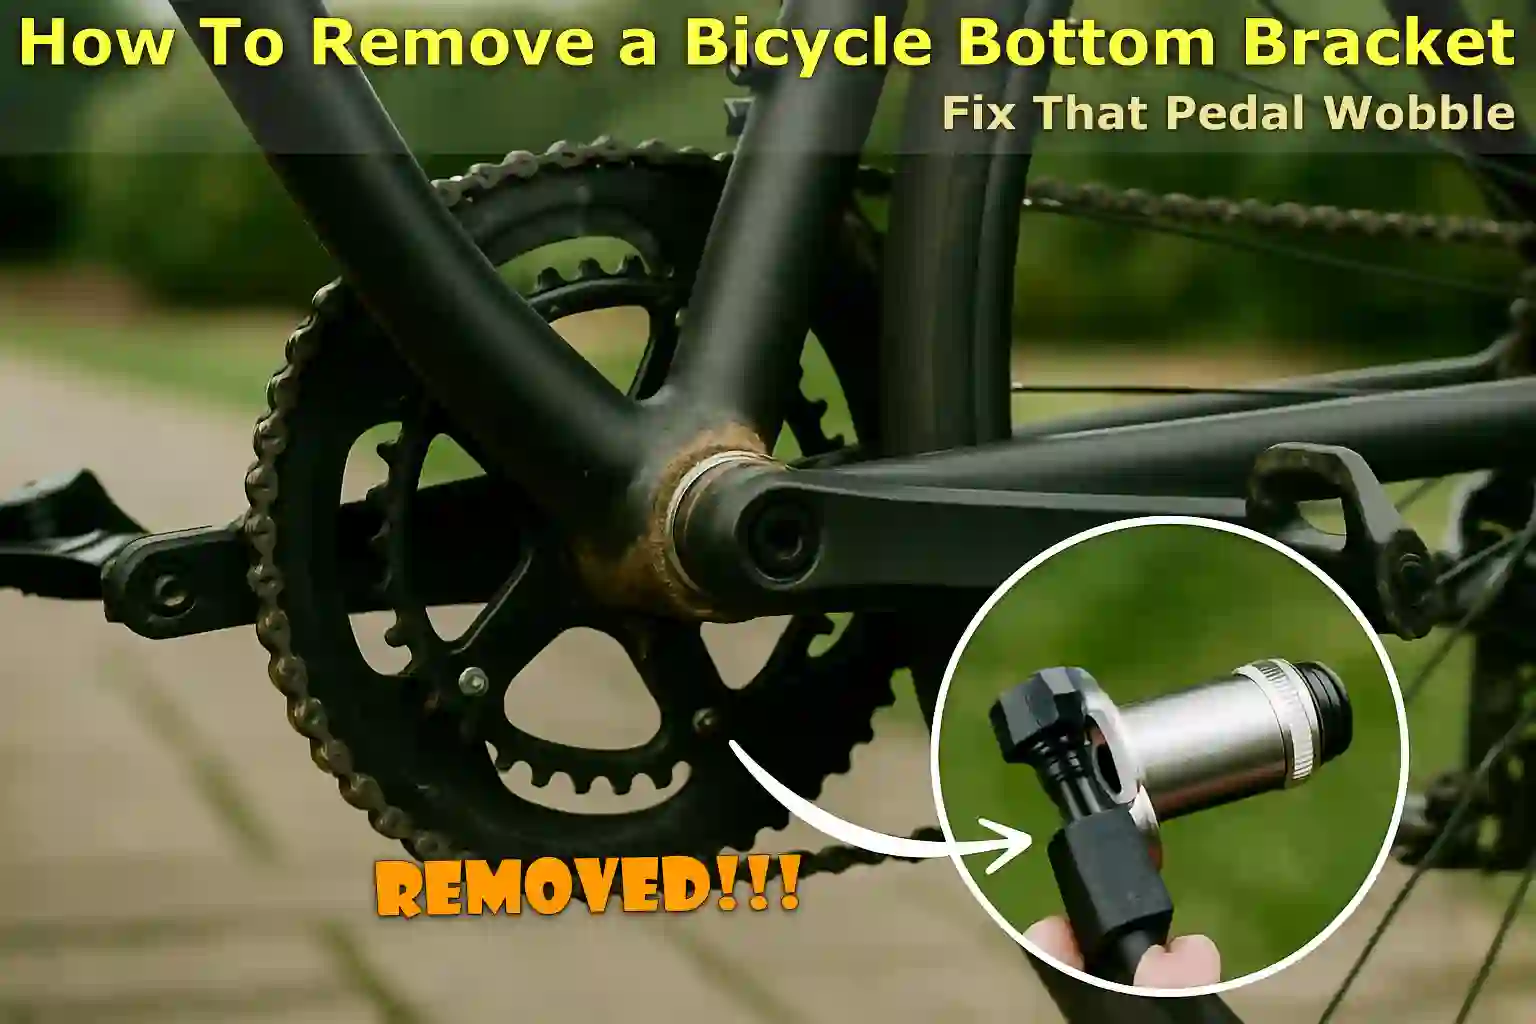
Written By: Jonathan
Fact Checked By: Caroline Dezendorf
Reviewed By: Matt Tanner
So, basically the bottom bracket of a bicycle is responsible for attaching the crank arms, which is the part of the bicycle frame on which you pedal and allows them to rotate smoothly.
And over time, bottom brackets can actually wear out, creak, or become loose, and this is more noticeable if you frequently drive in wet or dirty conditions.
Not only that, according to bicycle maintenance experts, bottom brackets typically last between 3,000 and 10,000 miles, and that completely depends on usage, weather, and build quality.
Also, replacing or removing a bicycle’s bottom bracket is a very common part of long-term bicycle maintenance, but you need to know that not all bottom brackets are the same: because some are threaded which are basically screwed into the frame and others are press-fit which are pushed into place without any type of thread.
Plus, each bottom bracket type actually requires different types of tools and removal techniques, too, and this is where this guide becomes useful because this guide is specifically for a person who wants to know How To Remove a Bicycle Bottom Bracket.
And here’s everything you need to know, so you can confidently remove your bottom bracket without damaging your bicycle or getting frustrated in any way.
What Is a Bottom Bracket?
The bottom bracket is actually a small but very important part of a bicycle, and it sits inside the bottom part of the bicycle frame known as the bottom bracket shell and its purpose is to connect the crankset which is the arms and chainring that you use to pedal a bicycle. Also, the main purpose of this bottom bracket is to allow the crank arms to rotate easily when you are pedaling.
Also, there are bearings inside the bottom bracket, which really helps in reducing the friction and also helps in turning the crank with less effort.
Plus, if the bottom bracket is worn, dirty, or damaged, it becomes obvious that your pedaling might also become difficult or noisy, and this can also affect your overall ride quality and speed.
Additionally, there are two main types of bottom brackets available, and it is very important to know which type of bracket your bicycle actually uses before attempting to remove it.
1. Threaded Bottom Brackets
As you might guess from the name, these have a thread and screw into the frame, which is similar to the way a bolt is screwed into a nut, so the most common types of threaded bottom brackets are:
A. BSA: British Standard/English Thread
This is actually very common in many modern bicycles, as the drive-side which is on the right has left-hand threads, which simply means you turn it clockwise to loosen it and this is the opposite of most screws.
B. Italian Thread
This is actually less common, but it is used in some high-end road bicycles, and this Italian thread has both sides being right-handed threads, which simply means you have to loosen both sides by turning them anti-clockwise.
Ideally, threaded bottom brackets are easier to remove and more durable in inclement weather, as well as better sealing components against dirt and water.
2. Press-Fit Bottom Brackets
Essentially these bottom brackets are not actually screwed in place, but rather are pressed or pushed into the frame.
As the bicycle shell is really smooth and the bracket is held in place by strong friction, and common press-fit types actually include: BB30, PF30, BB86 and BB92.
Now-a-days, press-fit systems are popular in new bicycles, as they allow manufacturers to create lighter and stiffer frames.
However, sometimes they can creak or become loose over time if they’re not installed correctly.
3. Why Identifying Your Bottom Bracket Type Matters
Before you can remove the bottom bracket, you actually need to identify what type of bracket your bicycle has, as this is important because each type requires different types of tools and different removal methods.
So, if you use the wrong tool or follow the wrong thread direction it may cause damage to your bicycle frame or bracket.
And you can usually check your bicycle’s manual to find out, plus you can go to the manufacturer’s website or you can simply look at the markings on the bottom bracket shell to find out what type your bicycle actually supports.
Plus, just knowing this helps you get the job done safely, correctly and without frustration later on, and it actually keeps your bicycle in good condition for the next ride, too.
NOTE: Also, there are multiple causes of failure since most bottom-bracket failures are caused by water or dust contamination entering through compromised seals, not just wear on the bearings, so you must maintain their cleanliness as well.[¹]
Tools
| Tool | Purpose |
|---|---|
| Bottom Bracket Removal Tool | This is the obvious tool that is basically used to open or remove the bottom bracket. |
| Crank Puller | This is a great tool to remove crank arms from the spindle and is primarily used for Square Taper, ISIS or Octalink systems. |
| Allen Wrenches / Hex Keys | It is used to remove crank bolts, pinch bolts and preload caps. |
| Torque Wrench | A torque wrench is important and can ensure the correct torque setting during re-installation, which can also prevent over-tightening or under-tightening things. |
| Grease and Rag | For the purpose of cleaning the bottom bracket shell and applying grease to the threads to prevent future stiffness. |
| Rubber Mallet | This basically helps in gently removing the press-fit bottom bracket without causing any damage to the frame. |
| Bike Stand | And it is a great tool used to keep the bike stable at a comfortable working height for easy and safe maintenance. |
Tools are essential because they make the bottom bracket removal process faster, safer and more efficient, and you can avoid costly mistakes or even frame damage.
Preparation Before You Start to Remove the Bicycle Bottom Bracket
It really is important to have your bike ready, so just taking a few minutes to prepare properly will make the job much easier, cleaner and safer.
1. Shift the Chain to the Smallest Chainring
First you need to move the front derailleur so that the chain goes on the smallest front chainring.
- This actually loosens the tension in the chain
- This also makes it easier to remove the crankset.
- It also helps keep your hands clean by keeping the chain away from your work area.
Not only that, you can also move the rear derailleur to the smallest cog so you can loosen the drivetrain even further, and this is very important if you plan on actually removing the chain.
2. Remove the Pedals (Truly Optional)
Removing the bicycle pedals is not mandatory, but it is a good idea to do so before removing the crankset.
- Plus, it gives you better access to the crank arms and bottom bracket area.
- Not only that, it also makes the cranks lighter and easier to handle.
- Plus, it prevents the paddle from getting in the way or getting caught on anything.
Just remember: the left pedal has reverse threads: so simply turn it clockwise to loosen it, and for the right pedal which uses standard threading: simply turn it in the opposite direction to loosen it.
3. Clean the Area Around the Bottom Bracket
You should use a clean cloth or brush to remove dirt, grease, or debris around the crankset and bottom bracket shell.
Just clean the work area as it helps you to see clearly and you can easily avoid getting dirt inside the bearings or threads, and it also prevents the tools from falling, as falling of the tools can also damage the bracket or frame.
If you notice a lot of dirt or grime build-up, simply use a mild degreaser and let it dry before proceeding with the process.
4. Secure the Bicycle Stable
You should keep your bicycle very stable and in a comfortable position, so you can simply use the bike repair stand which actually holds the bicycle at the waist height and keeps your both hands free.
And if you don’t have a bike repair stand then just flip the bicycle upside down and rest it on the seat and handlebars comfortable, as the key thing is to make sure that the bicycle should be stable during this whole process.
Even you can just lean the bicycle against the solid surface or place it on the sturdy workbench as well.
Read More:
How to Remove the Crankset (Important)
Before you can remove the bottom bracket, you first need to remove the crankset, which is the set of arms that your pedals are attached to.
When you free the crank arms from the bottom bracket spindle you actually get access to the brackets.
1. Remove the Crank Bolts
Most crank arms are actually secured to the bottom bracket spindle using bolts, which is usually located in the center of the crank.
- So to remove this you just need to use a 6mm or 8mm Allen wrench which is also known as a hex key, so don’t get it confused as both are the same, so with that just loosen these crank bolts and remove it.
- You will then need to turn the wrench anti-clockwise to loosen the bolts, as they may be tight, so use steady pressure.
- Just be sure to save the bolts as well, as you will need them again during the re-installation process.
Note: Some cranksets also have a dust cap that covers the bolt, so if it is present gently remove it using a flathead screwdriver or a coin may also do the trick.
2. Use a Crank Puller for Square Taper, ISIS or Octalink Cranks
If your bicycle has a Square Taper, ISIS Drive or Octalink bottom bracket, you will actually need a crank puller tool to do this job easily.
- So, first you need to screw the outer part of the crank puller into the threads of the crank arm from where the crank bolt was actually removed.
- Then you have to make sure it is screwed in completely and straight, which is really helpful in preventing damage to the crank.
- And then, turn the inside handle of the puller clockwise, as it tightens, simply push against the bottom bracket spindle and pull the crank arm off.
- Also, repeat the same process on the other side of the cycle.
Yes, crank pullers are very specific to the type of crank, which is why some are designed only for square tapers, and others actually have interchangeable tips for ISIS or Oktalink cranks.
3. For Shimano Hollowtech II and SRAM GXP Cranks
If your bicycle actually uses a Shimano Hollowtech II or SRAM GXP crankset, you will need to use a different removal method as these systems actually use an external bearing bottom bracket and a hollow spindle which requires using a slightly different method.
- Simply locate the pinch bolts on the non-drive side crank arm with the help of a 5mm Allen wrench and then loosen them.
- Next you’ll need to remove the small plastic preload cap located in the center of the crank arm using a special tool, or this can be done with your fingers.
- So, once the pinch bolts and caps are removed you can usually slide the entire crank spindle out from the drive side.
- Now, you need to gently pull the drive-side crank and chainring out of the frame.
Not only that, these cranksets often come out easily, but if they feel really stuck don’t force them out, but rather shake them gently or double check if any bolts are loose.
Why This Step is Actually Important
Removing the crankset properly actually gives you access to the bottom bracket, as it’s actually hidden inside the frame.
And hurrying or using the wrong technique can damage delicate parts or even fray threads, making repairs more expensive or difficult.
How To Remove a Bicycle Bottom Bracket (Step-By-Step Guide)
So, once you’ve removed the crankset the next step is to actually remove the bottom bracket, which actually sits inside the bottom bracket shell of the frame.
1. How To Remove a Threaded Bottom Brackets
Actually threaded bottom brackets are screwed into the frame and this is actually one of the most common and reliable designs, and particularly you are more likely to see these threaded bottom brackets on older or mid-range bicycles.
And yes, there are two main types of threaded systems available namely: English (BSA) and Italian, and because of this the direction you turn to loosen them actually varies depending on the threading as well.
1. Insert the Correct Bottom Bracket Tool
You really need to use a tool that exactly matches the shape and measurement of the outer or inner notches or splines of your bottom bracket.
Tools such as the Park Tool BBT-22, BBT-32, or Hollowtech II Wrench are available, and these are some popular choices for different threaded types.
Therefore, you must ensure that the device is firmly fixed so that you can avoid it from easily slipping or damaging the bracket.
2. Remove the Drive-Side First
If you have English-threaded brackets which is BSA and yes, that’s actually the most common as well, the drive-side has left-hand threads.
What this actually means is that you have to turn the tool in a clockwise direction to loosen the bolts, which is the opposite of normal bolts.
Yes, it might look confusing at first glance, but it is actually designed this way to prevent the bracket from coming loose while riding.
3. Remove the Non-Drive Side
Now, the non-drive side which is also the left side actually has standard right-hand threads, which is why you have to turn it anti-clockwise to loosen it.
And once both sides are successfully removed, you will need to inspect the bottom bracket and frame shell to note any damage, dirt or rust.
Note: If you notice that the bracket is really tight or rusted, you may need to use a longer handled wrench for more leverage, you always have to apply steady force and also avoid jerky movements.
2. How To Remove a Press-Fit Bottom Brackets
So, press-fit bottom brackets are actually pushed into the frame rather than screwed on, and they’re typically used in newer, higher-end or carbon-frame bicycles, because it allows for really large-diameter spindles and also lightweight designs.
However, they are more sensitive and tend to creak if not handled carefully.
1. Insert a Press-Fit Removal Tool or Drift
Special tools are available to perform this task such as: Part Tool BBT-90.3, which actually has arms that reach through the shell and hook onto the inner lip of the bearing cup.
And if you don’t really have any removal tools, a drift which is a punch tool and a rubber mallet can also work, but you must be careful when you use this method.
2. Gently Tap Out the Cups from the Inside
Now, you need to place the tool or drift on the opposite side of the cup you want to remove.
Then you will need to use a rubber or plastic hammer not a metal hammer so that you can gently tap the inside edge in a circular motion.
Basically the main goal is to push the cup out evenly without bending it or damaging its frame.
3. Be Careful Not to Damage the Frame Shell
Yes, you really have to be very careful here because press-fit bottom bracket shells and especially if we talk about carbon frames, they can be fragile, so you have to handle them with some care.
As well as, you should also avoid using too much force or striking at an angle.
So, once you remove it you really need to inspect the shell for any scratches, cracks or residue and then clean it thoroughly.
Conclusion On How To Remove a Bicycle Bottom Bracket
This is a really working method that can remove the bicycle bottom bracket very conveniently and without causing any kind of damage, so you can easily fix the rocking problem and more.
So, this is the guide on how to first identify your bottom bracket type, then gather the right tools as this is also essential, just remove the crankset as well because then it will expose the bottom bracket of the bicycle, and then finally how to remove a bicycle bottom bracket safely, which is a really valuable skill that gives you much more control over the health and performance of your bicycle.
Also, it has been observed that modern bottom brackets such as: Shimano, Hope are often non-serviceable which is why they are designed to be replaced rather than disassembled and re-greased.[²]
And if you still want to ask some unresolved questions that are roaming in your mind, the comment section is waiting for your attention.
Frequently Asked Questions
Q1. How do I know if my bottom bracket needs to be removed or replaced?
Answer: It’s actually pretty simple: if you’re hearing a creaking noise when you pedal, and feel roughness or resistance in the cranks, or you actually notice visible rust, play or wobble then this is a sign that the bottom bracket is really worn out, because most bottom brackets actually last 3,000 to 10,000 miles which completely depends on riding conditions and maintenance.
References:
[1] Why do Bottom Brackets go bad?
https://www.mtbr.com/threads/why-do-bottom-brackets-go-bad.715675/
[2] Bicycles Stack Exchange. Bottom bracket maintenance – is it a thing?
https://bicycles.stackexchange.com/questions/56609/bottom-bracket-maintenance-is-it-a-thing
Jonathan, the passionate owner of Bicycle Time, brings a lifelong love for bikes and automotive craftsmanship, that reflects into every corner of the shop. With deep passion in both cycling and automotive accessories, Jonathan is more than just an expert.
