 Skip to content
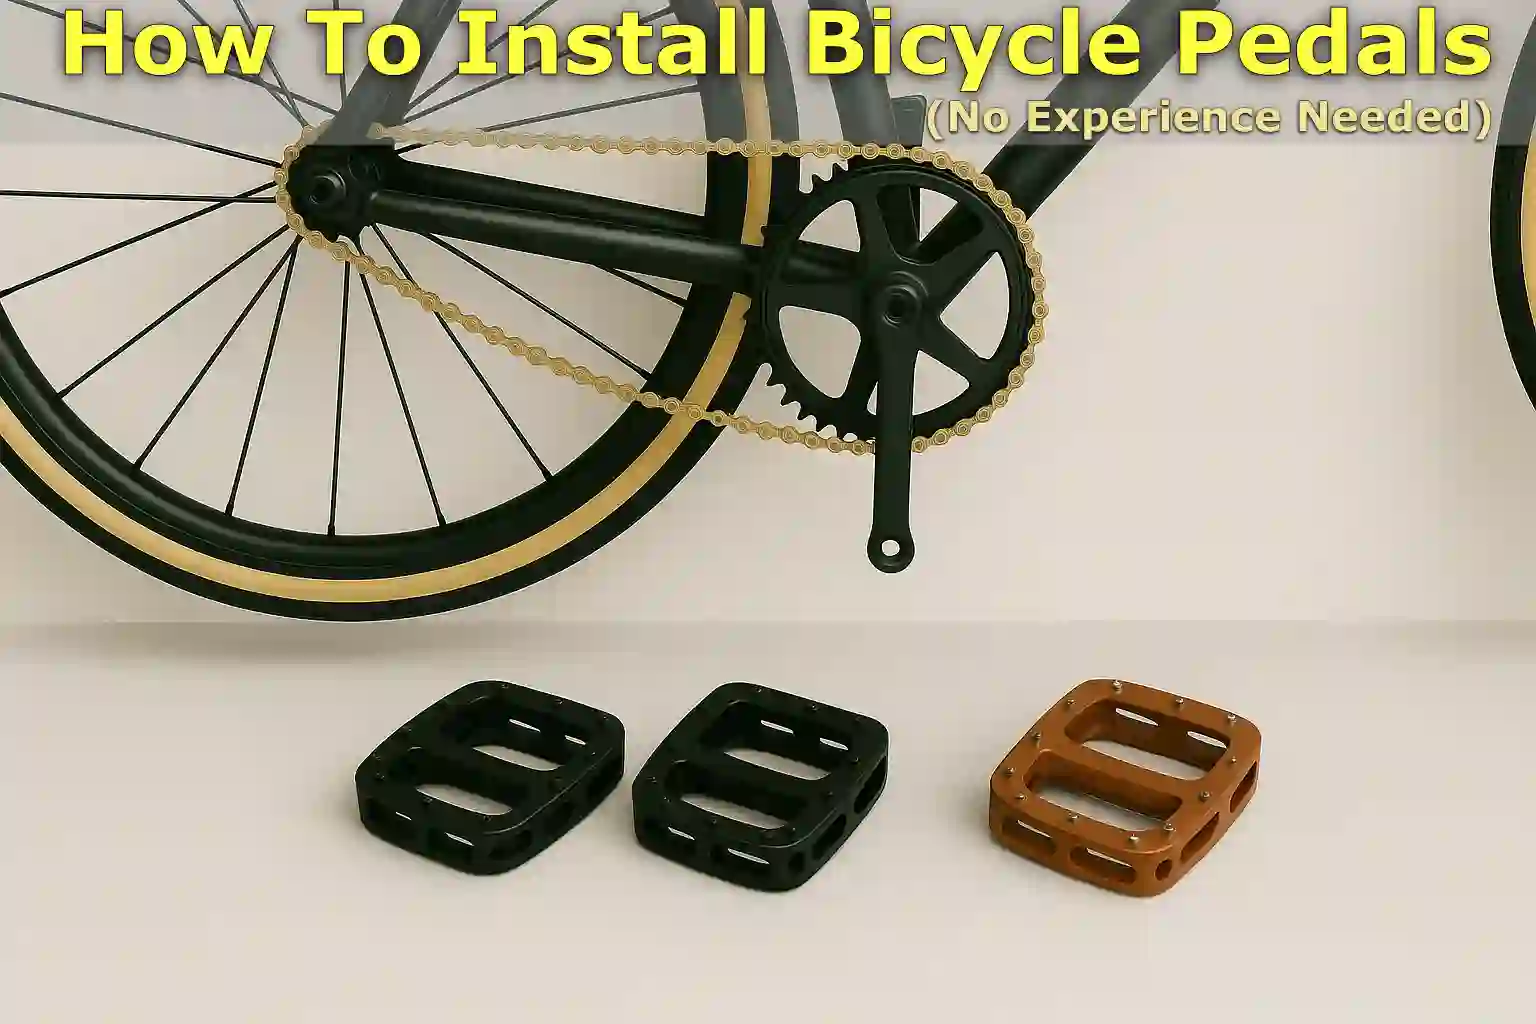
Written By: Jonathan
Fact Checked By: Caroline Dezendorf
Reviewed By: Matt Tanner
You might be thinking that putting pedals on a bicycle is a very easy task, but you have to do it very carefully and correctly, because doing it wrong can completely damage your bike or make it unsafe to ride.
Now, you must be aware of the fact that the right and left paddles are different, as they screw in opposite directions.
Plus, in this guide you will learn the correct step-by-step way on how to install bicycle pedals safely, and you can even use very simple tools to follow these easy tips.
The reason for this could be anything, the pedal of your previous bicycle is worn out or damaged, or you want to improve the look of your bicycle or you have bought a new bicycle.
Tools That Will Needed
| Tool | Purpose |
|---|---|
| 15mm Pedal Wrench | This is necessary so that you can use it to tighten or loosen the pedal flats. |
| Allen Key (6mm or 8mm) | Yes, there are some pedals that require an Allen key instead of a wrench. |
| Grease or Anti-Seize | This really helps prevent the pedals from getting stuck or squeaking. |
| Clean Rag or Towel | This is necessary because you need to wipe off dirt or old grease from the threads. |
So these are literally very basic tools that need no introduction as they are very common and easily available in the home.
Identify the Right and Left Pedals
It is important to know which pedal is right because which pedal goes to which side of the bike. Since pedals are not as similar as they look, they are made differently for each particular side.
And when you install them incorrectly, it can cause serious damage to your bicycle’s crank arm and pedals.
You have to understand that most bicycle pedals are clearly marked, so you have to look carefully at the metal part near the part that screws into the crank called the thread, and you will see written there in small letters:
- “R” = stands for Right
- “L” = stands for Left
The right pedal should be installed on the side where the chain and gears are located, also called the drive side.
The left paddle is placed on the side where the chain is not, so that you can clearly indicate the correct location with its help.
Another big difference is that each pedal has a different tightening method, as you have to tighten them using different methods, as follows:
- The pedal has a regular thread on the right side, so to tighten it you turn it clockwise (to the right).
- On the left side of the pedal you have to tighten them in reverse thread (also called left hand thread), that’s why you have to turn it anticlockwise (to the left) to tighten it.
You may have a question why reverse threading the left pedal is a mistake?
No, the reverse threading on the left pedal is not a fault, as it is intentionally designed that way.
This is because the motion of pedaling while cycling causes pedals to become loose over time, which is why this special threading actually helps prevent this from happening.
Prepare the Crank Arms and Pedals
Just make sure that the pedal threads and crank arms are ready for installation, as this helps everything run smoothly and also prevents problems later on.
Cleaning The Treads
Just start by cleaning up the treads, as there are spiral ridges on both the pedals and crank arms where they screw together.
You’ll need to use a clean cloth or towel to wipe away any dirt, old oils, and possible dust.
If you notice that the threads are very dirty or rusted you may need to use a small brush or a little rubbing alcohol to clean them more thoroughly.
The clean threads help to screw the pedals in easily and it also reduces the risk of damaging the crank arms.
Grease or Anti Seize Compound
You will need to take a small amount of grease or anti-seize compound and then apply it to the threads of each pedal, just use a thin amount of it in an even layer around the threads.
This is a very important step for a few reasons such as:
- This actually prevents the pedals from getting stuck in the crank arms for a period of time, which is called seizing.
- Plus, this makes them much easier to remove if you want to replace them later or upgrade your pedals.
- Not only that, it also virtually reduces the squeaking or creaking noise that is produced when dry metals rub against each other while riding.
Moreover, the grease actually helps protect the threads from moisture and rust, especially if you operate it in wet or muddy conditions.
Once you have successfully cleaned and greased both sides, you are all set to screw the pedal in safely and smoothly as there is nothing left for formalities.
Installing the Right Pedal (Drive Side)
Now, you have successfully cleaned and greased the pedal threads and crank arms, and now it’s time to install the RIGHT PEDAL first.
Just notice that the pedal marked “R” is actually on the right side of the bike, and this is the side with the chain and gears, also called the drive side.
1. Align the Treads Carefully
Simply place the threaded end of the paddle into the hole in the crank arm, then use your fingers to gently turn the paddle in a clockwise direction, i.e. to the right of the direction.
Yes, first of all it is very important to do this with your hands without using any kind of tools. As this helps you avoid cross-treading which actually happens when the pedal is not pressed correctly and is pressed incorrectly, as cross-treading can permanently damage the crank arm.
Tip: If you find the paddle is hard to turn after a few rotations, just stop, open it, and try again, as it can be turned easily and smoothly when it has the proper alignment.
2. Tighten the Pedal Clockwise
Once you know that the pedal turns easily with just your hands (do not use any tools for this), you can then use a 15mm pedal wrench or a 6mm or 8mm Allen key, depending entirely on the type of pedal you have, to tighten it properly.
All you have to do is keep turning the paddle clockwise until it feels completely comfortable.
3. Tighten It Firmly
Keep in mind that you’ll need to use firm pressure to tighten the pedal securely, but don’t apply too much pressure.
You want to tighten it enough so that it won’t come loose while riding, but not so tight that it will damage your tires or make it difficult to remove later.
NOTE: Just do not use hammer or force, just align it properly and tighten it by hand first which will make the process smooth and completely safe.
After tightening, once your right pedal is tight and spins freely, you are all set to move on to the left pedal.
Installing the Left Pedal (Non-Drive Side)
Now, it’s time to put the LEFT PEDAL in. Just take the pedal marked “L” which goes on the left side of the bicycle, and this is the side without the chain and gears also known as the non-drive side.
1. Align Treads
The process is the same as for the right pedal, so start by placing the threaded end of the left pedal into the hole in the left crank arm.
You have to use your fingers to move it around slowly and this is important.
But the main difference here is that the left paddle tightens in the opposite direction, since it has a reverse left-hand thread.
2. Turn the Pedal Anti-Clockwise
Keep this in mind in order to correctly tighten the left pedal, you will need to turn it to the left in a anticlockwise direction, this may feel unusual as we are used to tightening things by turning them to the right, but yes it is actually designed in such a way that the pedal doesn’t come loose while you are riding.
Turn the paddle by hand first so you can make sure it goes in smoothly, and if you immediately feel it’s stiff or rough just stop and check the alignment.
Do not force it, as this can cause cross-threading and seriously damage the crank arm.
3. Tighten It Safely
Once your pedal has been successfully threaded in smoothly, you will need to use your pedal wrench or Allen key to tighten it firmly so that it does not become loose over time and you will still need to turn it anticlockwise to do that.
Just apply steady pressure so that it is snug and secure enough, and you don’t need to over-tighten it.
Likewise with the right paddle, you want it to be tight enough to stay in place, but still be able to be removed in the future without getting stuck with any tools.
Just remember: you always have to start by threading by hand, as this really helps prevent mistakes and avoid any potential damage to your bicycle.
Once you feel the left pedal is firmly screwed in as well, you have successfully installed them in both pedals, congratulations on a great job!
Conclusion On How To Install Bicycle Pedals
So, this is the correct way and I am sure now you have understood how to install bicycle pedals, yes in the correct way it really makes a huge difference and you can easily install bicycle pedals.
It is also important to know which paddle goes which way and knowing the direction of turning is also very important.
Also, you need to apply a little grease so that you can protect your bike from any possible damage and this will make your journey safe and secure.
Just don’t forget to tighten the thread pedal by hand first:
- Right pedal = clockwise
- Left pedal = anticlockwise
So, once both pedals are tightened and turn freely it is ready to ride, and it doesn’t matter if you wanted to replace the old pedals, because this simple skill keeps your bike running at its best.
Frequently Asked Questions (FAQs)
Q1. What happens if I cross-thread a pedal?
If you cross-thread the pedals it can permanently damage the crank arm. When this happens, stop immediately, as you may need to repair or re-thread the crank arm or re-read this guide. This is the reason for pedaling by hand.
Q2. Do I really need to use grease on the threads?
Yes, 100%, because the grease literally helps prevent the pedals from getting stuck or squeaking, plus it makes them much easier to remove later on whenever you want.
Read Also
Jonathan, the passionate owner of Bicycle Time, brings a lifelong love for bikes and automotive craftsmanship, that reflects into every corner of the shop. With deep passion in both cycling and automotive accessories, Jonathan is more than just an expert.
