 Skip to content
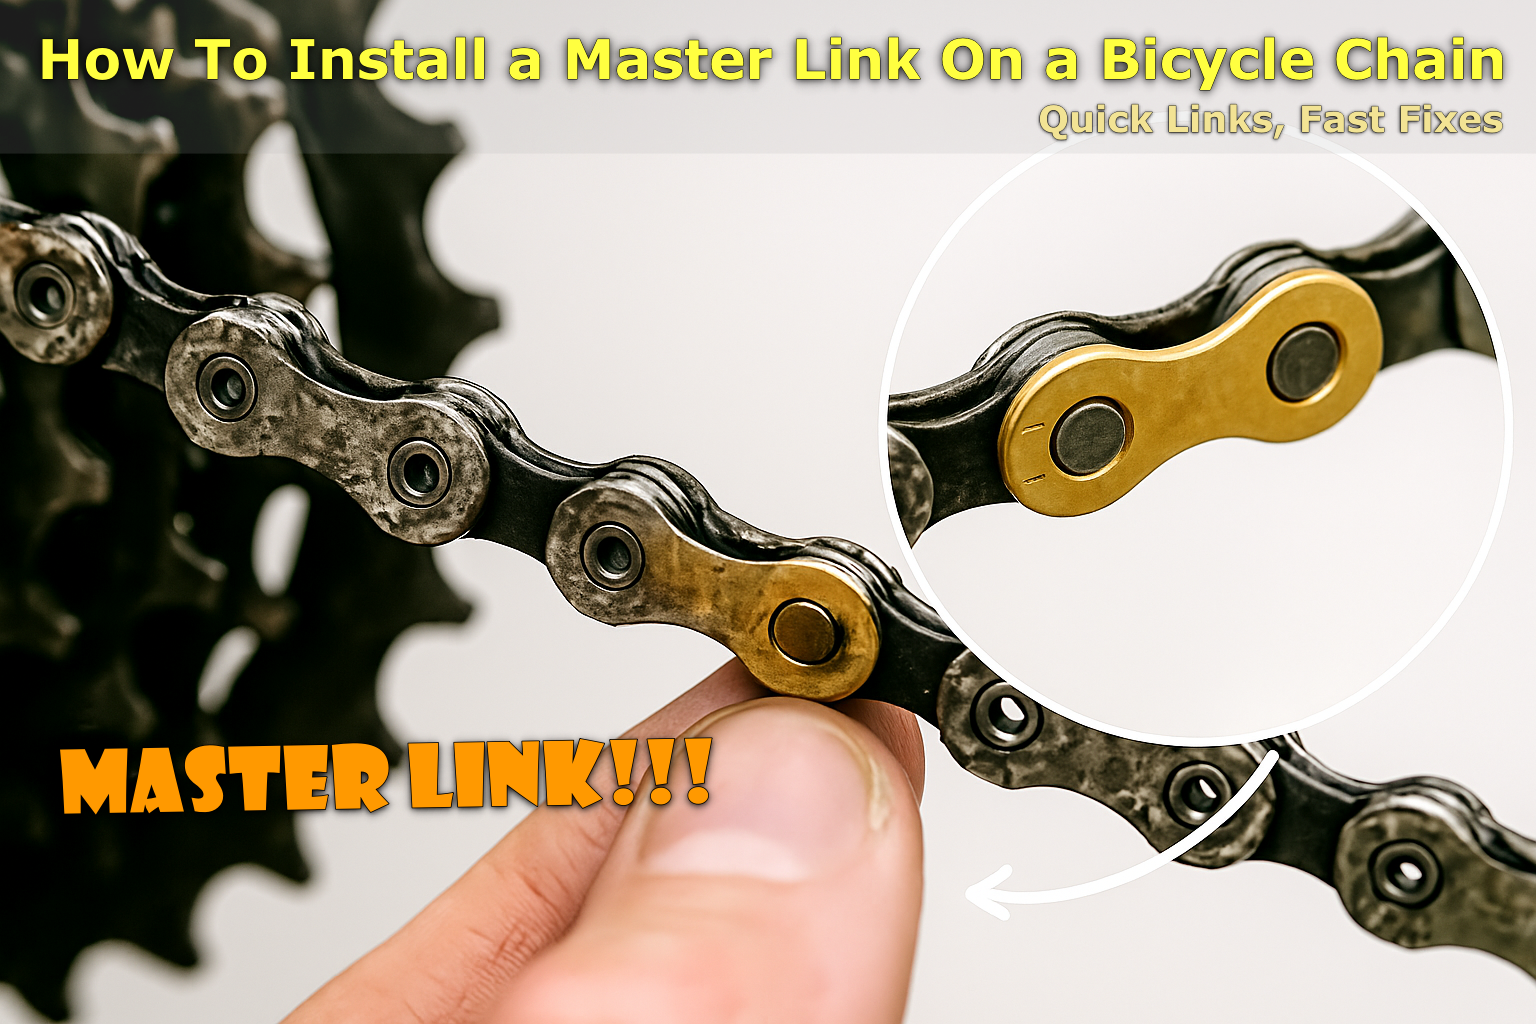
Written By: Jonathan
Fact Checked By: Caroline Dezendorf
Reviewed By: Matt Tanner
It actually play the big role in bicycle maintenance, as a master link, also known as a quick link or connecting link and is a special type of chain connector that virtually allows you to connect both ends of a bicycle chain without any type of complicated tools or permanent pins.
This is really helpful when you want to replace an old chain, fix a broken chain or you simply want to clean your drivetrain and that is why you want to remove it.
So, most bicycle chains nowadays actually support master links such as: Shimano, SRAM, and KMC, which makes their chains work faster and easier.
Not only that, but it is also a fact that master links are actually designed with precise tolerances for different chain speeds, such as 8-speed, 9-speed, 10-speed or 11/12-speed chains, and they must be matched to the specific chain type in order to function safely.
Additionally, according to bicycle mechanics and maintenance experts, literally 30% of time is saved when one uses a master link compared to using a chain tool to insert the pins.
And yes, it is safer too as you can quickly release or reconnect the chain in case of an emergency while walking on the path or road.
So, this guide is specifically about How To Install a Master Link On a Bicycle Chain, with step by step guide you can easily do it in an easy and correct way.
What Is a Master Link Actually?
A master link is a special type of connector used to join the two open ends of a bicycle chain without requiring you to push in like a standard chain pin.
Not only this, it is also often called quick link, power link or connecting link, depending on the brand.
It is a small, metal piece that is figure eight in shape and it actually fits into place, holding the chain together securely.
And unlike traditional methods that actually require a chain tool and precise pin alignment, the Master Link actually allows you to easily assemble and disassemble your chain without any kind of technical expertise, this is why it makes chain maintenance quick and simple.
1. Compatibility With Different Chain Types
You should be aware of the fact that master links are not really universal, as they must also match the speed and type of your bicycle chain.
Because bicycle chains vary depending on the number of gears or “speeds” installed on your bicycle’s rear cassette, such as: 6-speed, 7-speed, 9-speed, 10-speed, 11-speed or even 12-speed.
Not only that, but each chainring has a slightly different width, which is why manufacturers actually design master links that are also speed-specific.
For example: a master link made for an 11-speed chain will not actually work properly on a 7-speed chain and vice versa.
So, in fact brands like KMC, SRAM and Shimano often clearly label their master links with speed compatibility and this is why it is essential to choose the right type of link for your chain so that you can ensure proper shifting performance and safe riding as well.
2. Reusable Vs Single-Use Master Links
So, basically the master link actually comes with two types of usage features, as some are designed to be reusable and others are actually for single-use only, which is why the material and the locking mechanism also depends on it.
Reusable master links are typically found on lower speed chains such as 6 to 9 speeds, as they can be opened and closed multiple times with master link pliers.
However, most high-speed chains ranging from 10 to 12 speeds actually use non-reusable links, which are designed to lock really tightly and should be replaced with a new one every time you wear out the chain.
The thing is that reusing non-reusable links can actually compromise the safety point of view and may lead to chain failure or even affect gear shifting.
That’s why you should always check the manufacturer’s instructions first so you can understand whether your master link is single-use or reusable.
When Do You Need to Install a Master Link?
1. After Replacing or Shortening a Chain
When you replace an old chain or shorten a new chain to fit your bicycle, the new chains often come longer than necessary, so they must be shortened with the help of a chain tool.
And once you’ve cut it to the right length, you can install the master link, which makes it really quick and easy to reconnect the ends of the chain, and you can easily avoid having to push a tight pin in and that really helps maintain the flexibility of the chain as well.
In fact many mechanics and experienced riders actually recommend that you should install the master link during installation because it is more convenient and you will not need to actually force the pins into place using precision tools.
2. When You Repair a Broken Chain
If you often find that your chain breaks while traveling, having a master link in your toolkit can also be a lifesaver.
As a broken chain can really leave you stranded, especially if you are away from home or traveling off-road, what you really need is a master link that allows you to quickly repair a broken chain right on the spot so all you have to do is remove the damaged link and connect the master link so you can get back on the road right away.
This is the basic reason why many cyclists actually keep at least one spare master link in their bicycle seat bag or repair kit, as it is one of the most effective and time saving solutions and you can deal with any emergency chain repair situations.
3. For Quick On-Trail Fixes
Master links are actually very useful when you want to do trail-side repairs or drivetrain upgrades, whether you just want to clean your chain, replace the derailleur, or chain your cassette.
In all these cases you can easily disconnect and reconnect your chain with the help of the master link, making the whole process much easier and also saving time.
Because instead of fiddling with a chain tool or struggling with tight pins, with this master link you can simply pull out the master link and get your job done and put it back in with ease.
Also, many riders who want to clean their chain regularly prefer using the master link because it allows them to easily remove the chain without any type of tools, which really helps with deep cleaning and lubrication as well.
Tools
You should gather the right tools and materials that will be used to make the job easier while also ensuring the safety of your bicycle chain.
1. Master Link
This is the obvious thing to do, as this is the main part you’ll want to install, as it’s a small, two-piece metal link that actually easily connects both ends of your bicycle chain.
In fact, scientific tests showed that the master links were identical to the chain links, and confirmed that there were no weak points in the drivetrain.[¹]
2. Master Link Pliers
So, these are special type of pliers that are specifically designed to easily open or close the master link, as they hold both sides of the link and either press them together to close it or you can separate them to open it.
And yes, some riders actually use hand pressure or pedal movement to get the link in the right place, but the point is that pliers are actually more reliable and also reduce the risk of finger injuries or incomplete connections.
3. Chain Tool (Optional)
The chain tool is also known as a chain breaker, and this tool is actually used to remove or shorten the chain by pushing out a pin of the chain.
And yes, this is actually optional and only useful if your chain isn’t already the correct length, but yes it can actually be necessary if you want to install a new chain or adjust the length before adding a master link.
4. Gloves (Optional)
Yes, this is completely up to you, as these are optional, but wearing gloves keeps your hands clean and also protected from grease, metal edges, or slippery tools.
5. Degreaser & Rag
Before you assemble the chain, the best thing to do is give it a quick clean, so simply use a bike-safe chain degreaser and a cloth to thoroughly wipe away any old oil, dirt, or grime, because a clean chain actually ensures that the master link locks into place smoothly, and it also virtually prevents your drivetrain from wearing out too quickly.
This is why cleaning is very useful when you want to check for any damage or wear on the chain before re-installation.
Read More:
How To Install a Master Link On a Bicycle Chain: Step-By-Step Guide
The master link can really be a lifeline when you want to travel or you are away from home, as you can easily fix the chain with its help.
1. Ensure the Chain Ends Are Compatible
First thing you need to do is check that both ends of your bicycle chain should be compatible, as one end should have inner chain plates and the other end should have outer chain plates: this is very essential because the master link actually connects via its inner plates.
And if the ends of your chain don’t exactly match, you may need to remove an extra link with a chain tool, and then make sure the chain is the right length for your drivetrain: because a chain that is too long can make you feel sluggish and a chain that is too short can even damage your derailleur.
2. Align the Master Link Pins
Now, you need to take both halves of your master link and then insert one piece into each end of the chain, through the inner plate holes of the chain.
Then you need to push the two halves of the miter link toward each other until they meet in the center, and this actually sets the link up for locking and actually makes sure that it’s seated properly in the correct position.
3. Join the Link
So, once you have the halves of the main links that are at the end of the chain, you will need to pull the chain a little so that you can bring the two parts together.
Also, you really need to feel or see the pin from each half sliding into the opposite slot, as this ensures that the master link is actually aligned straight and not bent or half-connected at all.
Not only that, but you also have to make sure it stays in sync with the rest of the series.
4. Secure the Master Link
Finally, you now need to lock the master link tightly and securely in place, to do this you can either use master link pliers or use the pedal pressure trick.
But pliers are actually the easiest and safest option, since all you have to do is press the ends of the link until you hear or feel a “click,” which actually means it has finally locked.
And if you don’t have pliers, you can also do this: To do this you’ll need to place the master link at the top of the chain, near the cassette, and then hold your rear brake and gently press the pedal.
So due to the tension it will force the link to fit firmly in that place, but you have to be careful while applying pressure as this work has to be done with ease.
So, now you have successfully installed the MASTER LINK, now you need to rotate your pedal in the backward direction and then change the gear so that you can easily test the speed of the chain.
A properly installed master link should feel smooth, rotate smoothly and not jump or skip at all, and should only take a few extra moments to double-check your work, also it can help in preventing chain failure during your future rides.
Conclusion
The master link on a bicycle chain can really be very beneficial when you want to replace a worn chain, fix a broken chain mid-ride or just perform routine maintenance, as it makes the whole process easier and saves a lot of time as well.
And if you still have some questions you can comment below this guide on How To Install a Master Link On a Bicycle Chain.
FAQs On How To Install a Master Link On a Bicycle Chain
Q1. What if my chain doesn’t currently have a master link?
Answer: If your bicycle chain does not currently have this, you can still install it by removing a link from your existing chain so that there are inner plates on both ends, and that is all that is needed to add the master link.
References:
[1] Chain wear and elongation in Elite cycling: a case study
https://www.researchgate.net/publication/384385848_Chain_wear_and_elongation_in_Elite_cycling_a_case_study
Jonathan, the passionate owner of Bicycle Time, brings a lifelong love for bikes and automotive craftsmanship, that reflects into every corner of the shop. With deep passion in both cycling and automotive accessories, Jonathan is more than just an expert.
