 Skip to content
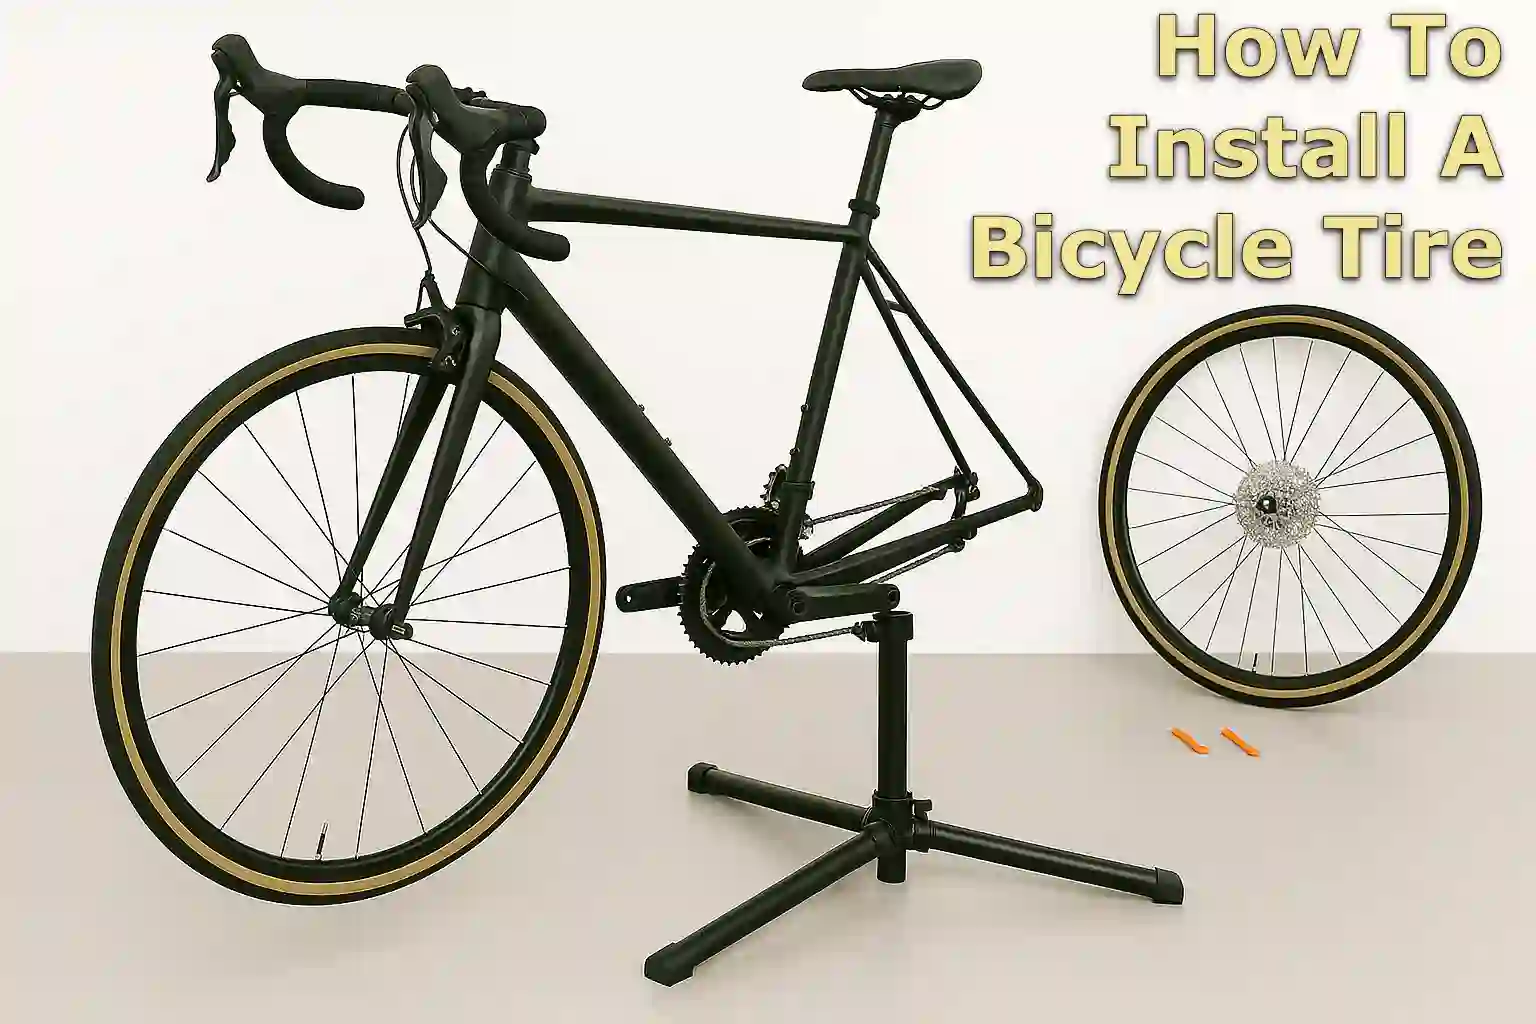
Written By: Jonathan
Fact Checked By: Caroline Dezendorf
Reviewed By: Matt Tanner
In the maintenance skill it is must to learn that How to Install a Bicycle Tire.
As we all know, tires naturally wear out over time and often get punctured, go flat, or become damaged due to rough surfaces.
In fact, studies show that the average cyclist actually experiences a punctured tire every 1,000 to 3,000 miles, yes it also depends on the riding conditions, but yes it is a fact.
This is a clear sign that sooner or later, you will need to replace or re-install the tires and it could be the most inconvenient time, who knows.
But, installing bicycle tires is actually an easy and simple process as it doesn’t require you to be a bike mechanic.
You will need some basic tools and of course a bit of patience and the right technique, which is essential to changing a bicycle tire.
Learning this skill not only saves you time and money but also enables you to handle roadside emergencies without having to visit the shop every time.
So, this is the step-by-step guide and you will know everything that solves questions like how to install a bicycle tire.
Also, it will boost your confidence and knowledge enhancement is the cherry on the top.
Tools and Materials
It is very important to gather all the necessary tools and materials, as this makes the process easier than you might expect, and it also reduces the chances of damaging the tire or tube during the installation process.
1. Tire Leavers
These are curved and small tools that help remove the tire bead from the rim, as most modern tires fit tightly, so you need to remove and install them with the help of leverage, as without them it gets really frustrating and painful, you need at least two tire levers for the best possible results.
2. Air Pump (or CO2 Inflator)
This tools will come in play once the tire is installed perfectly, you will then need to inflate the tire to the correct pressure.
The floor pump is great if you’re at home otherwise the CO2 inflator is compact and really useful to use for repairs on the go.
3. New Tire and/or Inner Tube
You need to check if your tire is worn out, has a crack or has cut, or if there is a major puncture in the tube, then it is best to replace them rather than just repairing them.
Apart from this, you also have to make sure that the new tire and tube should match the correct size and valve type for your bicycle otherwise it would be a really big mistake.
4. Patch Kit (Optional But Useful)
Patch kits are used to repair small punctures and if you don’t have a bike shop nearby, a patch kit really saves the day.
This usually involves rubber patches to seal the holes and glue to fix them and both are used to repair the holes.
Tubed vs. Tubeless Tires: Know the Difference
First of all, you need to understand the tire system of the bicycle as it also plays an important role in the installation process.
Furthermore, you should also know that not all bike tires are the same and you should know how to choose bike tire correctly, as some tires use inner tubes while other tires don’t actually use them.
So, knowing the difference will definitely help you follow the correct and ideal steps and you can avoid damaging your gears and other important bicycle parts.
1. Tubed Tires
This types of tires are used on road bikes, hybrids and older mountain bikes as it is the most commonly used tire setups: which has an outer tire that actually makes contacts to the road and there is a inner tube is available that inflates and holds the air to run the bicycle smoothly.
And if the tire gets punctured, which means the tube needs to be repaired or in worst case you have to replace them.
2. Tubeless Tires
Now, here comes tubeless tires that often seen on high-end mountain bikes and some of the performance road bikes uses tubeless tires, as it do not use an inner tube that’s why it automatically seal small punctures. Also, by using air-tight technology you need to seal directly to the rim.
How to Identify Your Tire and Rim Type
You can easily find out what type of tire and rim your bicycle has.
Valve Type
- Presta Valves are very common on road bikes as well as it looks like skinny and tall.
- Schrader Valves are often used on mountain and hybrid bikes with wider car tire valves type.
- And yes, there are special some tubeless valves are available as a tubeless setups.
Rim Profile
You can identify with tubeless-ready rims will have a tighter bead seat and a sealed rim bed.
So you need to look for labels like “UST” (Universal System Tubeless) or Tubeless Ready as it is printed on the rim or tire.
Now, to check for your tire sidewall as it will tell you something like Tubeless Ready or “TR” or “TL”, so that you can identify them without any kind of confusion.
Common Tire Sizes and What They Mean
There are varieties of tire sizes are available and you can look on the sidewall as there you’ll find printed tire sizes like:
700x25c: It often used for road bike as it says 700mm diameter and 25mm width.
26×2.0: The Mountain bike usually comes with 26-inch diameter and 2.0-inch width.
27.5×2.4 or 29×2.1: This is the diameter for Modern MTB sizes.
- So, if there are different number than this, so the first number is represents the diameter of the tire and it should match the actual rim size.
- And the second number is for tire width and it actually gives you options that depends on terrain or ride comfort.
Now, you need to make sure that your new tire absolutely matches the diameter and fits within your frame and brake clearance so that you don’t have to worry about any problem after installation.
NOTE: You can take a clear photo of your current tire’s sidewall, so that you can shop or order online accordingly, and in this way you have all kinds of information about sizes you actually wanted.
How to Remove the Bicycle Old Tire
This is also a very important step to know, because if you want to know how to install a bicycle tire it means two things removing the old tire and installing the new one.
That’s why you need to know how to remove an old bicycle tire before any other work, whether you want to repair a punctured tire, or remove a worn-out tire to upgrade your setup.
The more carefully you carry out the removal, the better the job you will get, and you can achieve this level of perfection in just a few steps.
1. Shift to the Smallest Cog (Only for Rear Wheel)
If you want to remove the rear wheel, you will need to shift your bike to the smallest sprocket on the cassette, as this will reduce the tension on the chain and make it easier to remove and reinstall the wheel later.
2. Flip the Bike or Use a Stand
Now, you need to turn the bike upside down and rest it on the saddle and handlebars and place them on a soft surface or cloth to avoid scratches (this is completely up to you), or you can use a bike repair stand for easy access.
Pro Tip: If any accessories might be damaged if the bike flips, such as: handlebar-mounted lights or a GPS device, you should remove them before you flip the bike.
3. Release the Brakes
If you have disc brakes, then this method won’t be applied, otherwise on the rim brakes bikes you need to release the brakes first.
- For Caliper Brakes: Just press and release the quick-release level for caliper brakes.
- For V-Brakes: You have to pinch the brake arms together and also disconnect the cable noodle.
4. Remove the Wheel
Now, finally just open the quick-release lever or if your bike has bolt-on wheels you will need to loosen the axle nut first, and then carefully pull the wheel out of the fork for the front or the dropout for the rear.
And for the rear wheels, you’ll need to lift the derailleur slightly to release the chain from the cassette.
5. Deflate The Tire
If you think the tire is flat but you still need to completely deflate it, simply press the valve to ensure all the air is out, this softens the tire and makes the removal task easier.
Presta valve: You need to loosen the upper nut and press the valve so that there is no air left in the tire.
Schrader Valve: Simply press the valve core, it is similar to a car tire, and your tire will be fully deflated.
6. Use A Tire Lever To Remove The Bead
Now, you need to use the tire lever by inserting under the edge/bead of the tire and position it onto the spoke, and then you will need to use a second lever a few inches away and slide it along the rim so you can remove more of the tire.
So, if one side is completely free, you can remove the rest of the tire by hands.
Note: You should absolutely avoid using metal objects like screwdrivers, as they can damage the rim or badly puncture the tube.
7. Remove the Tire and Tube
Now, remove the tire completely from one side of the rim, carefully removing the inner tube as well, starting with the valve and then removing the inner tube completely.
Finally, you have removed the entire tire from the rim and can now make any repairs and modifications you wish.
NOTE: You should inspect the tire tube and its inside, as it may contain sharp objects such as glass, debris, and dust that could cause a puncture in the tire, before disposing of or repairing it.
Inspect the Rim and Tube Before Installing New Tire
Now, you should inspect both the rim and the inner tube, as there may be small debris stuck to it or there may be hidden damage to the rim, which can cause the tire to wear out faster.
1. Check for Underlying Debris
Simply run your fingers carefully around the inside of the tire and the rim strip, looking for small pieces of glass, sharp stones or metal fragments, or dust particles that have fallen in from the road.
Pro Tip: You should also carry a tissue or piece of cloth inside the tire to stick to hidden sharp spots, as there might be some debris there that might be too small to see, but still sharp enough to easily puncture a new tube.
2. Inspect Rim & Tire Bead for Damage
Now, look carefully at the rim walls and spoke holes for any cracks or dents, any crooked or loose or worn rim tape that covers the spoke holes on the inside of the rim.
Not only that, you should also inspect the bead of the tire, which is the part that locks into the rim, for any worn, cut, or separated parts, as a damaged bead can cause the tire to burst when you inflate it.
3. Wipe Clean Inside Rim & Tire
You will need to use a dry or slightly damp cloth to wipe off any dirt, remaining sealant for tubeless tires or dust, whether provided or not, as a clean rim improves tire seating and prevents future punctures.
4. Inspect & Decide: Patch or Tube Replacement
If there is minor puncture detected, then just use a patch kit to repair the tube, and be sure that the patch is properly applied and airtight condition.
And if there’s multiple holes, stretched valve or long slits are detected then the for the best possible outcome you need to replace the tube, as it is literally not worth risking another flat.
Helpful Tip: You should always carry a spare tube on long trips, even if you have patched the original tube, sometimes patches may get damaged due to pressure or extreme heat.
How To Install A Bicycle Tire (New Tire or Reinstalling the Old One)
For now, your rim and tube have been cleaned and checked, so it’s time to install the tire, whether it’s an old tire you wanted to reinstall or you want a new bicycle tire, it’s entirely up to you.
So, this step-by-step process ensures a perfect fit with the safety heads without damaging the inner tube or tire bead.
1. Mount One Side of Tire On Rim
You will need to start by placing one side/bead of the tire onto the rim, and you do not need to use any tools for this job as you can do it by hand, starting at one point and working your way out until that side is fully seated.
Note: Some tires have the direction of rotation printed on the sidewall, so you’ll need to make sure it’s in the correct direction based on the bike’s forward speed for the best possible results.
2. Inflate Inner Tube Slightly
You should put just enough air into the tube before inserting it so that it can take its shape, so that with that little detail you can fully feel its roundness without it becoming stiff.
Because, it will prevent twisting or turning, also ensure that the tire is positioned smoothly inside, as well as this actually reduces the chances of accidental pinching.
3. Insert Tube Into Tire
Now, you should start with the valve and then place the tube inside the tire and please make sure that it is seated evenly inside without any bunching or bending as this is very important to check.
Also, you have to gently insert the entire tube into the tire cavity around the rim so that it fits correctly.
4. Properly Seat Valve Stem
Now, you will need to slide the valve into the hole in the rim making sure it’s sitting straight and perpendicular to the rim, not at an angle.
Note that a bent valve stem can cause serious leakage or damage during inflation, so if your tube has a valve lock nut you will need to tighten it gently, but you do not need to tighten it too much just yet.
5. Work the Second Side
Now, you need to start taking the tire off, so you need to start from the opposite side of the valve and push the other bead onto the rim as well, and work towards the valve on both sides as well, as you get closer to the valve, you may feel things get tight, and this is normal, don’t worry about it.
You will need to use your hands as much as possible for this task, using your thumbs to rotate the bead on the rim, and press the edges inward to help reduce tension.
6. Use Tire Leavers (Only If Necessary)
If you find the tire is too tight to seat it fully by hand, you can carefully insert a plastic tire lever under the bead and then work it in a few inches at a time to get the job done with precision.
When using tire levers you need to be very careful not to press the inner tube at all with the tire levers, as this is a common cause of accidental punctures when reinstalling, so keep this in mind.
7. Double-Check for Pinched Tube
Before fully inflating the tube, you’ll want to do a quick inspection on both sides and then gently press the sidewall of the tire and look around the rim to see if any part of the inner tube is sticking out.
Also, move your fingers around the tire to detect any unevenness or bulges.
Pro Tip: If you notice something is wrong you can empty the tube a little and reinsert it, in this case don’t hesitate as it is better to do it now than to deal with a burst later.
8. Final Check
You should check all the details such as whether the valve is fully straight and seated, whether the tire beads are evenly spaced inside the rim on both sides.
Whether the tube is completely hidden between the tire and the rim, because this process ensures a smooth, safe ride and prevents frustrating problems like pinch flats or sudden air leaks.
So, this is how you can install a bicycle tire, both tube or tubeless tires, so now all you have to do is inflate it correctly and you are ready to go for a ride.
Conclusion: How To Install A Bicycle Tire
These are simple steps so that you can easily install bicycle tires, and you will perfect them by practicing them a few times.
Plus, you may be dealing with a flat tire or you may even be upgrading your great one, so knowing how to install a bicycle tire gives you a lot more insight into how to remove one, Inspecting a tire and installing it properly is a really valuable skill every cyclist should have.
These are step-by-step guides that will not only prevent tire bursts mid-ride, but will actually increase the life of your tires and inner tubes.
If you are new to this field, you don’t need to worry, because every cyclist starts somewhere, practicing this procedure a few times in a calm and controlled environment will build your confidence and make roadside repairs much quicker and easier.
If you are going on a long trip then carry a small repair kit and extra tubes with you on every trip so that you can travel completely stress-free.
FAQ on How to Install A Bicycle Tire
Q1. Can I Use Any Tire On My Rim?
Answer: The Clear Answer is NO, you must match the diameter and width specified by your rim and otherwise it won’t get to the work with perfection.
Q2. Why Does My Tube Keep Getting Pinched?
Answer: It is very likely that this is caused by improper seating or using the lever with too much force, so you will have to make sure whenever you use the lever that it does not damage the tube in any way.
Q3. What PSI should I use?
Answer: You should check the sidewall of your tire, as it all depends on that and it is printed on the sidewall of the tire.
Read Also
👉Why Does My Bicycle Chain Keep Slipping?
👉How To Choose The Right Bicycle Size?
👉How to Clean a Bicycle Chain?
👉How to Clean a Bicycle Cassette
👉Why a Bicycle Doesn’t Move Backwards?
👉How to Put Air in a Bicycle Tire: The Right Way
👉How To Become A Bicycle Mechanic?
👉How to Tighten Bicycle Brakes
👉How To Adjust Handlebar Height
Jonathan, the passionate owner of Bicycle Time, brings a lifelong love for bikes and automotive craftsmanship, that reflects into every corner of the shop. With deep passion in both cycling and automotive accessories, Jonathan is more than just an expert.
