 Skip to content
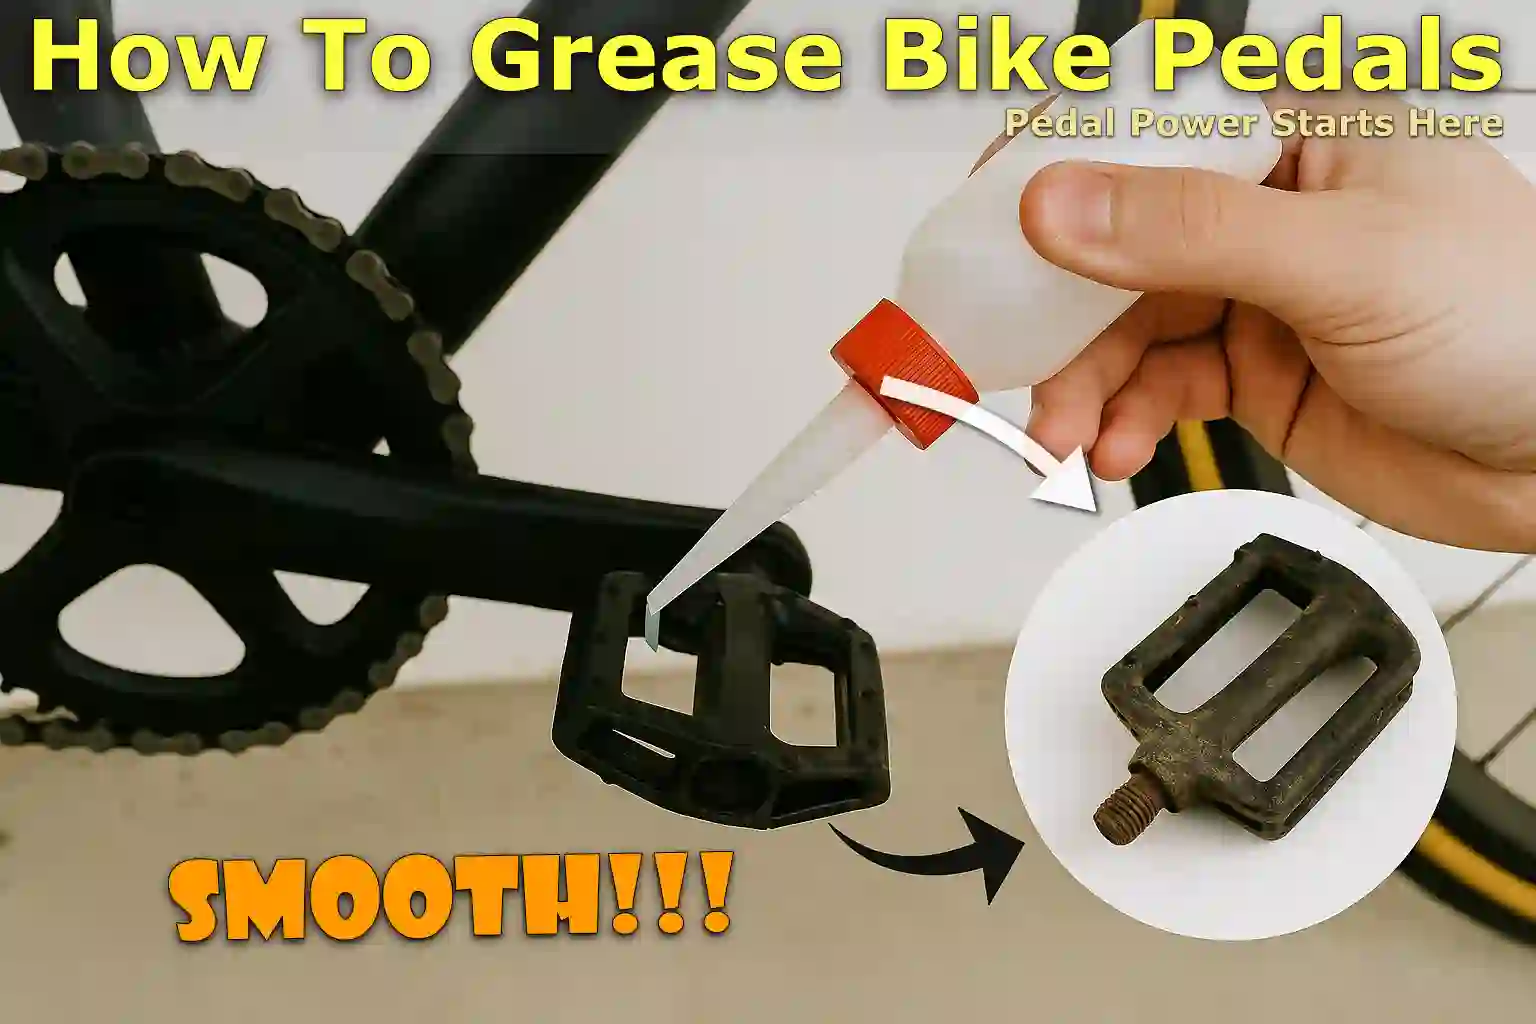
Written By: Jonathan
Fact Checked By: Caroline Dezendorf
Reviewed By: Matt Tanner
When your bicycle pedals are rusted, dirty and stuck, you need to grease them as it plays a big role in the overall performance, comfort and long-term durability of your bicycle.
Because the pedals actually connect your effort directly to the drivetrain and without proper lubrication, you’ll notice that the threads where they screw into the crank arm can become worn due to rust, moisture and dirt.
This can easily happen if you frequently drive in wet or muddy conditions, where metal parts are more likely to rust or stick together over time.
In fact, many cyclists have encountered situations where the pedals became permanently stuck in the cranks due to a lack of grease.
So, even a simple layer of high-quality bicycle grease can save you from costly repairs and hours of frustration.
Now, you can easily learn How To Grease Bike Pedals to increase bicycle power, allowing you to maximize pedaling efficiency and overall cycling experience.
Tools
You need to bring the right tools and supplies because using the proper tools will make the job easier and prevent any damage to your bike and you.
1. Pedal Wrench or Allen Key
So, this is actually the main tool that you’re going to need in order to remove your bicycle pedals, because most pedals require either a 15mm pedal wrench or an Allen key, which is usually 6mm or 8mm, which can work, and it also depends on the design of the pedal.
But the pedal wrench is a flat and long tool that gives you better access to loosen tight or stuck pedals with ease.
Besides this, you should also always check the type of pedal you have before choosing the equipment.
2. Grease
This is the key component that is needed especially in this maintenance task, as high quality bicycle grease or lithium-based grease is ideal for properly lubricating the pedal threads.
Not only that, but grease actually creates a barrier that protects the metal from moisture, dirt, and even rust.
This is why it ensures that the pedals are much easier to remove in the future as it prevents the threads from getting clogged or rusted over time.
3. Clean Rag or Paper Towels
It will also be needed to wipe away old grease, grime or other debris from the pedal threads and crank arm holes.
So you will need a clean cloth or thick paper towels will do the job well, so keep the threads clean as this ensures that the new grease sticks well and works properly.
4. Degreaser (Optional)
This is useful if your pedals have not been greased or removed in a long period of time, which can lead to dirt build-up or hardened grease build-up on the threads.
So, in these cases bicycle-safe degrease actually helps to break up and remove that buildup for you, and actually allows you to start over with clean threads.
5. Gloves (Optional)
Any part of bicycle maintenance work can get messy and grime can get on your hands, so simply wearing disposable or mechanic’s gloves can really help keep your hands clean, particularly if you’re working with old, dirty paddles, they can be a great thing to protect your skin from any chemical residue present in degreasers or heavy-duty lubricants.
Remove the Bicycle Pedals First
To remove your bicycle pedal, you must first understand the basics such as: what position your bicycle should be in, how pedal threads work, etc.
1. How to Position the Bicycle
You should position your bicycle in a way that allows you to easily access the crank arms and pedals, as you can place the bicycle upright using a bicycle repair stand or you can turn it upside down by placing it securely on the bicycle seat and handlebars.
2. Identify Left vs Right Pedal Thread Directions
Yes, this is actually an important point to discuss as many beginners may overlook it, as bicycle pedals are actually threaded differently on each side:
- The Right Paddle actually turns counterclockwise to loosen.
- The Left Paddle actually turns clockwise to loosen.
Because of this reverse threading it helps prevent the pedals from coming loose while riding.
3. Unscrewing Process of Pedals (Step-by-Step)
- Use a wrench or Allen key on the flat part of the pedal spindle or inside the hex hole.
- You will need to turn the wrench counterclockwise to loosen the right pedal.
- And to loosen the left pedal you need to turn the wrench in a clockwise direction.
- Also, you need to use steady and firm pressure and not apply sudden force so that you can avoid breaking the thread.
- Once you see that the paddle is loose, you will need to continue unscrewing it by hand.
With this simple process, you will be able to remove the paddle successfully with ease.
Read More:
Clean the Pedal Threads and Crank Arms
It is necessary to thoroughly clean the pedal threads and crank arm hole, and yes, it is necessary to highlight this step as this step is often skipped, but it’s actually extremely important to make sure that the new grease works effectively and that the pedal screws in easily and securely.
Because if the threads are dirty or rusted, this can prevent the grease from engaging properly, and in the worst case scenario they can cause cross-threading or seizing over time.
1. Wipe Off Any Old Grease, Dirt or Rust
You’ll need to use a clean cloth or paper towel so you can easily wipe away any visible dirt, dried grease or rust from the pedal threads first, and don’t forget to do the same for the holes in the crank arms.
Since old grease often becomes black or sticky, small particles or dust may get trapped in it, which can damage the threads when the pedal is reinstalled.
So you need to make sure you clean thoroughly around the threads and inside the crank arm socket as well.
And if the pedals have not been maintained in a long time, they may also require a little scrubbing at this step to get them completely clean.
2. Use Degreaser If Needed
If you find that the build-up is too thick or difficult to remove, you need a bike-specific degreaser that can make the job a lot easier.
All you have to do is spray it or apply a small amount directly onto the threads and leave it for a few minutes so you can break down the tough grease, oil, or rust.
And then you can simply use a cloth or a small brush: an old toothbrush can also scrub the area.
Additionally, degreasers are especially useful if the pedals have been removed after prolonged use or repeated exposure to wet conditions.
3. Let Everything Dry Completely
Once you have cleaned it by wiping it down and degreasing it, it is very important that you allow all parts to dry completely before applying new grease.
Essentially, moisture is left behind which can later interfere with the adhesion of grease and can also hold water against the metal, causing rust or corrosion problems in the future.
So, all you have to do is use a dry cloth so that you can remove any remaining liquid, or you can simply let the parts air dry for a few minutes.
But the thing is that you have to make sure that the threads inside the pedal spindle and crank arm must be completely clean and dry before moving on to the next step.
Apply Fresh Grease
You should not ignore this as applying fresh grease to your bicycle pedals is a great maintenance step, as grease actually acts like a protective barrier that actually reduces friction and that is why it prevents metal-to-metal wear, this blocks out moisture so you can prevent rust from forming between the pedal spindle and crank arm threads.
1. Where Exactly to Apply the Grease
You should apply the grease directly to the pedal threads, which is the threaded part, which you can find at the end of the pedal spindle that screws into the crank arm.
Furthermore, you also need to ensure that the threads are completely clean and dry before applying the grease.
Not only that, you should avoid applying it to the crank arm hole, as this can make it difficult to control how much grease gets inside, so you’ll need to use a small brush, your fine brush or even you can use a cotton swab so that you can apply the grease evenly around the threads in a controlled manner.
2. How Much Grease to Use
Yes, it is also important that you apply a thin but even layer that covers all the threads completely, so that you don’t have to apply a thick layer.
If you use too much grease it won’t actually improve performance but instead it may even attract dirt or dust.
Therefore, the goal should be to create a smooth, protective film that makes threading easier and protects metal surfaces, but don’t overdo it.
3. Best Type of Grease for This Task
There are many types of grease available in the market, so you must choose a bike-specific grease or a waterproof lithium-based grease that will give the best possible results.
Yes, there are some brands like: Parts Tool Polylube 1000, Finish Line Premium Grease or Shimano Dura-Ace Grease – these are excellent choices specifically made to handle the stress, pressure and temperature changes that bicycle parts are subjected to.
Reinstall the Bicycle Pedals
Now, you will need to reinstall the pedals on your bicycle, but you must make sure that they fit securely and that they are installed properly to actually prevent long-term damage to your crank arm.
1. Match Right and Left Pedal Correctly
The pedals are very specific about which way they will fit, as the left and right pedals are designed to fit in opposite directions, so it’s important to understand this before reinstalling them.
- The right paddle comes with standard thread and therefore tightens in a clockwise direction.
- But the left paddle has a reverse thread system, which means it tightens in a counterclockwise direction.
Also, keep the “L” or “R” marked on the spindle or wrench level to ensure it is installed on the correct side.
2. Avoid Cross-Threading
You should first start threading each pedal into its corresponding crank arm by hand so you can avoid misalignment, simply hold the pedal upright and gently turn the spindle with your fingers.
If you feel resistance or it is not going in easily, stop immediately and then recheck the alignment, do not force it in.
Because cross-threading can happen when the pedal is inserted at the wrong angle and forced in, that can actually be so bad it can ruin the internal threads of the crank arm.
By only using your fingers, and not a wrench, you can actually greatly reduce the risk of this happening.
3. Don’t Overtighten It
Once you have it threaded properly by hand, you will need to use a pedal wrench or Allen key to fully tighten the pedal.
Always remember to keep the pedal tight, but don’t over-tighten it.
Conclusion
When you grease your bicycle pedals it really makes a big difference in the performance of your bicycle, as well as increasing safety and lifespan.
If you often find that the pedal gets rusty, or gets stuck or stops working after a while, you can easily prevent this by cleaning and greasing the pedal threads on a regular basis.
You can achieve this with just some basic tools and a few minutes of effort every few months to keep the bike in tip-top condition and your pedals turning freely.
Actually by using the grease on the pedal threads and bearings it actually repels the moisture and also it prevents the corrosion as well, that makes the future removal much easier as well. Basically the failure to grease at the regular interval can result in seized pedals that require heat or force to remove as well.[¹]
You can ask questions in the comments section below this guide on How To Grease Bike Pedals.
FAQs On How To Grease Bike Pedals
Q1. What Can I Use as Pedal Grease?
Answer: To grease your bicycle pedals, you can simply use bicycle-specific grease or a high-quality lithium-based grease as it is best to use it. As these greases are actually designed to handle pressure, and for bicycle components that withstand all weather conditions and vibration. Also, recommended products include: Park Tool Polylube 1000, Finish Line Premium Grease or Shimano Dura-Ace Grease.
Q2. Can I Use Vaseline for Bike Pedal Grease?
Answer: In short term yes, long term no: You can actually use Vaseline as a short term alternative since it’s also petroleum jelly, but it’s not recommended for long term use, because Vaseline doesn’t actually have the high pressure resistance and water-repellent properties that are typically found in proper bicycle grease. Not only that, it can break down really quickly, especially in wet or hot conditions, which is why it may not be able to effectively prevent any type of rust or thread jamming.
Q3. Should You Grease Bike Pedals?
Answer: The obvious answer is yes, absolutely: because greasing your bicycle pedals prevents the pedal threads from rusting, seizing, or cross-threading as well as in the crank arms, and this is why this is especially important if you are traveling in wet, humid or dusty conditions.
References:
[1] Should You Grease Bicycle Pedals? Retrieved from Icebike.org
https://www.icebike.org/bicycle-pedals-greasing/
Jonathan, the passionate owner of Bicycle Time, brings a lifelong love for bikes and automotive craftsmanship, that reflects into every corner of the shop. With deep passion in both cycling and automotive accessories, Jonathan is more than just an expert.
