 Skip to content
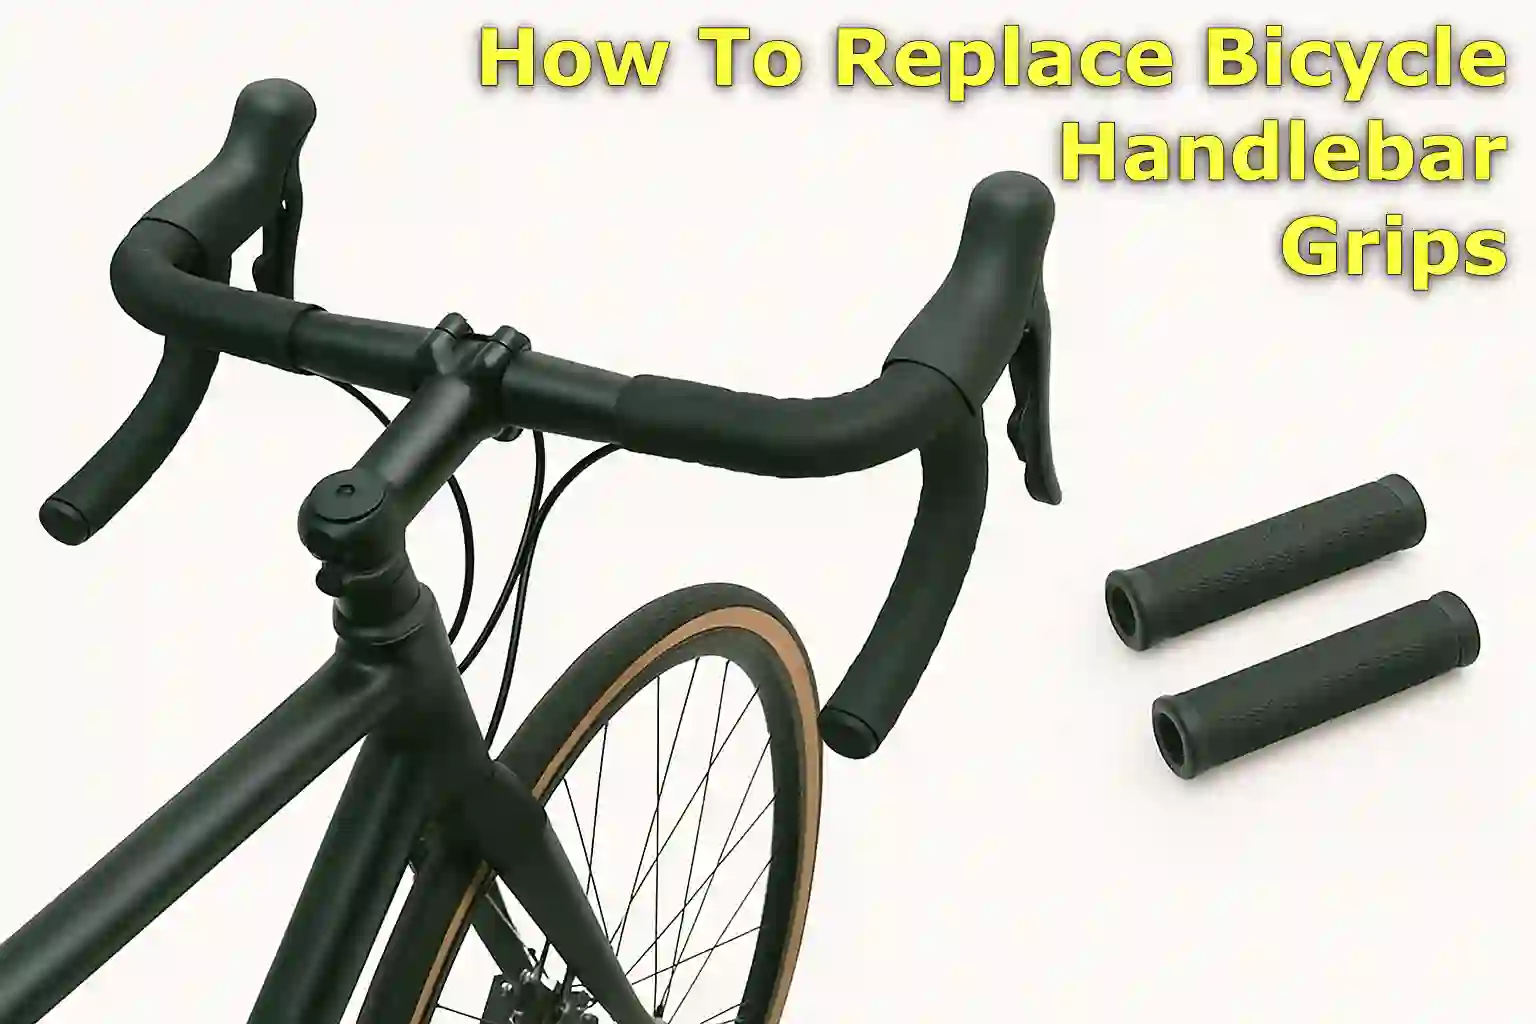
Written By: Jonathan
Fact Checked By: Caroline Dezendorf
Reviewed By: Matt Tanner
Handlebar grips really play a big role in how comfortable and secure your bike feels when you ride it.
And over time, the grip can become slippery, start to crumble or it simply wears out and you no longer have good grip, especially if you ride often or in wet weather where it becomes very slippery.
So you can replace them and make your bike new again, and it increases control and also reduces hand fatigue.
If you feel numbness while on a long ride, there is a high possibility that your handlebar grip has weakened and yes, it does indeed affect the steering.
But you can actually replace bicycle handlebar grips without any type of special tools, you can do this at home with some basic tools as it is nothing more than a simple task.
Now, this is the guide where you will know how to replace bicycle handlebar grips even it enhances the look of the bike to a great extent.
Tools Requires to Replace Bicycle Handlebar Grips
| Tool/Material | Purpose / Description |
|---|---|
| New Handlebar Grips | You can choose handlebar grips from foam, rubber, gel or lock-on grips depending on the type of bike and your convenience. |
| Allen Wrench | You can easily remove or tighten the lock-on grip with an Allen wrench. |
| Flathead Screwdriver | This can easily loosen any stubborn slide-on grips but you need to be careful, as it can severely damage the bar or the grip. |
| Rubbing Alcohol / Hairspray / Grip Adhesive | If your grips have become too old or you feel the new grips are not sliding easily, you can use these for smooth sliding. |
| Utility Knife | If the old grips are too worn or damaged you can cut them off, but then you won’t be able to use them again. |
| Clean Rag or Cloth | As you will need to clean the handlebars before installing new grips. |
So, these are the tools that you need to use for specific reasons and to make the process smooth.
Identify Your Grip Type
You first need to know what type of handlebar grips your bike uses, as there are two types of grips commonly used on bicycles: slide-on grips or lock-on grips, so you can remove and install them according to their specific methods.
Slide-On Grips
Slide-on grips are mostly made of rubber, foam or silicone material and are very easy to install as you simply push onto the handlebar without any locking mechanism.
Sometimes they use adhesives to stay in place or simply rely on friction, you will find these types of grips on normal entry level or casual bikes as these grips are also inexpensive and lightweight.
But they can be hard to remove after being on the bars for a long time.
Lock-On Grips
On the other hand, you can find these Lock-On Grips on mountain bikers and serious riders because it provides a secure, slip-free grip even if it is wet or muddy, it will not slip even in those conditions.
Lock-On Grips use one or two metal collars that are clamped to the handlebar with the help of small hex bolts and tightened by an Allen wrench, which is why it offers more security than slide-on grips and hence these types of grips are harder to remove.
Therefore, first identify the type of grip and then select the right tool and method for the replacement job.
How to Remove Old Handlebar Grips
The first step is to remove the old handlebar grips and get a fresher and more comfortable ride, and method depends entirely on whether you have slide-on or lock-on grips.
1. For Slide-on Grips
Slide-on grips can be a little more challenging, especially if you have been using them on your bike for a long period of time, and they will obviously have been exposed to heat and sweat, which makes them stick more.
Therefore, you need to gently insert a flathead screwdriver between the grip and the handlebar so that a small gap is created.
You can then spray a bit of hairspray, soapy water, or even rubbing alcohol, as these things act as a lubricant and actually break down the seal between the grip and the bar.
Or you can use an air compressor (if you have one) to blow air underneath the grip, as this spreads the lubricant deeper and allows it to glide easier.
Once it starts to come loose, you can use the twist and pull method to remove it comfortably: you need to hold the end firmly, then twist it back and forth and you will need to slowly pull it off.
NOTE: If you do not plan on using the grip as it may be very stuck and useless in any case, you can cut it lengthwise with a utility knife for easier removal of the grip, Just be sure to cut it carefully to avoid scratching the handlebar surface and yourself.
2. For Lock-on Grips
Believe it or not, lock-on grips actually provide more security in all weather conditions and are also very easy to remove and designed in a way that is comfortable for the rider.
Also, these grips are secured by one or two metal collars that clamp onto the handlebar and use hex bolts which are typically 3mm or 4mm bolts.
And to remove these lock-on grips, you need to use an Allen wrench and loosen the bolt, once you loosen the bolt completely the entire grip will slide off with minimal effort and without any type of screwdriver or knife, there will be no need for lubrication.
Yes, it is widely used by mountain bikers, commuters and people who prefer low-maintenance components due to its quick removal process and very secure hold, which is the reason why it is so widely useful.
Prepare the Handlebars
To ensure a secure and long-lasting fit, you must properly prepare the handlebar surface before installing new grips.
Also, for proper cleaning you need to wipe the ends of the handlebars with a clean cloth and rubbing alcohol.
You can easily remove any leftover grip adhesive, sweat, oil, and dirt that may prevent the new grips from staying in place, so you need to pay particular attention to areas where dirt has accumulated over time.
You can rub a little harder to remove any sticky residue left over from previous grips.
For metal bars, you’ll need to inspect the handlebars for any signs of rust, dents, or cracks, and if you find there’s rust on the surface of your handlebars, you’ll need to gently remove it with steel wool or fine sandpaper.
Finally, a clean, dry and smooth surface will ensure that the new grip will glide easily and stay in place comfortably while riding.
How to Install New Bicycle Handlebar Grips
Now, you have clean and ready handlebars, so it’s time to install new grips.
Yet the process differs slightly depending on whether you want to install slide-on grips or lock-on grips, so I have explained the methods for both grips so you can choose them accordingly.
1. Slide-on Grips
If you are installing slide-on grips, you’ll need to be a little quicker and more precise.
Because you will need to apply a small amount of grip adhesive, hairspray or rubbing alcohol to the inside of the grip and around the end of the handlebar, yes this is completely up to you.
You need to use them because these substances act as lubricants and temporary adhesives, which actually make the grip easier, and also ensure stickiness once it dries.
Just keep in mind that you need to slide the grip onto the bar quickly, pushing it into place while twisting gently, and be sure the grip alignment is as you want it before the liquid dries, as it becomes more difficult to adjust later.
After successful installation, you will need to allow the grip to set for at least a few hours, and if possible leave the grip on the handlebar overnight without disturbing it so it will be completely dry and secure before riding.
Note: You should not use a very strong adhesive like super glue, as this will make it difficult to replace in the future and may also damage your handlebar.
2. Lock-on Grips
Now, it’s time to install the lock-on grips, these are very simple to install and do not require any type of gluing.
You will need to slide the grip onto the handlebar and make sure it is aligned correctly, as there are some grips available that must face in a specific direction.
Once you have it installed correctly, use an Allen wrench to tighten the small hex bolt on the metal collar at the end of the grip.
Make sure the bolts are tightened firmly, and you need to be careful not to over-tighten the bolts as this can strip the bolts or crack the clamp.
Once you have it firmly in place, you need to check that the grip should not rotate or move when force is applied.
And with lock-on grips you don’t have to wait extra after installation, and your bike is immediately ready to ride.
Final Adjustments
You should actually take a few extra minutes to make sure everything is properly aligned and secure, after the new grips are installed successfully.
As, you need to check that both grips are firmly in Place or not, after the 3 hour time it should not twist or slide when you apply pressure.
Final Check for Slide-On Grips
You need to pull gently on each side to confirm if the adhesive or friction is holding well.
If you have used rubbing alcohol or hairspray you need to give it enough time to completely dry and set, ideally this could take a few hours or overnight, otherwise don’t take your bike out immediately.
Because riding too quickly can change the grips or even loosen them permanently.
Apart from this, you also need to check whether the grips are positioned evenly on both sides of the handlebar.
Because uneven grip can really affect your control while riding and can also cause discomfort.
Final Check for Lock-On Grips
Yes, even for lock-on grips you’ll need to double-check that all the bolts are securely tightened, and when everything looks and feels right, you’ll need to check that your handlebars provide optimal grip, control, and comfort.
Conclusion
It is just a small task to replace the bicycle handlebar grip but, you will actually feel the difference about the better comfort, enhanced safety and much improved control as well.
No matter whether you choose a slide-on or lock-on style, if you install the grips correctly, your fatigue and hand slippage problems will be eliminated and it will also give your cycling a whole new feel.
This is part of bicycle maintenance because it keeps your ride enjoyable and safe for a long time.
So, if you want to know anything about bicycle handlebar grips then you can comment below.
FAQ’s on How To Replace Bicycle Handlebar Grips
Q1. How often should I replace my bicycle handlebar grips?
Answer: On average, bicycle handlebar grips should be replaced every 1 or 2 years, also depending on how often you cycle and the conditions. If you are noticing that your grip has cracks, slips often, the cushion part is also worn out or you feel discomfort while riding, then it is time that you need a new cushion.
Q2. Can I reuse old handlebar grips?
Answer: You can definitely use old handlebar grips if they are still in good condition. It has been observed that lock-on grips are easier to reuse as they don’t really rely on adhesive or friction type.
Q3. What’s better: slide-on grips or lock-on grips?
Answer: Lock-on grips do actually provide a more secure fit, yet are easy to apply and easy to remove. Also, it is ideal for mountain biking or frequent riders. Yes, slide-on grips are lighter and cheaper but can slip if not installed properly.
Read Also
👉Why Does My Bicycle Chain Keep Slipping?
👉How To Choose The Right Bicycle Size?
👉How to Clean a Bicycle Chain?
👉How to Clean a Bicycle Cassette
👉Why a Bicycle Doesn’t Move Backwards?
👉How to Put Air in a Bicycle Tire: The Right Way
👉How To Become A Bicycle Mechanic?
👉How to Tighten Bicycle Brakes
Jonathan, the passionate owner of Bicycle Time, brings a lifelong love for bikes and automotive craftsmanship, that reflects into every corner of the shop. With deep passion in both cycling and automotive accessories, Jonathan is more than just an expert.
