 Skip to content
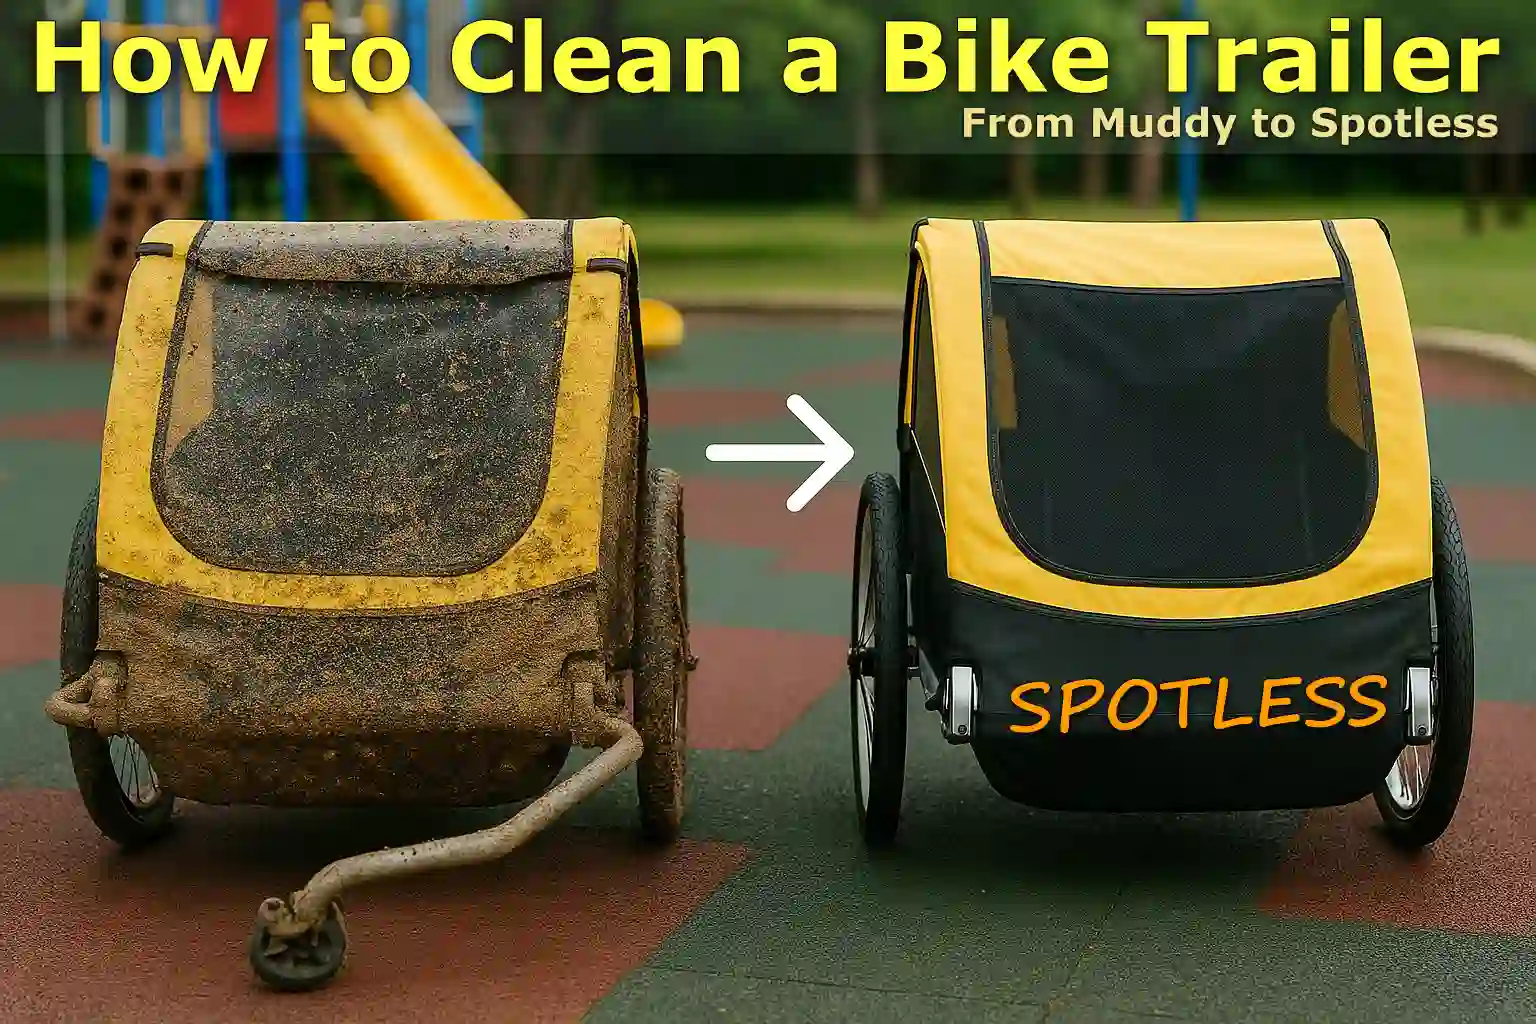
Written By: Jonathan
Fact Checked By: Caroline Dezendorf
Reviewed By: Matt Tanner
You should take care of the bike trailer not only because it improves its look but it is also essential for the safety of your child, pets or cargo items, this will also improve the comfort level and durability of the bike trailer.
It’s a hard truth that using a bike trailer causes dust, mud, road salt, and grime to accumulate, and over time, this builds up.
If the wheels are dirty or the hitch is jammed this can affect the smooth movement of the trailer and even cause its tires and connectors to wear out prematurely.
Not only that, if you are transporting kids, keeping the bike trailer clean becomes very important as it prevents exposure to allergens, mold, or bacteria.
You have to take special care after a rainy or dusty ride, as it can get really weak, just like the bicycle chain or frame also needs cleaning, your trailer also deserves the same attention, as it is for the betterment of your child, cargo or pet.
So, this is the complete guide where you will learn How to Clean a Bike Trailer, with this easy method you can properly clean every part of your trailer such as: from the frame and fabric to the wheels and hitch and that’s how it will stays in the top condition and safe to use as well.
Tools & Supplies
Just gather all the right tools and cleaning supplies that will make the process much easier and it will also protect your trailers from any potential damage.
1. Bucket of Warm Water
As well as, we should use hot water instead of normal water because it helps in removing the dirt, grime and mud, moreover hot water actually activates most cleaning solutions better than cold water.
2. Mild Soap or Bike-Specific Cleaner
You should use a gentle, non-toxic soap (like dishwashing liquid or cleaner) that is actually made just for bicycles.
Additionally, you should avoid using household cleaners that contain bleach or ammonia, as they can damage fabrics and also corrode metal parts.
3. Soft Brush or Sponge
To clean the frame, wheels, and hitch you can have a soft bristle brush or sponge which is ideal for cleaning without scratching the surface.
4. Old Toothbrush
It’s great for reaching tight corners, wheel spokes, hitch joints and around rivets, as the toothbrush really helps remove dirt from hard to reach areas that a larger brush just can’t.
5. Microfiber Cloths or Towels
Yes, microfibre is excellent for drying and polishing, as you need to use a cloth that is highly absorbent, gentle on surfaces and that minimises the risk of leaving streaks or scratches, and microfibre does this job effectively.
6. Degreaser (Optional)
If you notice that your trailer wheel hub or connector has really stuck grease or sticky residue, then a bicycle-safe degreaser can help, and you just have to make sure that it is compatible with plastic and aluminum parts.
7. Fabric-Safe Cleaner
You should only use fabric-safe solutions for cleaning trailers’ soft interiors or weather covers, so only look for products that are labeled as non-toxic, safe for children and pets, and mildew-resistant.
8. Chain Lubricant
If your trailer actually has suspension, pivot points or any moving metal joints, you’ll want to apply a small amount of bike-specific lubricant to them after cleaning, as this is to prevent rust and actually keep the parts moving smoothly.
Inspect the Trailer Before Cleaning
You should always do a quick inspection before scrubbing or washing, and yes this is important because you will have a clear idea of which area actually needs the most attention.
1. Look for Dirt, Mud and Grease
You should first inspect the entire trailer for any deposits of dry mud, sticky oil or road salt, and especially after traveling in the rain or on unpaved roads.
Because these are substances that can actually collect in the corners of the trailer frame, around the wheels, and even near the hitch arm, and they can also cause rust or wear if you don’t clean them off.
2. Check for Damage, Rust or Wear
You should scan all metal parts such as: hitch arms, frame joints and axle connections and check for any rust, loose bolts or cracks.
Therefore, if you notice rust, it is very important to thoroughly clean and dry the area and, if necessary, use an anti-rust spray.
Don’t forget to inspect the fabric areas as well for tears, mold or worn stitching, which is really important as this can reduce the safety of the trailer.
3. Identify High-Soil Areas
You should pay attention to the dirtiest parts, and in particular check the following:
- Wheels and tires are often caked with mud or debris.
- Hitch Connectors as they can trap the grease and dust as well.
- Interior Fabric as it they can get crumbs, dirt or spilled snacks.
- Rain Covers or Mesh Screen as they can trap the dust and sometimes bugs as well.
Identifying these high-soil areas will help you focus your cleaning efforts where it matters most, actually saving time and water while also ensuring nothing gets left unsanitary.
Read More:
Clean the Frame and Hitch Arm
So, now that you’ve properly inspected your trailer, you need to clean the frame and hitch arm: as these are the strong metal parts that support the trailer and actually attach it to your bicycle.
1. Use Mild Soapy Water and a Soft Brush
All you need to do is fill a bucket with warm water and then add a small amount of mild soap to it or you can also use a bike-specific cleaner.
Now, dip a soft sponge or soft bristled brush in the soapy water and then gently scrub the entire frame and you should concentrate on the areas where dirt, road dust or dry mud has accumulated in large amounts.
You should use warm water because it really helps to loosen the debris without the need for any harsh rubbing, and avoid abrasive brushes or rough sponges because this can actually cause scratches in the trailer’s paint.
2. Avoid High-Pressure Water
It’s tempting to just use a garden hose or pressure washer to clean things quickly, but this isn’t recommended at all, as the high-pressure water actually pushes moisture into sensitive parts like: wheel bearings, suspension pivots or the hitch connection as well and that can actually lead to the rust or even long-term damage as well.
Also, according to the experts at Park Tool and other bicycle maintenance brands, pressure washers can actually shorten the lifespan of sealed components if used too close or too often, so it’s best to avoid them.[¹]
3. Focus on Joints, Bolts and Hitch Area
Hence, these are the most critical parts, that is why you need to thoroughly clean their joints, bolts, and especially the hitch connectors.
As these are the parts that literally connect the trailer to your bicycle, dirt or rust in the hitch system can cause it to stick or come loose, both of which can be dangerous while riding.
Now, to remove them simply use an old toothbrush or small detailing brush so that you can gently scrub at its tight corners or grooves.
By using these an old toothbrush or small detailing brush they can really help you reach all sorts of hidden spots where dirt often gets trapped and where metal parts join together.
4. Final Wipe-Down
When you are done scrubbing, you now need to rinse the parts with a lightly damp cloth and then use a clean and dry microfiber towel to wipe down all the surfaces.
Because this definitely prevents water spots and really makes sure that the frame is completely dry, and this is an essential thing to do to avoid any potential rust in the future and make sure to keep them dry especially on trailers with steel components.
When you keep the frame and hitch arm clean it really does ensure a safe ride and it also prevents long term mechanical problems, so regular cleaning makes it easier to spot cracks or wear before they become a serious issue.
Wash the Wheels of Trailer
The wheels come in direct contact with dirt, mud and all kinds of debris every time you drive, so it becomes very important to maintain their cleanliness, which actually helps in increasing their life and also improves the overall performance.
1. Remove the Wheels if Possible
If your bike trailer’s wheels are actually detachable, it’s a good idea to remove them so you can access them better and clean them easier.
As most bike trailer wheels actually come with a quick-release system or locking pins, that really simplifies the removal process, so you can easily clean them separately and you also get better access to clean the rims, spokes and hubs more thoroughly.
2. Scrub the Tires, Rims and Spokes
You should use a medium-soft brush to clean rubber tires, metal rims, and spokes.
Tires often accumulate small stones, hard mud, and even pieces of glass or debris, and this can cause them to wear out prematurely.
Now, dirt and grime can also build up on rims and spokes, which can affect the wheel’s balance or appearance.
So just take warm and soapy water in a bucket, it works well and then just rub in circular motion and finally don’t forget to clean the valve stem area as well.
3. Clean the Wheel Hub Gently
The wheel hub is actually the central part where the spokes connect, and it usually contains a lot of bearings, so dirt can accumulate here and really affect how freely your wheels spin.
So, just use a soft cloth or small brush so that you can easily wipe the hub gently, and if you feel there is sticky buildup or old grease available, so you can simply apply a bicycle-safe degreaser: but you should only use it in small amounts and carefully, as you must avoid getting any degreaser into the bearing area.
4. Dry Completely to Prevent Rust
Once you have cleaned them, you also need to make sure they are completely dried, so you can use a microfiber towel or a lint-free cloth and wipe them clean easily and don’t allow even the slightest amount of water to get into the vehicle, and especially don’t allow water to get into the hub or spoke nipples as this can cause rust over time.
Therefore, according to corrosion studies, moisture left on steel or iron parts for more than 24 hours can also cause visible rust to form, so for best possible results you should allow the wheels to air dry in a shady, well-ventilated area if possible.[²]
Read More:
Clean the Interior and Seats of Trailer
Cleaning the interior of a bike trailer becomes very important when you use your trailer to transport kids or pets, because it can collect all sorts of dirt, from breakfast crumbs and grime to sweat, spills and even bacteria build-up over time.
1. Vacuum or Brush Away Loose Debris
First, you need to remove large debris such as leaves, food crumbs, sand or pet hair. For this, you will have to use a handheld vacuum or take the help of a soft bristle brush to clean the corners, under the seat cushions and around the seams.
In addition, you should also pay special attention to its floor area, as it often accumulates the most dirt from shoes or paws.
2. Wipe Down with Fabric-Safe Cleaner
Next, you need to use a fabric-safe cleaner with a damp cloth which should also be a non-toxic cleaner so that you can easily wipe all the soft surfaces such as: seats, headrests, armrests and side panels.
Not only this, you also have to ensure that the cleaner should not contain any kind of harmful chemicals like bleach or ammonia, as these can damage the fabric or cause irritation to sensitive skin.
Hence, you should use child and pet safe cleaning sprays that are also available and ideal for this task, just do not soak the fabric.
Don’t soak the cloth completely, you just need to slightly dampen it so that you can remove the dirt without soaking it too much.
3. Spot-Clean Straps, Buckles and Padding
Yes, it is widely likely that safety straps and buckles often come into contact with sticky hands, sweat, or beverages, so you should also make sure to clean them as they can also be a hotspot for bacteria.
Now, wipe each strap separately with a wet cloth and cleaner, and if there is any dirt accumulated on the buckle area then you can just use a soft brush or toothbrush to clean it.
If your trailer’s padding is actually removable and machine washable, give it a gentle wash and allow it to air dry completely.
Note: You can check the manual to see if they are machine washable.
4. Dry Everything Completely
The fabric or padding can trap moisture and lead to mold, mildew, and unpleasant odors.
That is why you should always dry the interior of the trailer completely with the help of a clean towel, and then leave it open in a well-ventilated place to dry easily.
Clean the Canopy and Covers of Trailer
Bicycle trailer canopy and side covers really play a vital role in protecting the baby, pet or luggage from all kinds of things such as: sun, wind, rain and insects.
Yes, these are usually made from weather-resistant fabrics like nylon, polyester or PVC mesh, but even these materials can wear out if you don’t clean them regularly.
1. Hand Wash It Using Mild Soap & Water
So to clean these parts with the safest precaution, you should avoid any harsh chemicals, so just fill a bucket with warm water and then add a small amount of mild and non-toxic soap into it or you can even use baby shampoo.
You can use a soft cloth or sponge, and then gently clean the surface of the canopy and any mesh or vinyl windows.
Always focus on spots where there are insect splashes, dust or sunscreen stains as these are the most common things after a long trip.
If your bike trailer has mesh sides for ventilation you should lightly brush these areas which may be enough to remove the particles without tearing the sunscreen.
2. Avoid Machine Washing Unless Specified
Most bicycle trailer manufacturers actually recommend that you should not machine wash canopies, including brands like Burley and Thule, but you may want to check the manual of your bike trailer as it may or may not be compatible with machine washing.
But machine washing can actually damage waterproof coatings, as well as weaken seams or even warp plastic windows due to the head and rotating movements.
Therefore it is recommended that you always check the label or product guide before attempting any deep cleaning procedure.
3. Rinse and Air Dry Thoroughly
Once you’ve cleaned the canopy, rinse it with a damp cloth or gently with clean water from a spray bottle.
You really want to make sure that there is no soap residue left, as dry soap can actually cause stickiness or possibly attract more dust.
And once dry, you should allow the canopy to dry completely in a shady, well-ventilated area: always remember to never dry them in direct sunlight, as this can fade the fabric and even crack the clear vinyl.
Lubricate and Check Moving Parts
After completely cleaning and drying the bike trailer, it is really essential to properly check and lubricate all the moving parts, as this step is really to ensure that the trailer operates smoothly and safely and that reduces the wear and tear on critical joints and connections as well.
Proper lubrication really helps prevent rust, as well as reduce squeaking or friction and increase the overall lifespan of the trailer.
1. Dry All Metal Joints and Pivot Areas
You should start by drying all areas where metal parts actually move, rotate or connect, such as: pivot points, hitch arms, quick-release axles, and any folding or collapsible joints if your trailer has a suspension system.
Not only that, but you also need to ensure that not even the slightest amount of moisture is left behind as it can cause rust or corrosion over time.
2. Apply Bike-Specific Lubricant
You should always opt for bike-specific lubricants, as these types of lubricants are specially formulated for outdoor activities and moving parts.
While these are a better choice than any household oil or WD-40 and do indeed provide longer-lasting protection, you should pay particular attention to the following areas:
- The Hitch Connectors
- Suspension Pivots
- Wheel Axle Locks or Quick-Release Mechanisms
- Any Folding or Locking Hings
You should apply a small amount of lubricant and then move the area slowly back and forth as this really helps it penetrate deeper, then wipe off any excess with a clean cloth as this can prevent stickiness from building up.
3. Don’t Over-Lubricate
Just don’t over-lubricate the parts, as protecting the moving parts is important but if you apply too much lubricant it can cause harm instead of benefit.
When you over grease joints over time all sorts of dirt and dust builds up in them and this causes them to wear out prematurely and make them feel sticky and rough when you bend or open them.
Therefore, if the area feels oily to touch, it is always a good idea to wipe off the excess lubricant.
Dry and Store the Bicycle Trailer Properly
In most cases, mold, mildew, or rust can still develop on the trailer even after it has been properly cleaned, which is why it’s important to properly dry and store your bike trailer so that moisture doesn’t get left behind and cause damage.
1. Air Dry Completely or Use a Soft Towel
After you have thoroughly cleaned and lubricated the trailer, you now need to ensure that every part of the trailer is completely dry and pay special attention to the frame, joints, fabric seats, interior, wheel hubs and canopy.
So you can use a clean microfiber towel for this job, gently wipe all surfaces first and let the trailer dry in a shady, well-ventilated area.
Also, you should always avoid direct sunlight, as UV rays can actually fade fabric and it also actually weakens synthetic fabrics like polyester and nylon.
What’s more, according to textile experts, long-term UV exposure can actually degrade synthetic fibers by up to 40% over time, especially when they are wet.[³]
2. Don’t Fold Until It’s 100% Dry
Yes, you heard that right, you should never fold or close a trailer if it has even the slightest amount of moisture in it, as this will trap the moisture and when you fold the fabric or metal joints it will mold, create unpleasant odors and even premature wear.
You should always check inside the seat cushions, under the canopy, and around the wheels thoroughly before folding them.
3. Store in a Cool, Dry Shaded Place
Finally, once you know the trailer is completely dry, it is your responsibility to store them in a cool and dry place such as: a garage, basement or storage closet, which means ideally indoors.
Always avoid areas where there are extreme temperatures or humidity, such as: sheds.
Also, keep it away from windows or heat sources: this could cause plastic parts to crack or rubber tires and seals to dry out.
If you have enough space, you can also store the trailer unfolded or partially folded, as this can reduce pressure on the hinges and fabric.
To prevent dust accumulation, you should consider covering the bicycle trailer with a breathable tarp or sheet of cloth as this will allow air to flow freely and dust will not be able to enter inside.
You should always try to avoid airtight plastic covers, as they may be responsible for trapping moisture.
Common Mistakes to Avoid When Cleaning a Bike Trailer
You can make cleaning and maintenance mistakes that can shorten the life of your bicycle trailer.
Yes, many people do this unknowingly, so you should avoid these mistakes as this will help you keep your trailer in top condition and also ensure the safety of your passengers.
1. Using Harsh Chemicals
The most frequent and common mistake is using strong or abrasive cleaners such as bleach, ammonia or degreasing solvents on fabric and coated surfaces.
This is very common because it seems effective for removing dirt or stains, but these chemicals can actually remove the protective coating which causes discoloration of the fabric, woken stitches or it can even damage transparent plastic windows.
Plus, you can use non-toxic, fabric-safe soaps as these are always a safe and long-lasting option.
2. Storing the Trailer While Still Wet
You should also not fold or store your trailer while it is still damp, as this can cause problems with the trailer.
Because trapped moisture creates the ideal environment for mold, mildew, and rust, it causes odors and can also compromise the integrity of clothing, zippers, and metal parts.
3. Ignoring the Wheels or Hitch System
For many people, bike trailer cleaning only means cleaning the cloth and they literally ignore the wheels, axles, and hitch system which are crucial for smooth operation and safety purpose.
If you don’t clean these parts they can accumulate dirt, rust, or even damage the bearings or coupler.
In addition, a poorly maintained hitch can actually increase the risk of instability during travel.
Conclusion On How to Clean a Bike Trailer
Cleaning your bike trailer can ensure that it will function well and will also remain completely clean and hygienic for children, pets, or cargo items.
This means that it really protects your investment, also ensures that your family will be safe and really extends the lifespan of every component.
That’s all there is to this guide about and if you have any queries then you just have to comment below and that’s it.
Frequently Asked Questions
Q1. Can I wash the canopy or seat covers in a washing machine?
Answer: You should check the user manual of your particular trailer first and if it specifically allows it then it is fine, but most manufacturers recommend you hand wash the canopy, seat pads and mesh panels because it protects the waterproofness and also maintains the shape of the material.
References:
[1] How to Wash a Bicycle
https://www.parktool.com/en-us/blog/repair-help/bike-washing-and-cleaning
[2] The critical effect of rust layers on localised corrosion of steel exposed to waterline environments
https://www.sciencedirect.com/science/article/pii/S0010938X2300375X
[3] Aging of high-performance fibers used in firefighters’ protective clothing: State of the knowledge and path forward
https://onlinelibrary.wiley.com/doi/10.1002/app.54255
Jonathan, the passionate owner of Bicycle Time, brings a lifelong love for bikes and automotive craftsmanship, that reflects into every corner of the shop. With deep passion in both cycling and automotive accessories, Jonathan is more than just an expert.
