 Skip to content
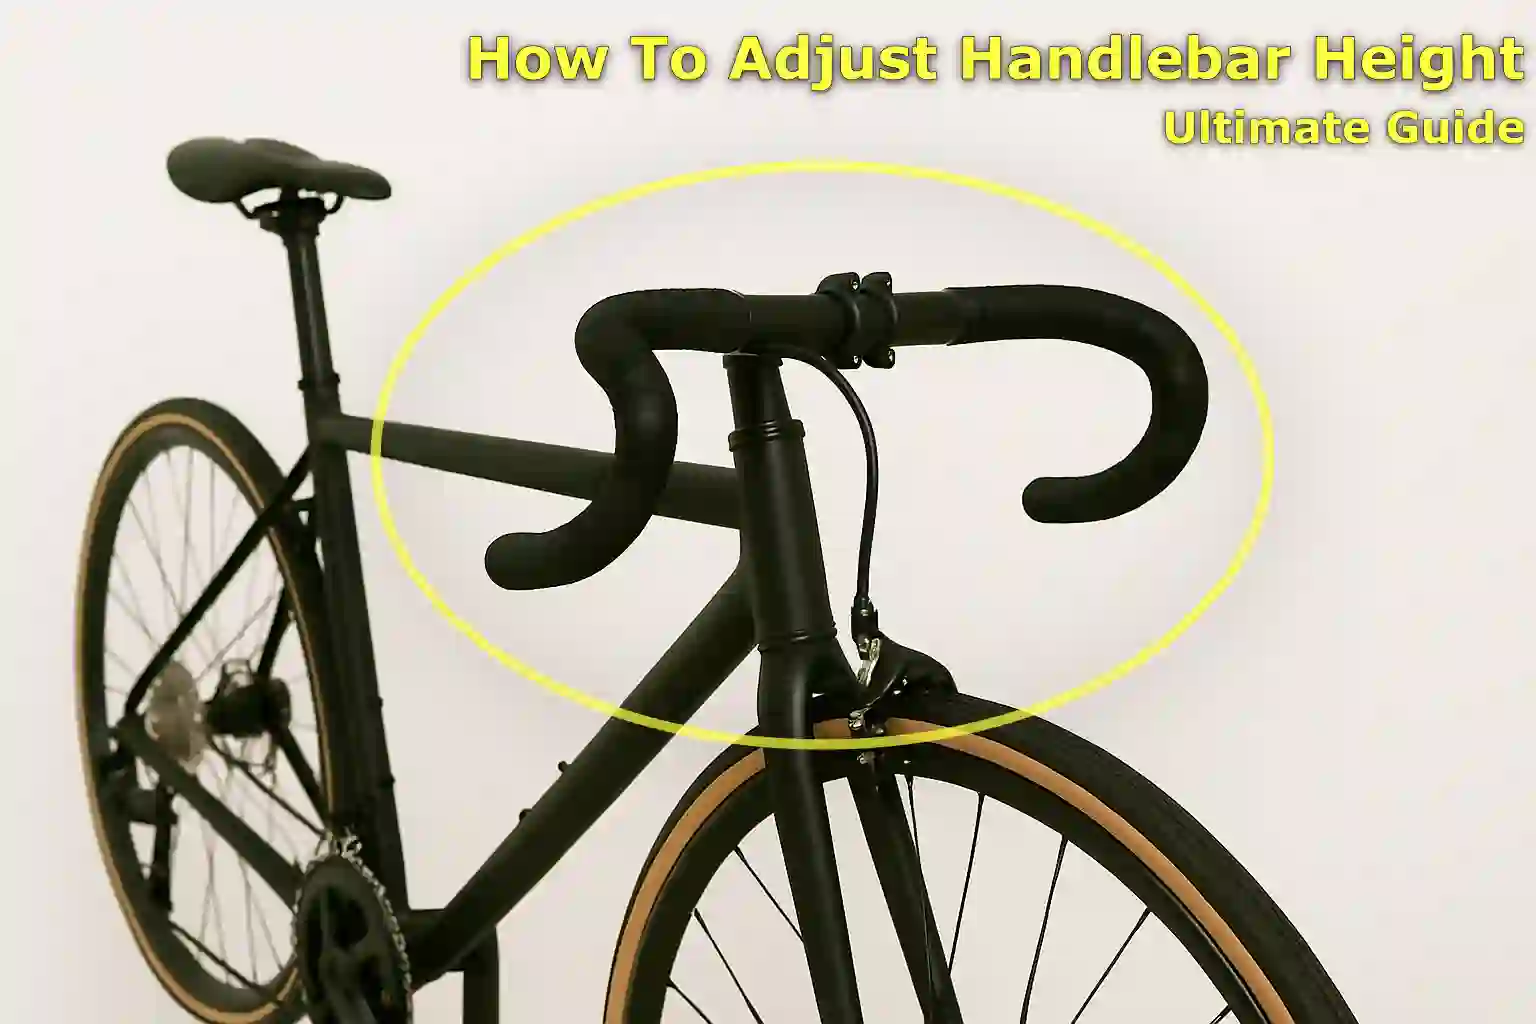
Written By: Jonathan
Fact Checked By: Caroline Dezendorf
Reviewed By: Matt Tanner
It is commonly seen that wrist pain and back strain occurs while cycling, as it can be due to improper height of the handlebar.
It is important to get your handlebar height right otherwise riding a bike for long periods of time would be a wrong decision as it may cause you pain and discomfort.
I have seen many times that simple adjustments can lead to greater comfort and make a really great difference to your ride.
This is a complete guide that will show you how to adjust handlebar height for a safe and enjoyable ride without even requiring a trip to the shop.
Why Handlebar Height Actually Matters
Height of Bicycle Handlebar directly plays a major role in how your body interacts with your bicycle, so you can use your bicycle for any reason such as commuting, fitness or you wanted a weekend adventures but just adjusting the height to the ideal one can easily improves your overall experience.
Comfort and Ergonomics
Adjusting the height of the handlebar can bring you greater comfort, such as it reduces back, wrist and neck pain, allowing you to ride your bicycle in a natural position.
Not only this, it also improves stamina for long journeys as it encourages upright posture during the ride, resulting in less travel fatigue.
Bike Control and Safety
Proper weight distribution is essential as it helps during sharp turns or sudden braking in traffic which can be a factor affecting safety.
This provides more stability for new riders or if you’re carrying loads on the bike in a rack or front basket.
Tools to Adjust Handlebar Height Easily
Having the right tools make sure the comfort and you can do the work with perfect precision.
| Tool | Purpose / Use |
|---|---|
| Allen (Hex) Wrenches | It is used to loosen and tighten bolts on the stem and handlebar. Common size: 4mm-6mm. |
| Adjustable Wrench | Yes, older bikes with a quill stem or bolt-style stem require this as well. |
| Torque Wrench (Optional) | This ensures that the bolts are tightened to the correct specifications as this is important for safety purposes. |
| Bike Stand (Optional) | Yes, it is up to you or you can also place a stand to keep your bike stable during the adjustment process. |
| Grease or Anti-Seize Compound | It is used on bolts and stems to prevent rusting or warping over time. |
How to Adjust Handlebar Height
There are mainly two types of stems available, so you can easily adjust the handlebar height after stem identification.
How to Adjust Handlebar Height: Threadless Stems
Modern road bicycles, hybrid bicycles, and mountain bicycles use a threadless stem, as it connects the handlebar to the bike’s front fork.
Because the stem fits onto a tube called the steerer tube, and is held in place with bolts you’ll need to align everything accordingly.
A small ring (spacer) is available to raise or lower the handlebar, or anything else on the tube.
Step 1: Loose the Bolts
You can use a 4mm or 5mm Allen wrench to loosen the two side bolts at the base of the stem, as these bolts are used to fasten the stem to the steerer tube.
Step 2: Remove the Top Cap
You need to use the same Allen wrench to just unscrew the bolt at the top of the stem which is located in the center at the top of the steerer tube, and then you need to remove the cap and then keep it aside.
As the top cap provides the pressure that actually holds your headset together, you’ll need to remove it before you can adjust or remove the stem.
Step 3: Raise or Lower the Stem Using Spacers
Now you will need to carefully slide the stem out of the steerer tube, so you can easily rearrange the stack of spacers.
Now, you can raise or lower the handlebars:
To raise the handlebar: you need to put more spacers under the stem so that it goes higher, meaning it stays in the raised position from now on.
To lower the handlebars: You’ll need to put spacers over the stem or you can remove them entirely (if you have enough steerer tube left for the removal job).
NOTE: Due to safety concern, you should not leave too much of the steerer tube exposed above the stem without a spacer, so that it does not affect safety and headset function.
Step 4: Reinstall the Top Cap
Now, the next step is to reinstall the top cap, once you have adjusted the spacers to its new position, simply replace the top cap and tighten it lightly with the Allen key so that the whole headset stays together and just make sure that it is not over tightened and that is good to go.
Step 5: Align the Stem and Tighten the Bolts
Now, you need to stand on your bicycle and look down at the stem to make sure it is perfectly aligned with the front wheel, so once you find it straight, tighten the side bolts to 5 to 6 Nm as per the manufacturer’s torque specification, and you have completed the alignment job as well.
For the final check, you need to turn the handlebar from side to side and rock the bicycle back and forth with the brakes applied to see if there is any movement, if movement is detected then tighten the upper cap a little more.
This is the final checklist that you can look into for briefed knowledge about this guide:
| Action | Check/Reminder |
|---|---|
| Loose the stem bolts | You need to use a 4mm or 5mm Allen wrench, don’t just remove the bolt, as you need to loosen it enough to move the stem. |
| Remove the top cap | Simply unscrew the bolt at the top of the stem using an Allen key. |
| Slide off the stem | Carefully separate the stem from the steerer tube. |
| Rearrange spacers | Add below stem to raise; move or remove above stem to lower handlebars. |
| Reinstall stem & top cap | Simply put the stem back in, and then gently screw the top cap on (do not over-tighten it). |
| Align the stem with front wheel | You need to make sure the stem is straight before tightening it. |
| Tighten side bolts to spec | Apply the torque side bolts to 5 to 6 Nm or as specified by manufacturer. |
| Perform final checks | You will now need to do a final test of the handlebar movement; recheck the top cap if necessary. |
How to Adjust Handlebar Height: Quill Stems
| Action | Check/Reminder |
|---|---|
| Loosen the stem bolt on top | You will need to use an Allen wrench (usually 6mm or so) to turn the upper bolt counterclockwise. |
| Tap the bolt gently with a hammer | Hammering the bolt loosens the wedge or expander bolt inside the steerer tube. |
| Adjust the height by sliding the stem | You will have to carefully raise or lower the stem, as you should not go beyond the “minimum insertion” mark, just keep that in mind. |
| Align the stem with the front wheel | Make sure the handlebars are completely straight before tightening them. |
| Tighten the top bolt securely | Now, retighten the bolt while maintaining the correct alignment. |
| Test handlebar movement and brake cable slack (if you find any) | Finally, you need to make sure that the bars are properly tightened and that the cables are not overly stretched or compressed. |
So with this quick details, so that you can quickly adjust the handlebar height with your quill stems and if you want more comprehensive and detailed information just comment below and I will come up with a full and more detailed version of it.
Conclusion On How To Adjust Handlebar Height
Handlebar adjustment is no small change, as it makes a huge difference in your comfort, control, and overall riding experience.
Also, it can obviously ensure less stress on your body and better cycling handling whether you are cycling normally or commuting for daily or long-distance routes so that you don’t have to worry about back pain and strain.
So this was the step by step method to Adjust Handlebar Height and if you have any kind of queries in your mind, you are welcome in the comment section.
FAQ Section
Q1. How do I know if my handlebars are too low?
Answer: If you really feel excessive pressure on your wrists, lower back and hands, and because of that your feeling uncomfortable during ride, then it is the big sign that your handlebars are too low, which means you have to raise them to improve the discomfort.
Q2. Can I raise the handlebars on all types of bikes?
Answer: Absolutely YES, there are generally two types of bicycle handlebars are available Threadless Stems (Common On Modern Bicycles) and Quill Stems (Older or City Bicycles), but you have to use the different kinds of method, which i have mentioned in this article above.
Q3. Can I raise the handlebar height without replacing any parts?
Answer: Yes, you can do small small adjustments without replacing any parts, if you have to make the significant changes then you may need a parts.
Read Also
👉Why Does My Bicycle Chain Keep Slipping?
👉How To Choose The Right Bicycle Size?
👉How to Clean a Bicycle Chain?
👉How to Clean a Bicycle Cassette
👉Why a Bicycle Doesn’t Move Backwards?
👉How to Put Air in a Bicycle Tire: The Right Way
Jonathan, the passionate owner of Bicycle Time, brings a lifelong love for bikes and automotive craftsmanship, that reflects into every corner of the shop. With deep passion in both cycling and automotive accessories, Jonathan is more than just an expert.
