 Skip to content
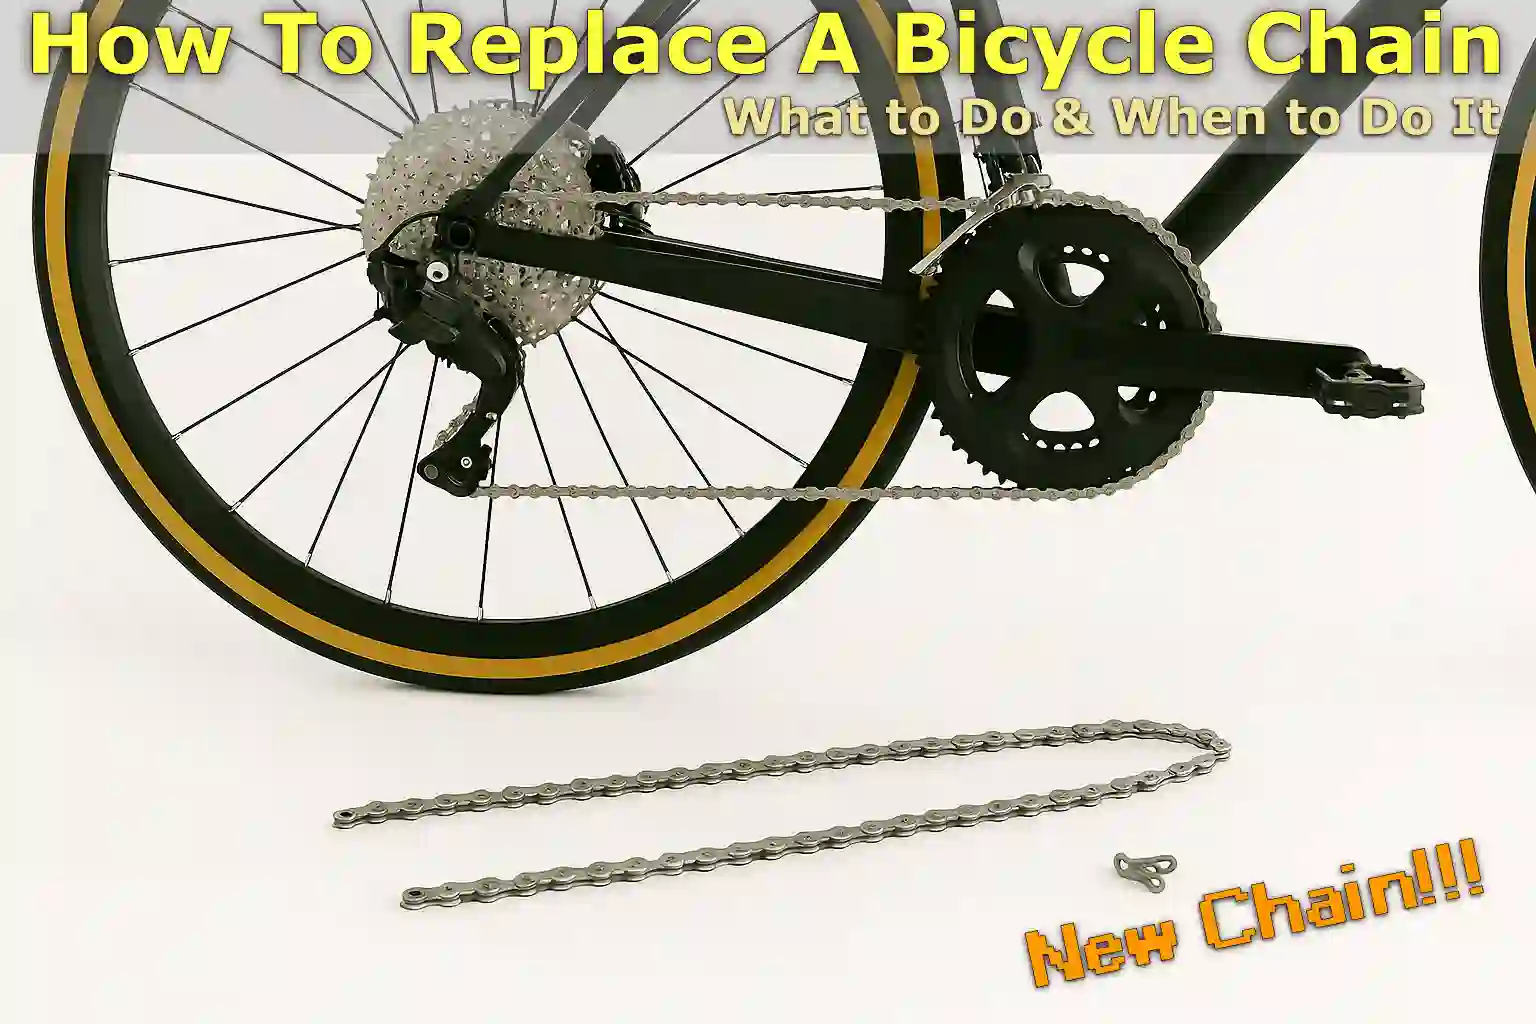
Written By: Jonathan
Fact Checked By: Caroline Dezendorf
Reviewed By: Matt Tanner
Bicycle chain plays a vital role and has an impact that reflects on the overall performance, efficiency, and lifespan of your bicycle.
Plus, a bad, worn or stretched chain causes poor shifting, chain slip or can even cost you expensive as a worn chain is likely to damage your cassette and chain rings as well.
Just understand that most bicycle chains are actually designed to last between 2,000 and 3,000 miles, and yes, that does vary depending on riding style, weather, terrain, and how well you maintain the chain.
But if you have Mountain bikes that may require more frequent replacements due to exposure to mud, dirt, and other debris.[¹]
But overall it is all about safety, because a worn chain can stretch from 0.75% to 1% and this may seem like a small thing to you but it actually significantly affects the alignment and efficiency of your bicycle gears.
Replacing this thing just requires the right kind of tools, some patience, and a guide on how to replace a bicycle chain, and that’s exactly what we’re providing you with: the complete guide!
When Should You Replace a Bicycle Chain?
Yes, there are some tips and guidelines that can help you inspect your bicycle chain in a better way and decide whether you should replace the bicycle chain or not.
1. Average Chain Lifespan
Most bicycle chains have a specific lifespan and therefore need to be replaced after 2,000 to 3,000 miles (3,200 to 4,800 kilometers).
Yes, this number can vary depending on how and where you drive it.
Moreover, it has been observed that your bicycle chain wears out faster when you frequently cycle in conditions like mud, dust and rain.
2. Signs That Your Chain is Worn Out
Yes, you may find out that your bicycle chain is no longer in good condition and it is not safe at all.
Chain Skipping
If you notice that your chain keeps slipping when you pedal faster, you may notice this especially when you speed up or go uphill and this is actually a strong sign of chain wear.
As such, your bicycle chain is no longer working properly because it can no longer grip the teeth of your cassette or chain ring.
Poor Shifting Performance
A worn chain can cause gears to feel rough or slow when changing gears, and if you indeed find that your bicycle doesn’t change gears as smoothly as before, or if it skips gears unexpectedly, the chain could be a bigger cause of the problem than the shifters or derailleurs.
Stretched Chain
Yes, this is possible as chains do actually “stretch” over time, due to wear on the pins and bushings inside the chain.
This is why it actually creates more space between the links and this is why you have to measure the chain length with the help of a chain checker tool.
If a 9 to 12 speed chain slips 0.5% sideways easily it literally means that the chain is starting to wear out and should be monitored at regular intervals.
If the 0.75% part fits perfectly, it means it is time to replace the chain.
You can also check with a ruler: if the measurement of 12 links of the chain is more than 12 1/16 inches, it’s really stretched.
A study by CeramicSpeed found that friction losses increase at an average rate of 2.02 watts per 1% of chain extension.[²]
3. Why you Shouldn’t Delay Chain Replacement
When you replace your bicycle chain on time it actually protects other expensive parts of your bicycle such as: cassette and chain rings.
Therefore, a worn chain will damage these parts faster, because they no longer fit properly over the teeth.
If you keep using that stretched chain, you might have to replace the cassette and chain rings too, and that can cost 4 to 5 times more than replacing the chain.
Tools To Replace Bicycle Chain
If you have the right tools you can easily replace a bicycle chain as it is very simple to do so here is the list and some of the tools in it are necessary and others are just to make the process much easier and cleaner but if you don’t want to use them they are optional.
1. Chain Checker Tool
The chain checker tool is small, but simple, and actually measures how much your chain is worn or “stretched,” as it has a fork that fits between the chain links and shows you how much the chain actually is worn.
If you see that the tool has gone completely into the chain at the 0.5% or 0.75% mark then it clearly means that your chain is stretched and must be replaced.
Yes, it is indeed optional and not required for chain replacement, but this is only if you want to be sure whether your chain really needs to be replaced or not.
2. Chain Tool (Chain Breaker)
A chain tool is also known as a chain breaker, and it is an essential tool that allows you to push out the chain pins that hold the chain links together.
It’s exactly the same as you would remove an old chain or cut a new chain to the correct length, plus this tool comes with a handle and a small bolt that pushes the pin out when you turn it.
So, if your chain doesn’t have a master link, this tool is a must have.
3. Master Link Pliers
If your chain has a master link, as some bike chains do, then a master link is used, also known as a quick link or power link, and this is a special type of link that joins together and can be easily removed or added whenever you want.
Master link pliers are actually designed to grip both ends of the link and then press them together or apart.
Also, some people can open the master link just by hand or with regular pliers, so why master link pliers? Because it really makes the job a lot easier and is great if the link is dirty or broken.
4. New Bicycle Chain
When you go to buy a new bicycle chain, you need to make sure that it actually matches the speed of your bike’s drivetrain such as: how many cogs you have on your rear cassette, because chains are specifically made for 8-speed, 9-speed, 10-speed, 11-speed, 12-speed bikes.
If you buy a chain that’s too narrow or too wide it won’t shift properly and could even damage your gears.
Therefore, it is important to obtain this information which you can find marked on your old chain or printed on the cassette itself or you can even look it up in your bicycle manual.
5. Gloves, Bike Stand, Degreaser & Rag (Optional)
Yes, these things are very useful but it all depends on you because these are not necessary but optional when it comes to replacing a bicycle chain.
Gloves: These help keep your hands clean and also protect them from oils and sharp metals.
Bike Repair Stand: This actually keeps the bike stable and safely off the ground and makes it a lot easier to work on, and if you don’t have one you can just turn your bike upside down and that will be fine too.
Degreaser: A good degreaser helps you clean off built-up dirt and oil before installing a new chain.
Clean cloth: This is useful for wiping and drying parts before lubricating the chain.
Read More:
Removing the Old Bicycle Chain
You also need to know the ideal way to remove the chain, as bicycle chains are actually attached in two main ways: either with a master link or a rivet pin, so simply identify the type and follow the correct method accordingly.
1. Identify If your Bicycle Chain Has a Master Link or Riveted Connection
You need to look carefully at the chain, because the master link, also called the quick link or power link, will definitely look a little different from the rest of the links: it often has an oval hole in the middle and you won’t see any pin heads.
If you see that all the chain links are looking exactly the same way, there is no difference even on a single pin and you see all the solid rivet pins attached to them then your chain is riveted type of chain.
2. If Your Bicycle Have a Master Link: Use Pliers to Disconnect It
If your bicycle chain has a master link you can remove it using a pair of master link pliers:
Align the pliers with both ends of the master link and then press them together to separate them, as this actually compresses the link and virtually allows it to come apart.
In some cases, you may be able to open the link simply by hand if it isn’t too dirty or stiff, but pliers actually make it much easier and also prevent any potential damage.
Once you see that the link has released you can easily pull the chain off the bicycle.
3. If Your Chain Is Riveted: Use a Chain Tool to Break It
You will need to use a chain tool also known as a chain breaker which will help you take the chain apart if your chain does not actually have a master link.
This tool actually pushes out one of the rivet pins that hold the chain together.
- First you need to place the chain into the slot of the chain tool.
- You will then need to align the pushing pin of the tool with one of the chain pins.
- Finally, you need to slowly rotate the handle until the pin is completely out of the link.
Once you see the pin come out the chain will come apart easily.
If you want to re-use the chain, do not push the pin all the way out, as pushing it all the way out makes it very difficult to reinstall the link without damaging it.
4. Remove the Chain from the Drivetrain
Now that you have the chain separated, now gently pull it out of the drivetrain, and then carefully remove it from the rear derailleur, front chainring, and cassette as well.
If you notice that your chain is very dirty you may want to wear gloves or wipe it down first to avoid getting grease on your hands or clothes.
Therefore, you need to keep the old chain aside and dispose of it properly.
Installing the New Bicycle Chain
Once you have removed the old chain, the next step is to install it on your bicycle.
1. Thread the Chain Through the Rear Derailleur
You will need to run the new chain through the rear derailleur as it has two small guide wheels also known as jockey wheels or pulley wheels.
So, this is the part that can easily go wrong.
Now, you need to place the chain on the upper pulley and pass it between the metal side plates.
Next, you need to pull the chain down and get it around the bottom pulley, and then you need to make sure that it actually stays between the side plates.
2. Continue Through the Front Chainring and Rear Cassette
Once you put the chain into the derailleur you need to pull it toward the front chain ring so that it sits over the teeth.
You then need to move it from the rear of the chain to the cassette which is the stack of cogs on the rear wheel.
In addition, you will also need to make sure that the chain is securely resting on the smallest or middle cog that you are using as a starting point, and then keep the chain taut and straight so that it does not get tangled or stuck in the frame.
3. Use the Correct Chain Connector: Master Link or Rivet Pin
Now, once you have the chain positioned correctly you will need to connect the two ends of the chain together, as this method actually depends on the type of chain you have.
A. Connector the Chains with a Master Link/Quick Link
If your new chain has a master link, these links are special pairs of plates that actually clamp together without the need for a tool to push the pins.
So, here is how you can install a new chain with a master link:
- First, you need to align the two ends of the chain, which are an inner link and an outer link.
- Then you have to insert the master links on both the sides and then connect them.
- Now rotate the chain so that the master link is on the top part between the cassette and the chain ring.
- So, all you have to do then is hold the rear brake and press the pedal hard, as this tension actually “snaps” the master link into a safe position.
Besides this, you can also use master link pliers to press them on and off if you don’t want to use pedal pressure on it.
B. Connect the Chains that Use a Rivet
Some chains, such as Shimano models, do not actually use a master link, but instead require a special connecting pin to be pushed in using a chain tool.
- Align the two ends of the chain as if they were inner plates.
- Now, you need to insert the special replacement pin that actually comes with your chain and do not reuse the old pin and this is also important.
- Also, you’ll need to use a chain tool to slowly press the pin into place.
- Once you see that the pin has penetrated, simply break off the protruding guide part by using pliers or by bending it to the side.
Now, all you have to do is make sure that the newly attached link turns easily, and if it feels stiff then gently turn it sideways until it becomes really loose.
Conclusion On How To Replace A Bicycle Chain
The bicycle chain is really the backbone of every ride, no matter if you are just going for a cycle ride or climbing a mountain trail, so you need a very well installed chain that can make your bicycle feel brand new again.
By simply learning How To Replace A Bicycle Chain by yourself, you only need simple tools and the steps are clear which helps in moving the bicycle easily, as well as longer lasting components.
Let us know if you have any queries regarding this guide.
FAQ’s on How To Replace A Bicycle Chain
Q1. Can I reuse my old chain if it looks clean?
Answer: This is not recommended at all, even if your chain looks clean it may be worn on the inside or it can actually cause poor shifting and extra wear on your cassette and chain rings.
Q2. What’s the difference between a master link and a rivet pin?
Answer: The master link actually joins together without any tools and it also allows for virtually easy removal, plus the rivet pin actually presses into the chain with a chain tool for a permanent connection, which is also commonly used on Shimano chains.
References:
[1] Bike Chain Replacement And Maintenance https://www.dedhambike.com/articles/bike-chain-replacement-maintenance-pg1867.htm
[2] CeramicSpeed. (n.d.). Drivetrain Efficiency Test: Old vs. New. Retrieved from https://ceramicspeed.com/pages/drivetrain-efficiency-test-old-vs-new
Jonathan, the passionate owner of Bicycle Time, brings a lifelong love for bikes and automotive craftsmanship, that reflects into every corner of the shop. With deep passion in both cycling and automotive accessories, Jonathan is more than just an expert.
