 Skip to content
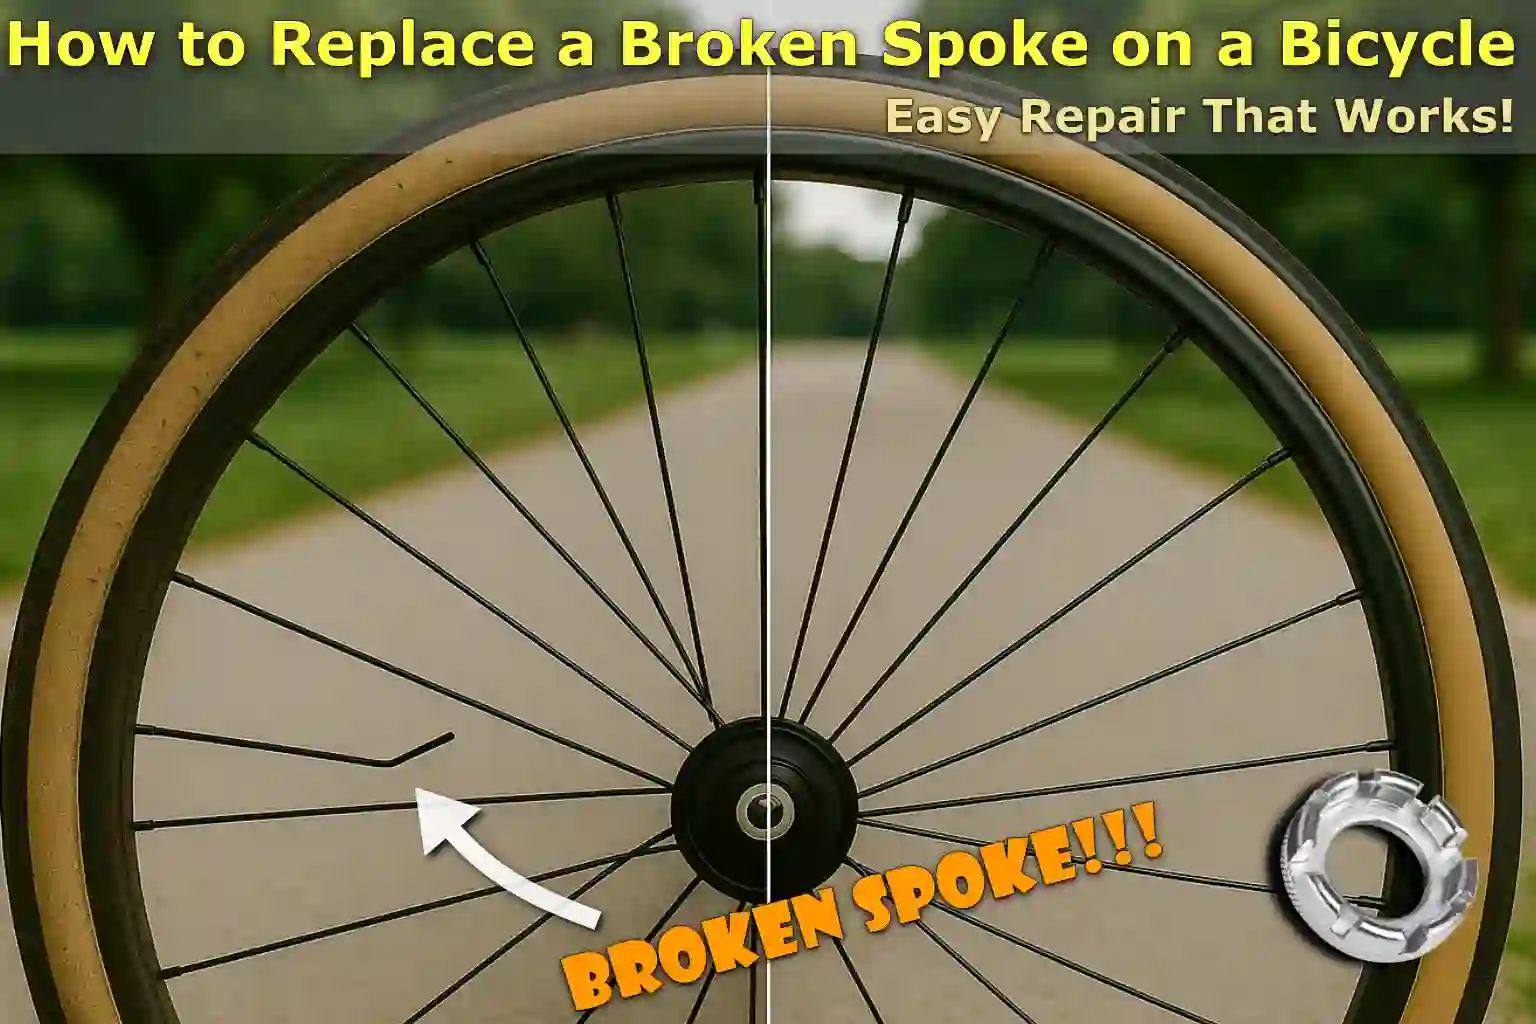
Written By: Jonathan
Fact Checked By: Caroline Dezendorf
Reviewed By: Matt Tanner
Did you know what actually keeps your wheel strong, straight, and properly balanced: These are bicycle spokes, because spokes are actually thin metal rods that actually connect the hub of your wheel which is the center part of the rim to the outer circle.
This is why if even a single spoke is broken, it can seriously impact the actual ride of your bicycle.
Also, most modern bicycle wheels come with 28 to 36 spokes, and each of them really plays a vital role in carrying your weight and handling the bumps in the road every time you ride.
This is why if even one breaks, it obviously puts extra pressure on the others and this can cause your wheel to wobble, rub against the brakes or even break if you ignore it for long.
Moreover, according to experienced mechanics and bicycle engineers, if you ride a bicycle with a broken spoke it can cause uneven tension, which may lead to the extra spoke getting damaged or even permanent damage to the rim.
And all you need are basic tools, the correct replacement spoke and that’s all it takes to replace a broken spoke safely at home.
Plus, this guide on How to Replace a Broken Spoke on a Bicycle is actually very simple, clear and practical step-by-step practical tips that ensure that your wheel should be safe and sound again.
Tools
| Tool / Supply | Purpose / Description |
|---|---|
| Replacement Spoke | You need to choose it specially wisely as it must match the length, thickness (gauge) and type of the original spoke. |
| Spoke Wrench | It is primarily used to tighten or loosen the spoke nipple and adjust the spoke tension. |
| Spoke Nipple | This is the small threaded part that actually connects the spoke to the rim: you should replace it if it’s damaged or broken. |
| Nipple Driver / Screwdriver | It really helps to thread the spoke nipple onto the spoke from the inside of the rim. |
| Tire Levers | This is great for safely removing the tire from the rim and accessing internal components. |
| Cassette Removal Tool & Chain Whip | This would essentially be needed when the spoke is on the drive side of the rear wheel, allowing the cassette to be removed. |
| Truing Stand (Optional) | This is actually optional but it provides precise visual alignment for setting the wheel straight. |
| Rim Tape | It actually covers the holes on the inside of the rim, to protect the inner tube from being punctured. |
| Lubricant (Optional) | Yes, it is optional but it helps the nipple threads to run smoothly and thus prevents rust on the spoke threads. |
| Rag or Gloves | It’s great for keeping your hands clean and improves grip during repairs. |
How to Inspect the Damage of Bicycle Spokes
First, you need to take a close look at the wheel so you can understand the full extent of the damage.
1. Identify the Broke Spokes
So, just start locating the broken spoke carefully, sometimes it breaks in the middle and sometimes it breaks at the end near the hub or rim too.
If you notice that the spoke is completely broken, you’ll also need to look for any loose or dangling pieces that are still attached to the nipple, which is the small part that keeps the spoke attached to the rim or screwed into the hub.
2. Check the Neighboring Spokes
Now, you need to check the neighboring spokes, and specially those spokes that are on the same side of the wheel.
As has been seen, when a spoke breaks, it often puts more stress on the surrounding spokes as well, and this can cause the spoke to loosen or break.
That’s why you’ll need to gently press the spoke pairs together and feel if the tension is uneven, as a healthy spoke should feel firm when pressed against another spoke.
3. Examine The Rim Closely
Also, it is important to properly inspect the rim, as sometimes a single broken spoke can cause the rim to miss its shape, and cause wobble or “wheel hop”, which is an up-and-down movement.
And if the rim has serious pits, cracks or obvious bends, it may need professional repair or complete replacement, since simply installing a new spoke won’t do the trick.
4. Look at the Spoke Nipple
Now, you should also check if the nipple is broken, bent, or rusted, and if you find this, it is best to replace it.
As happens in many cases, the nipple actually falls into the rim cavity when a spoke breaks, which is why you’ll have to remove the tire and rim tape so you can retrieve it.
Because a damaged nipple is actually not able to maintain proper tension and can cause the spoke to fail again.
Read More:
How to Remove the Broken Spoke on Bicycle
So, now after inspecting the wheel and confirming that the spoke is broken, you now have to remove that broken spoke properly.
1. If the Spoke is on Non-Drive Side of Rear Wheel/Front Wheel
If you notice that the broken spoke is on the front wheel or the non-drive side, which is the left side of the rear wheel, then it is much easier to handle.
And in most cases, you can easily slide the broken spoke out of the hole in the hub and pull it out through the rim.
And if the spoke is broken in the middle, you’ll need to remove both loose pieces to prevent them from rattling or causing further damage.
2. If the Spoke is on Drive-Side of the Rear Wheel
And if the broken spoke is actually on the drive side of the rear wheel, it gets a little trickier, since that’s the side where the chain and gears are available.
As the cassette is a group of gears that usually blocks access to the hub flange, you may need to remove it first to free the spoke.
And removing it requires a cassette removal tool and chain whip, and these are more common in most bicycle repair kits.
NOTE: You should not attempt to bend the spoke or force it around the cassette, as this could damage the hub or even the remaining spoke.
3. Check the Spoke Nipple at the Rim
Also, you need to check the spoke nipple on the rim and if you find that the spoke actually broke near the nipple or had tension on it when it broke, the nipple may also have collapsed inside the hollow rim.
And in that case, you’ll also have to remove the tire, inner tube and rim tape to retrieve it.
The rim tape is actually the layer that protects the inner tube from any sharp holes, so you must be careful while removing it so that you can avoid damaging or stretching it.
If the nipple is damaged, rusted or broken it should be replaced rather than reused, as it must maintain tension reliably.
In fact, Bicycle Stack Exchange recommends that you should replace any broken spokes immediately: as this can lead to serious spoke breakage, and having three spokes down actually indicates a serious risk and possibly even requiring the entire wheel to be rebuilt.[¹]
How to Replace a Broken Spoke on a Bicycle
You actually have to replace the spokes correctly and yes, it is more than just putting in a new spoke as it is about ensuring that the new spoke fits perfectly into the wheel’s existing tension system and pattern so that your bicycle wheel remains strong, balanced and safe as well.
1. Thread the New Spoke
First you need to get your replacement spoke and then make sure it matches the exact length, thickness or gauge, and type of the broken spoke.
Because if you get the wrong size tire it can mess with the tension of your wheel or actually damage it over time.
So, simply insert the new spoke through the correct hole on the hub flange which is actually the metal ring located in the center of the wheel that holds the ends of the spoke.
And if you’re replacing a spoke on the drive side of the rear wheel, you also need to make sure that it’s put in the correct direction depending on whether it was on the inside which is towards the inside of the head or on the outside which is towards the outside of the head.
Just follow the basic layout of the hub which is also important for the strength and balance of the wheel.
2. Weave It Through the Existing Spoke Pattern (Over-Under Method)
Yes, most wheels are actually built using a cross-lacing pattern: a simple pattern in which each spoke passes over and under a few other spokes before reaching the rim.
This is also known as the “over-under” method, which increases tension and power by evenly distributing force across the wheel.
Therefore, you have to carefully weave the new spoke in the same path as the first one you removed.
For example: If the original spoke actually crossed three other spokes, going over two and under one, you would follow the same pattern.
Because you should avoid mismatching the spoke pattern as it may cause uneven pressure on the rim and cause the wheels to become unstable or wobbly.
3. Insert It Into the Correct Hole in the Rim
Now, you have successfully threaded the spoke, so now you have to make sure that the threaded end should also line up with the correct hole on the rim.
Because each hole in the rim is angled and drilled at a specific angle to match the spoke coming from either the left or right side of the hub.
This is why if you install it in the wrong hole the spoke will actually move out of line and become impossible to correct.
And if you’re really unsure about which hole to use, you’ll need to look at a nearby spoke for reference or count the number of holes from the valve stem, as some wheels actually use a pattern that’s based on that as well.
4. Screw on the Nipple from the Rim Side
Now, you need to take a spoke nipple from the outside of the rim and if it is not damaged you can reuse the original nipple or even use a new nipple: and simply start threading it onto the end of the spoke.
With that said, this part is actually pretty easy if the wheel is laid flat or placed in a truing stand, just use a nipple driver, spoke screwdriver or even a small flathead screwdriver to carefully turn the nipple as you go.
If you really feel like the threads are stiff or dry, you can put a drop of light lubricant which really helps prevent sticking and it helps in smooth adjustment later on.
Finally, you also need to tighten the nipple enough so that the spoke maintains a really light tension as well, and don’t fully tension it just yet, as this is the step that will come during the truing process where you align the wheel and balance out all the spoke forces as well.
How to Set Tension and True the Wheel
So, once you have installed the damaged spoke correctly, the next step is to set the spoke tension and also adjust the wheel.
Because this will actually ensure that the wheel spins straight, runs smoothly and also maintains its structural strength.
Because the fact is that each spoke actually plays a role in distributing the force, so that you can balance their tension evenly which is actually needed to ride the bicycle safely.
1. Use a Spoke Wrench to Tight the New Spoke Gradually
Firstly you should use a spoke wrench that exactly matches the size of your spoke nipple, so gently turn the nipple in a clockwise direction so that it increases the tension.
And keep in mind that it’s important that you tighten it gradually, as it’s usually found that about a quarter turn at a time makes a big difference in the tension.
That’s why you shouldn’t rush this step: if you tighten it too quickly or too much, it could throw off the wheel’s balance or even damage the rim.
So, you actually need to set the tension so that there is enough tension in the spoke to keep it firm, but not too tight compared to the others.
2. Ensure Even Tension with Surrounding Spokes
The rule of thumb is that the tension of the new spoke should match that of its neighboring spoke, specially for spokes that are on the same side of the wheel.
Because when unevenly tensioned a spoke can actually cause an imbalance, this can cause the wheel to be out of position or even lead to more spoke failures.
And the easiest way to check tension without any tools is to press a pair of crossing spokes and then feel whether they have the same resistance.
Not only that, professional mechanics usually also use spoke tension meters for greater accuracy, but the finger test is still effective for general balance.
Also, your goal should be for the new spoke to feel as strong and tight as the spokes around it.
3. Spin the Wheel and Check for Wobbles or Hops
Now, you have to rotate the wheel and then observe its movement, as now the spokes have the same tension so it should not move at all.
So, also pay attention to two types of irregularities:
Side-to-Side Wobbles
If you look, it is having side-to-side wobble also known as lateral problems, where the rim actually shifts left and right.
Up-and-Down Hops
And if you notice that the wobble is actually an up-and-down bounce, that means there’s a radial problem, where the rim actually rises and falls as it rotates.
And if you’re not actually using a truing stand, you’ll need to use your brake pads as a visual guide: Simply spin the wheel and see if the rim is rubbing on one side or if there’s any uneven bounce visible.
Because these are clear signs that the time for tuning has come and it is very much needed.
4. Adjust Neighboring Spokes as Needed to Restore Wheel Trueness
So, to fix any kind of wobble or bounce, you need to make very small adjustments to the spokes near the affected areas.
How to Adjust Wheel for Side-to-Side Wobble
So, if you are noticing side-to-side wobbles, you need to tighten the spoke on the opposite side of the deviation and loosen it a little on the same side.
How to Adjust Wheel for Up-and-Down Hops
And if you’re noticing that your wheel is really bouncing up and down, you’ll need to tighten the spokes near the lowest point on either side to pull the rim inward.
Also, you need to make the adjustments slowly and evenly, so no more than a quarter turn at a time, so you can easily avoid over-correcting it later.
And keep turning and adjusting until the wheel runs straight and smoothly.
Conclusion On How to Replace a Broken Spoke on a Bicycle
So, spokes are actually essential components rather than just thin wires, because they work together to evenly distribute your weight, absorb shock and thus keep your wheels straight and strong.
And if you ignore a broken spoke, it can be a serious safety hazard as it can lead to poor handling, uneven braking, and even cause serious damage to the wheel over time.
With that said, if you carefully follow this step on How to Replace a Broken Spoke on a Bicycle, you can easily replace the broken spoke with a new one and after that you will also know how to repair a wheel and that basically means that it covers everything so that you can easily keep your wheels in good condition.
You can always ask us any unanswered questions in the comment section.
FAQs On How to Replace a Broken Spoke on a Bicycle
Q1. Can I ride my bike with a broken spoke?
Answer: Yes, you can drive but the fact is a broken spoke actually puts extra stress on the remaining spoke, causing further damage or even ruining the wheel, so it’s best to get it fixed as soon as possible rather than ignoring it.
Q2. How do I know what size spoke to buy?
Answer: You actually need to match the original spokes in length, thickness and type. Also, you should measure the spokes from the same side of the wheel, as rear wheels often have different spoke lengths on each side.
References:
[1] Bicycles Stack Exchange. How many spokes can break before I need a new wheel?
https://bicycles.stackexchange.com/questions/38273/how-many-spokes-can-break-before-i-need-a-new-wheel
Jonathan, the passionate owner of Bicycle Time, brings a lifelong love for bikes and automotive craftsmanship, that reflects into every corner of the shop. With deep passion in both cycling and automotive accessories, Jonathan is more than just an expert.
