 Skip to content
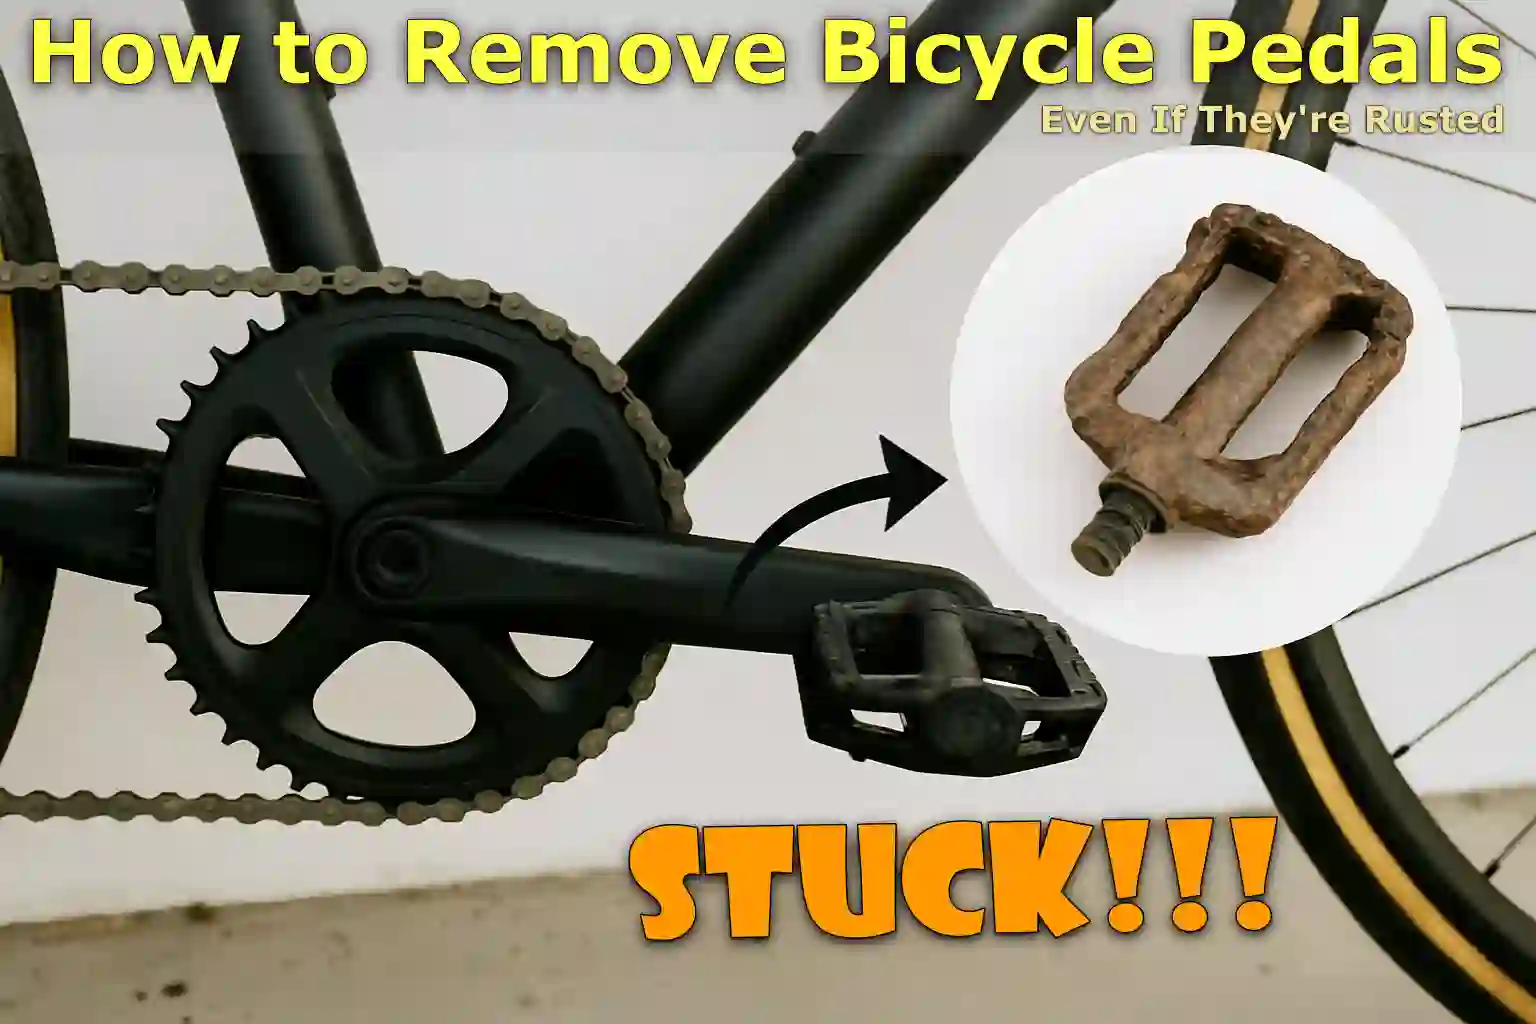
Written By: Jonathan
Fact Checked By: Caroline Dezendorf
Reviewed By: Matt Tanner
You can actually save a lot of time, money, and frustration if you understand the basics of how pedals are actually attached and how to remove them without damaging your crank arms.
Even, one of the most important facts that many people overlook is that bicycle pedals actually have five threads on each side:
The right pedal actually uses a standard thread, and the left pedal on the other hand which is the non-drive side uses a reverse thread.
And yes, this is intentional, it’s not a mistake, as this unique design is actually meant to prevent the pedals from coming loose during your ride.
So, if you try to turn the pedals the wrong way, this can damage and strip the threads of your crank arms, requiring costly repairs.
As well as, you just need to know the correct direction to turn the pedal wrench or Allen key which is really required.
And even rusted or stuck pedals can be removed safely, without using any force, with a little technique and patience.
Now, this guide walks you through the entire process on How to Remove Bicycle Pedals, step-by-step, using simple instructions and tips.
Tools
You should know what are the important tools which will be used to remove your bicycle pedals safely.
| Tool / Item | Purpose |
|---|---|
| Pedal wrench or 15mm spanner | So, this is the main tool that is actually used to loosen or tighten standard bike pedals. Also, a pedal wrench is usually thinner than a regular wrench which actually allows it to fit into the narrow space between the crank arm and the pedal. |
| Allen key (usually 6mm or 8mm) | Some modern pedals actually require an Allen key to remove, particularly those with a recessed hex fitting on the back. So you should check the type of pedal you have before choosing between a wrench or a hex key. |
| Bike stand (optional) | This is actually optional and a bike stand is not necessary, but it really keeps the bicycle stable and upright and that is why it makes it easier and safer to apply torque when loosening the pedals. Also, it is especially helpful when you are working alone. |
| Rag or gloves | When you remove the pedals they may also be dirty, especially if your bicycle has not been cleaned recently. Therefore, you should wear gloves or use a cloth, this will keep your hands clean and give you a better grip on the tools. |
Understand Pedal Thread Direction First
This is actually one of the most important steps without a doubt, which is why you should know this before removing the pedals.
1. Right Pedal: Standard Thread
The right paddle is located on the same side as your chain and gears, also called the drive side, and it uses a standard thread.
What this actually means is that when you turn it clockwise, for example to the right, it will tighten, and to loosen it you will have to turn it anti-clockwise, i.e. to the left.
And yes, this is the same direction that most common screws and bolts actually use.
2. Left Pedal: Reverse Thread
The left pedal is obviously located on the side where the chain isn’t, also called the non-drive side, and it actually uses reverse or left-hand threads.
So what does reverse or left-hand thread mean: it is tightened by turning it anti-clockwise, which means to the left, and you have to turn it clockwise, which means to the right, to loosen it.
And this is a design that might seem weird at first, but yes it serves an important purpose too.
3. Why Pedal Threads Are Designed This Way
This is intentional as it is designed with opposite threading to prevent it from coming loose while riding.
Because when you push the paddle forward, a slight rotational force is generated, which can cause the paddle to open.
Additionally, on the left side it uses reverse threading, because bicycle manufacturers have to ensure that both pedals stay tight while cycling, no matter how long or how hard you cycle.
So this is a product of smart engineering that really helps keep your pedals securely in place and you can ride in the safest way possible.
Positioning the Bicycle
You should position your bicycle in a way that is safe and stable and that gives you easy access to the crank arms so that you can work efficiently.
1. Best Orientation: Upright or Flipped
The best and ideal position to make your bicycle stable and accessible is to keep it stable by standing it upright in a bicycle repair stand, as this way you can easily access the pedals from both sides and you can also easily turn the cranks freely.
If you don’t have a repair stand, you can actually turn the bicycle upside down and place it securely on the bicycle seat and handlebars.
And this method will also give you a stable base and clear access to both pedals, so you have to make sure that you place a towel, cardboard or foam underneath the contact points to prevent it from scratching the seat or brake levers easily.
Alternatively, you can lean the bicycle against a wall or ask someone to hold it steady, but you just have to make sure that it doesn’t move or shake when you apply force with the wrench or Allen key.
Just keep in mind that stability is very important when you’re dealing with tight or stuck pedals, as sudden movements can actually cause injury or cause the tool to slip.
2. Accessing the Crank Arms
Yes, it is important to reach the crank arms correctly, as this is actually the part that the pedals are attached to, which is why it is important to get enough leverage when loosening or tightening the pedals.
So, usually the best angle is when you set the crank arm you are working on pointing forward and slightly downward, which means the 2 o’clock or 10 o’clock position.
As it certainly allows you to apply force in the right direction using your body weight, thereby virtually reducing the effort and also preventing you from slipping.
Finally, you also need to make sure that there is enough space around the crank area so that you can easily turn the wrench or Allen key in the required direction.
How to Remove the Right Pedal: On Drive Side
Once you have your bicycle in the correct position, you will now need to begin removing the right pedal, which you will find on the same side as the chain and gears also known as the drive side.
1. Insert the Wrench or Allen Key Properly
Simply locate the flat wrench flats on the pedal axle, which you’ll find between the crank arm and the pedal body.
You will then need to put your pedal wrench or 15mm spanner on a flat surface, and if you notice that your pedal doesn’t have a really flat area for the wrench, you will need to look at the back of the crank arm.
Many modern pedals actually have a hex socket inside the axle into which a 6mm or 8mm Allen key fits.
Therefore, insert it fully so you can ensure a snug fit and avoid damaging the tool interface.
2. Turn Anti-Clockwise to Loose the Right Pedal
Now, with the wrench or Allen key in place, you have to turn it hit-clockwise so that you can easily loosen the right pedal, and a really good technique is to place the crank arm at about the 4 o’clock position and then pull the wrench towards the rear wheel, and it really gives you the best benefits and natural body condition too.
If you feel the pedal is too tight, you need to apply slow and steady pressure rather than a sudden jerk as this can cause slipping or even damage.
3. What to Do If the Pedal Is Stuck Completely
This problem really occurs in pedals that have not been removed for a long period of time and are often stuck due to rust, grime or over tightening.
So, here are some things you need to follow to deal with it safely:
A. Apply Penetrating Oil
Yes, you need to use products like WD-40, Liquid Wrench or PB Blaster and then spray it where the pedal spindle goes into the crank arm, and let it sit for 15 to 30 minutes, or you can even leave it overnight if necessary.
B. Use a Longer Wrench for Leverage
The basic reason is that the longer the tool, the more leverage you get, you just have to be careful not to apply excessive force as this can strip the threads as well.
C. Stabilize the Bicycle
Again, this is very important as it ensures that the cycle is completely stable so that you can easily avoid sudden movements that may cause injuries.
4. Tap with a Rubber Mallet
If you wanted to tap, As seen in stubborn cases so that you might have to lightly tap the wrench handle with a rubber mallet which might help to break the bond easily, but you have to avoid using metal hammers as it can actually damage the tool or even the crank.
How to Remove the Left Pedal: Non-Drive Side
Now, it’s time to remove the left pedal, which is actually located on the non-drive side, which is essentially the chain or gearless side.
1. Insert the Wrench or Allen Key Correctly
So, this is pretty much the same as the right pedal, as you’ll first need to identify the tool interface.
If you have a flat surface between your pedal and the crank arm you will need to use a pedal wrench or 15mm spanner.
Or if your pedals actually have a hex socket on the end of the spindle you will need to use a 6mm or 8mm Allen key, so insert it from the back of the crank arm.
2. Turn Clockwise to Loosen
Therefore, to loosen the left pedal you will need to turn the wrench or Allen key in a clockwise direction, as this is the opposite of the direction you would normally expect.
Yes, many beginners get confused here, so just remember:
- Right Pedal = Left to Loosen.
- Left Pedal = Right to Loosen.
Now, if you want the best leverage, you need to put the left crank arm at about the 8 o’clock position, and then push the wrench toward the rear of the bicycle, and this will give you a really solid and natural stance to apply steady torque.
3. The Same Torque Tips Can Be Used from the Right Pedal
So, if you notice that the pedal is really stiff or stuck just follow the same strategy as used before:
- You can use a penetrating oil like WD-40 around the threads and leave it at that.
- Also, you can use a longer wrench or breaker bar for more leverage.
- All you need to do is keep the bicycle stable, so you can either use a stand, turn the bicycle upside down or simply place it against a wall.
- Always avoid sudden forceful jerks, so just apply slow and firm pressure as this works better and actually reduces the risk of damage.
Read More:
Conclusion On How to Remove Bicycle Pedals
To remove bicycle pedals you only need to keep in mind that: You can loosen the right pedal in a anti-clockwise direction, while the left pedal loosens in a clockwise direction because its threading is reversed.
If you find that the pedals are really stuck you will need to have some patience and apply penetrating oil and the right leverage that will do the job without damaging your crank arms.
Also, studies measuring pedal torque output during riding (if you have to pedal at 60 to 100 rpm with 100 to 250 N pedaling forces) show that cyclists often tighten the pedals too firmly by feel, and yes, this is a habit that can lead to overtightening them during reinstallation, so you need to be careful not to overtighten them.[¹]
If you still have unresolved questions, please let us know by commenting below this guide.
Frequently Asked Questions
Q1. How tight should I install my pedals?
Answer: Yes, the pedal should be tightened properly but don’t over tighten it, because if you have a torque wrench it is recommended that the torque should be around 35 to 40 Nm. Just use firm hand pressure with a wrench so that the pedal feels solid and completely secure, but the basic thing is not to press it too forcefully.
Q2. How do I know which pedal is left and which is right?
Answer: This is actually very easy, as most pedals are marked “L” on the left and “R” on the right on the spindle or pedal body.
Q3. Why are pedals so hard to remove?
Answer: Actually pedals do naturally tightens it while you ride, so that basically means it will be difficult to remove as well. As well as, there can be galvanic corrision happens that naturally occurs when two different metals are in the contact can make pedals difficult to remove.
Q4. Can I use WD-40 to remove bike pedals?
Answer: Yes, WD-40 is actually penetrating oil same as: Brunox or Ballistol as well can be used and they can help to break up corrision in the thread, so after applying these oil you can easily loosen the pedals by turning your tool in the direction of the arrow which is towards the rear wheel.
References:
[1] Estimation of Torque Variation from Pedal Motion in Cycling.
https://www.uni-konstanz.de/mmsp/pubsys/publishedFiles/QuDaSa15.pdf
Jonathan, the passionate owner of Bicycle Time, brings a lifelong love for bikes and automotive craftsmanship, that reflects into every corner of the shop. With deep passion in both cycling and automotive accessories, Jonathan is more than just an expert.
