 Skip to content
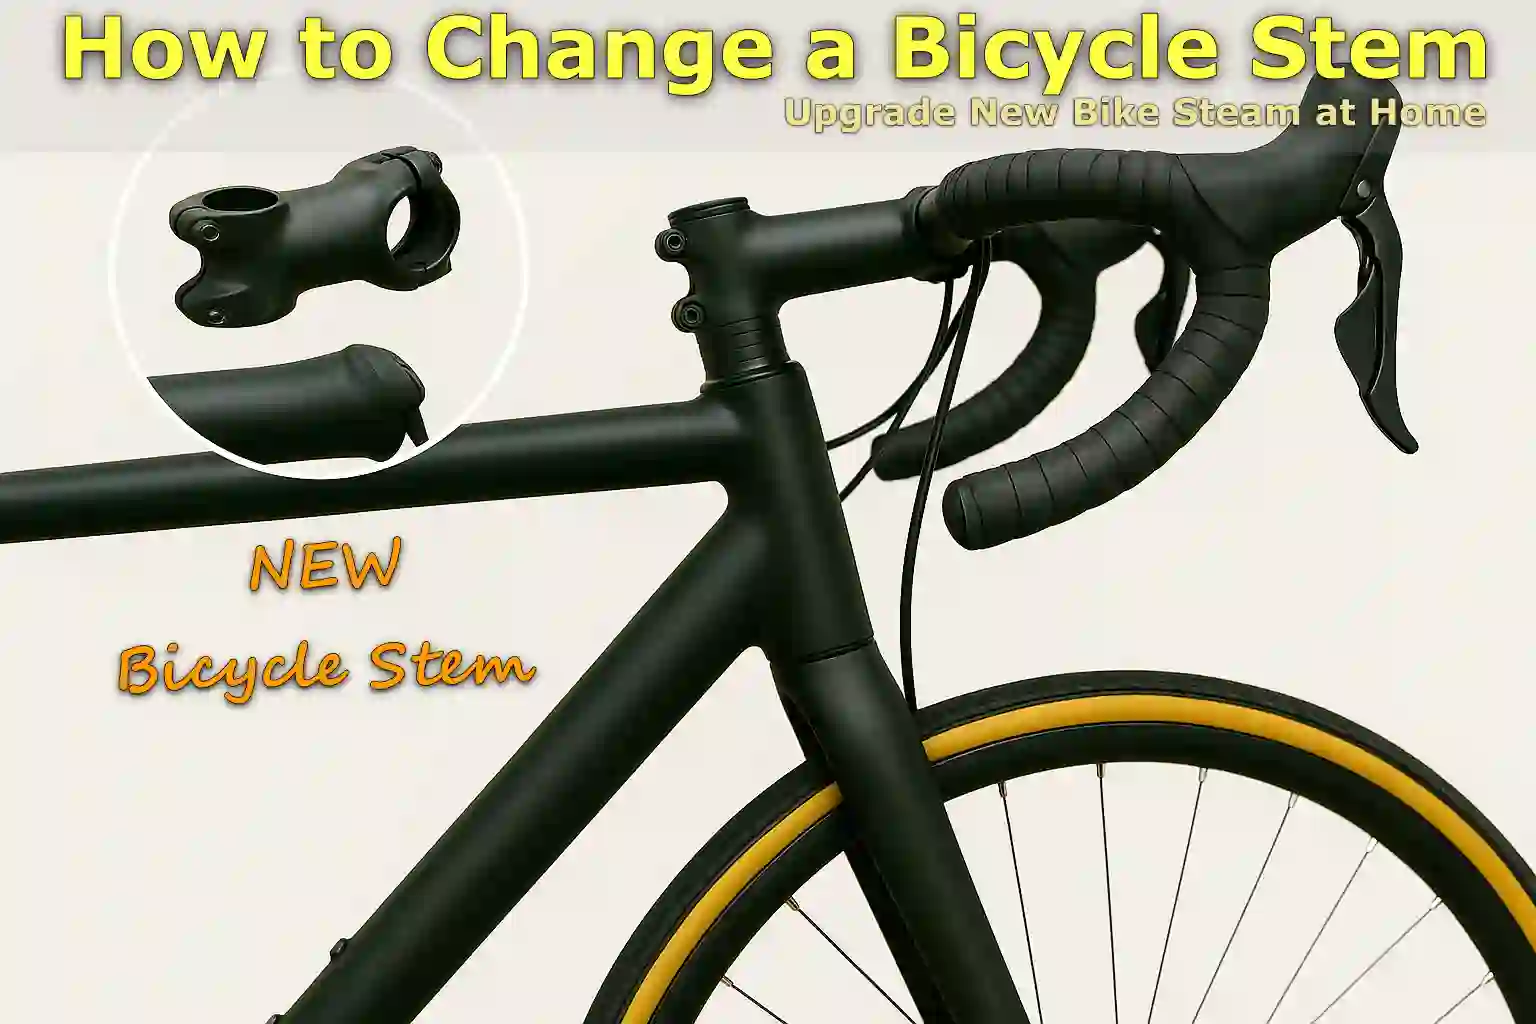
Written By: Jonathan
Fact Checked By: Caroline Dezendorf
Reviewed By: Matt Tanner
You might think that replacing a bicycle stem is a job for a professional mechanic, but you can actually do it easily at home, even if you’re new to bicycle maintenance.
So, basically the bicycle stem is the part that connects your handlebar to the steering tube of the fork, and yes, it plays a vital role in the fit, feel, and smoothness of your bicycle.
For example: If you have a long stem it will give you more speed and control in your riding position and furthermore if you have a short stem it will give you a more upright and very comfortable body posture.
Therefore, many cyclists actually adjust or replace their stem so they can improve comfort, fix poor handling or reduce pain in the neck, shoulders or wrists.
Plus, according to fitting experts, even small changes in stem length or angle can actually significantly affect your overall ride quality and performance.
Not only this, a study on cycling ergonomics also suggests that adjusting the length and angle of the stem directly affects the upper-arm-to-torso angle, helping to maintain a comfortable 75 to 90 degree joint angle and also reducing muscle strain.[¹]
Now, this guide is specifically about How to Change a Bicycle Stem, so you need to know each step.
Understanding the Bicycle Stem First
What is the Bicycle Stem?
So, the bicycle stem is the metal part that actually connects your handlebar to the steering system of your bicycle, and it actually connects to the steerer tube of the fork and actually holds the handlebar in place. Yes, it may seem like a small component but the stem is capable of directly affecting the fit, comfort and control of your bicycle and even small changes can completely change the way you feel while cycling.
Types of Stems: Quill Vs Threadless
There are actually two main types of bicycle stems available, so you should know which one your bicycle has so that you can understand the process clearly.
Quill Stems
These are typically found on older bicycles or city bikes, and go inside the steerer tube and are secured with a long bolt at the top.
Plus, the quill stem is very easy to adjust up and down, which actually makes them great for the casual rider who wants to adjust it to a more upright posture.
Despite this, their use is decreasing on modern bicycles.
Threadless Stems
Therefore, these are primarily found on most modern road bicycles and mountain bicycles, and a threadless stem actually clamps around the outside of the steerer tube and is held in place with one or two bolts.
In addition, it also uses a top cap and spacer to set the bearing tension, and while threadless stems don’t really allow for height adjustment as easily as quill stems, but they actually offer better strength, stiffness and are lighter in weight too: perfectly suited for ideal performance riding.
The fact is, most bicycles manufactured after the 2000s actually use threadless stems, as they are much easier to service and they offer better handling characteristics.
Stem Sizing: Length, Angle & Clamp Diameter
Yes, stem size is very important which actually determines the rider’s fit, comfort and also the bike’s handling, so here are the key things to understand first:
Length
So, usually the stem length ranges from 60 mm to 130 mm, and keep in mind that it is measured in millimeters.
- A longer stem is considered which ranges from 110mm to 130mm as this stretches out your position and can actually improve climbing and high speed stability too.
- A shorter stem that ranges from around 60mm to 90mm really makes your ride more direct, responsive and faster, and that is very helpful especially in mountain cycling or urban commuting.
Angle
The angle actually affects how high or how low your handlebar sits and is measured in degrees.
- A positive rise stem which is something like +17° means it is a raised handlebar, which actually provides more comfort and upright posture.
- Negative rise which is -6° or flat, actually reduces barred position and this is why it is often preferred by racers or performance riders.
Clamp Diameter
There are two clamp areas, you need to match both of these:
- Steerer clamp diameter: which is more commonly found on modern bicycles, so you can use 1 to 1/8″ steerer tube which is about 28.6mm, but you should always check this first and always be sure about it.
- Handlebar Clamp Diameter: The usual size is 31.8mm which is the standard for modern bikes and 25.4mm which is what older or cheaper bars use, so you must not use the wrong size as it can literally damage your components or even make it unsafe.
Important: You should always measure both the steerer tube and handlebar diameter before purchasing a new stem so you can avoid any fitting problems later on.
Read More:
Basic Tools
| Tool/Item | Purpose | Tips & Notes |
|---|---|---|
| Allen Keys (4mm, 5mm, 6mm) | It is used to loosen and tighten stem and faceplate bolts. | The most common size is 5 mm; and T-handle versions give better control. |
| Torque Wrench | This helps you apply the correct bolt torque to prevent damage. | This is actually necessary for safety purpose as it adheres to the specified Nm torque rating of the stem. |
| Grease or Anti-Seize | It is used to fasten bolts and components or to prevent them from rusting. | You should use carbon assembly paste for carbon parts. |
| Ruler or Tape Measure | It’s a great tool for measuring handlebar height, stem length, and bar-to-saddle distance. | You should always take measurements before removal to ensure proper reinstallation. |
| Bike Repair Stand | It is basically used to keep the bike stable while working. | Yes, this is indeed optional but it makes the process a lot easier; also prevents accidental drops, which is why we recommend using it. |
Preparation Before Removal Of a a Bicycle Stem
To make the process easy and flawless, we need to do some careful preparation that will actually make the whole process more smooth, safe, and accurate.
1. Secure Your Bike First
So, this is the very first thing that you need to do is to keep your bicycle stable so that it doesn’t move while you are working on it.
To carry out this job you can use a bike repair stand which is actually ideal for this type of job, as it raises your bicycle off the ground and actually holds it securely in place allowing you to work at a comfortable height.
Even if you don’t have a bike stand, you can stabilize the bicycle by turning your bike upside down and resting it on the handlebars and bicycle seat, but be careful, especially if your bicycle has electronic shifters, a GPS mount, or any sensitive brake levers.
Whether you use a bike stand or just want to turn it upside down, both of these things really provide your bike with the necessary stability and prevent the bike from tipping over or rolling while you loosen the bolts.
NOTE: Also, you should make sure the front wheel is facing forward and stationary before you loosen anything.
2. Take Photos or Measurements of the Current Setup
This is a really important step, so don’t ignore it as something totally useless, but before you remove anything, you should document the state of your current handlebars, as these references are really helpful when you install the new stem it will ensure that you can recreate a position that feels right and that your bicycle’s steering stays properly aligned without any trouble.
Therefore, you can use a measuring tape and then note down the distance from the bicycle seat to the handlebars, the height of the handlebars from the ground and also the angle of the bars.
Plus, you can take photos from the front and side so you can clearly remember what everything actually looked like before you began.
3. Remove All Accessories
In fact it is useful and even important, because nowadays many bicycle owners prefer to have accessories mounted on the handlebar, such as: bike computer or GPS unit, front light or bell, phone mount or GoPro camera.
If you have these accessories, it becomes very important to remove them before starting the job, and this has to be done so as to prevent any kind of damage during the stem removal process.
Plus, most accessories actually use simple rubber straps or small bolts, so the removal process will not take much time and you can gently remove them and store them safely until your re-installation process is complete.
Note: You should make sure to place all kinds of small accessories and bolts in a labeled bowl or plastic bag so that they do not get lost during the process.
How to Remove the Old Stem
It is actually a straightforward process and all you need to do is follow these steps knowing whether your bicycle has a threadless or quill stem and then use the different mechanisms to remove them with ease.
How to Remove Threadless Stems
Threadless stems are more commonly found on modern bicycles, such as road bicycles, hybrids, and mountain bicycles, which actually clamp around the steerer tube and handlebar.
Therefore, to remove it safely you need to follow these step-by-step instructions:-
1. Loosen the Faceplate Bolts and Remove the Handlebar
The faceplate is actually the front part of the stem that holds the handlebar in place with the help of 2 or 4 bolts.
Therefore, you will need to use the correct Allen key which is usually 4mm or 5mm, which will be used to loosen each bolt evenly in a cross-pattern.
You will then need to carefully remove the faceplate and then gently place the handlebars down, whilst also making sure they don’t hang down and put pressure on the cables.
This is why you should place the handlebars on the frame or use a strap to hang them securely.
2. Loosen the Top Cap Bolt and Remove the Cap
The top cap is the round shaped piece that you will find at the top of the steerer tube.
So, simply open the upper part of the cap bolt using a 5mm Allen key and then gently remove both the bolt and the cap.
3. Loosen the Steerer Clamp Bolts
You can easily find the two bolts on the side or back of the stem that fasten the stem to the steerer tube.
Therefore, you have to loosen them evenly using an Allen key.
As these bolts actually hold the stem in place, they need to be loosened before removing it.
4. Slide the Stem Off the Steerer Tube
Finally, when the clamp bolts are completely loose, you can easily slide the stem up and remove it from the steerer tube.
If you feel it is stuck, gently move it back and forth while lifting it, also you should avoid using hard force because if it is not coming out gently, you should double check that all the bolts are completely loosened.
How to Remove a Quill Stems
The quill stem is actually inserted inside the steerer tube and is held in place with a wedge or cone system.
1. Loosen the Top Bolt
So, first you need to use a long 6mm Allen key to loosen the bolt located at the top of the stem.
Because this bolt is actually attached to an internal wedge that locks the stem inside the steerer tube.
So, now you need to rotate it in the anticlockwise direction for 4 to 5 times but make sure that it doesn’t get removed completely.
2. Tap the Bolt to Release the Wedge
Now, you have successfully loosened the bolt, so now you need to use a rubber mallet or the plastic end of a screwdriver to gently tap it downwards.
Yes, this completely releases the nail as it allows the stem to move easily.
3. Twist and Pull the Stem Upward
So, once the nail is completely removed, now you have to carefully twist the stem left and right while pulling it in the upward direction.
Also, it should come out easily, and if it’s really stuck because of rust, you may want to apply a bit of penetrating oil and then let it sit before trying again.
Note: You should not use excessive force to remove the stem, as you may damage the fork or even the steering tube.
How to Install the New Stem
So, now that you have successfully removed the old stem it is time to install the new stem, this is the step where you need to be very careful as the stem really plays a vital role in your bicycle’s steering control, rider posture and overall safety.
How to Install New Threadless Stems
1. Slide the New Stem onto the Steerer Tube
Now, you need to gently slide the new stem down onto the steerer tube, making sure to slide it all the way down so it sits flat over any spacers or headset top cover.
Also, if you notice that your stem is too high you may need to rearrange it or add a spacer and you can add it either below or above the stem.
2. Reinstall Any Spacers As Needed
Spacers really help with adjusting handlebar height and preload on the headset, common spacer sizes include 5mm, 10mm and 20mm and you can place them either below or above the stem which really depends on your fit as well.
Therefore, you must make sure that the top of the steerer tube actually sits exactly below the top edge of the stem or the top of the spacer, as this is also very important for proper preload and secure clamping.
3. Insert and Lightly Tighten the Top Cap
Now, you need to place the top cap over the steerer and thread the bolt into the star nut or compression plug, and then you need to tighten the top cap bolt enough so that there is no movement in the headset, but make sure not to overtighten it.
Now, you need to check the headset by holding the front brake and rocking the bicycle back and forth to see if there is any looseness and there should not be any resistance either.
IMPORTANT: This bolt actually adjusts the tension of the headset, and does not need to be tightened very much.
4. Align the Stem with the Front Wheel
Now, you need to stand over the bicycle or look from above to make sure that the stem is perfectly aligned with the front tire.
Don’t just take it that way, as even a small imperfection can affect handling, especially at higher speeds.
5. Tighten the Steerer Clamp Bolts
Therefore, you will need to use a torque wrench so that you can tighten both clamp bolts with a 5 mm Allen key to the manufacturer’s specified torque, which is usually between 5 and 8 Nm.
Also, you need to tighten both bolts evenly, and a little at a time to ensure the clamping pressure is even.
Note: Uneven clamping can actually damage your steerer tube or even cause uneven headset wear over time.
How to Install New Quill Stems
1. Insert the Stem into the Steerer Tube
Now, slide the quill stem into the steerer tube to the height you want, but you should never move it above the minimum insertion line marked on the stem.
Also, you get to adjust the height of the handlebar to suit your convenience, like you can make it higher if you want to stand upright or lower it for more speed and control.
NOTE: You should always leave at least 2.5 inches (i.e. 6.5 cm) of stem inside the steerer for safety and structural integrity.
2. Align the Stem and Tighten the Top Bolt
Now, you should rotate the stem so that it aligns with the front wheel, and then you will need to insert your Allen key, which is usually around 6mm, into the upper bolt and tighten it firmly to lock the inner wedge in place.
Also, you have to rock the bars slowly from side to side so you can make sure everything is firm and secure.
NOTE: You won’t need a top cap or spacer with the quill stem, just the internal wedge bolt will actually do the job securely.
Reattaching and Aligning the Handlebars
So, once your new stem is installed, the next step is to properly attach the handlebars, and this is a very important part of the process because even a small misalignment can really affect your steering control, riding posture, and even safety.
1. Position the Handlebars in the Stem Faceplate
You will need to place the handlebars into the curved cradle of the stem body, and then place the faceplate over the bars and insert all the bolts by hand and you will also need to make sure the center of the markings on the handlebars are visible and centered in the stem, as most of the modern bars have alignment markings.
Now, you have to adjust the bar roll angle as per your preference, which is usually the brake hoods on a road bicycle or the grips on a flat bar should be angled slightly upwards for wrist comfort and control.
NOTE: The ideal handlebar position really helps maintain a neutral wrist angle as well as reduce fatigue on long rides.
2. Evenly Tighten All Bolts in a Cross-Pattern
Now, you need to tighten the faceplate bolts using a cross-pattern like tightening a car’s wheel nuts: top-left, bottom-right, top-right, and bottom-left.
Additionally, you’ll need to unscrew each bolt by hand, then slowly tighten each bolt a little at a time and apply even pressure across the entire faceplate.
Also, using a torque wrench is highly recommended, so just check the stem or handlebar for the torque specification, which is usually around 4 to 6 Nm.
NOTE: You must not tighten it unevenly or over-tightening can crush even lightweight alloy or carbon handlebars or it can actually crack the faceplate as well.
3. Check for Alignment and Level Angle
Now, you need to stand over the bicycle, and then check if the handlebars are perfectly centered and level.
Drop bars, typically for road bikes, should have the bottom part horizontal or slightly tilted downwards.
And on flat bars, you’ll need to make sure they’re not tilted too far forward or back, as this can put pressure on your wrists or even affect control.
IMPORTANT: You should use a spirit level or eyeball the bar ends so you can align them evenly with the top tube or the ground, especially for road bicycles.
4. Ensure Cables Are Not Too Tight or Twisted
So, now you also need to double-check that your brake and gear cables:
- It should not pull or tug when you turn the handlebars.
- In addition, it should not be bent, twisted, or pressed against the stem or faceplate.
- Also, it should spin completely freely without any resistance as you move the bar fully left and right.
IMPORTANT: If you find that your cables are too tight after replacing the stem, they may need to be rerouted or extended so you can avoid performance issues or wear over time.
Conclusion On How to Change a Bicycle Stem
So, you have completely replaced the bicycle stem and it is actually very important to install it correctly, as it can make a huge difference in your comfort, control and overall riding experience too.
If you still have confusion about anything then you are welcome to comment section below.
FAQs On How to Change a Bicycle Stem
Q1. Do I need to replace spacers when changing a threadless stem?
Answer: Not all the time, but you can also reuse your existing spacers and reuse them if they fit your new setup, but not if you change the stem height or stack position, you may then need to rearrange or add spacers to maintain proper headset tension.
References:
[1] Cycling Right – The Guide to Cycling Ergonomics (2014) – upper-arm angle & stem impact
https://hr.ubc.ca/sites/default/files/wp-content/blogs.dir/35/files/Bike-Ergonomics-reduced-size.pdf
Jonathan, the passionate owner of Bicycle Time, brings a lifelong love for bikes and automotive craftsmanship, that reflects into every corner of the shop. With deep passion in both cycling and automotive accessories, Jonathan is more than just an expert.
